Showing posts with label Decoupage. Show all posts

Tuesday, June 27, 2023

How to make your Own Decoupage Papers with Jane Bellante

Hello everyone!  

Jane Bellante here and I have to tell you, I absolutely LOVE making my own papers with StencilGirl Stencils! I'm mildly addicted (well, maybe more than mildly hee hee), and I use them for everything- collage, backgrounds, home decor, and furniture!

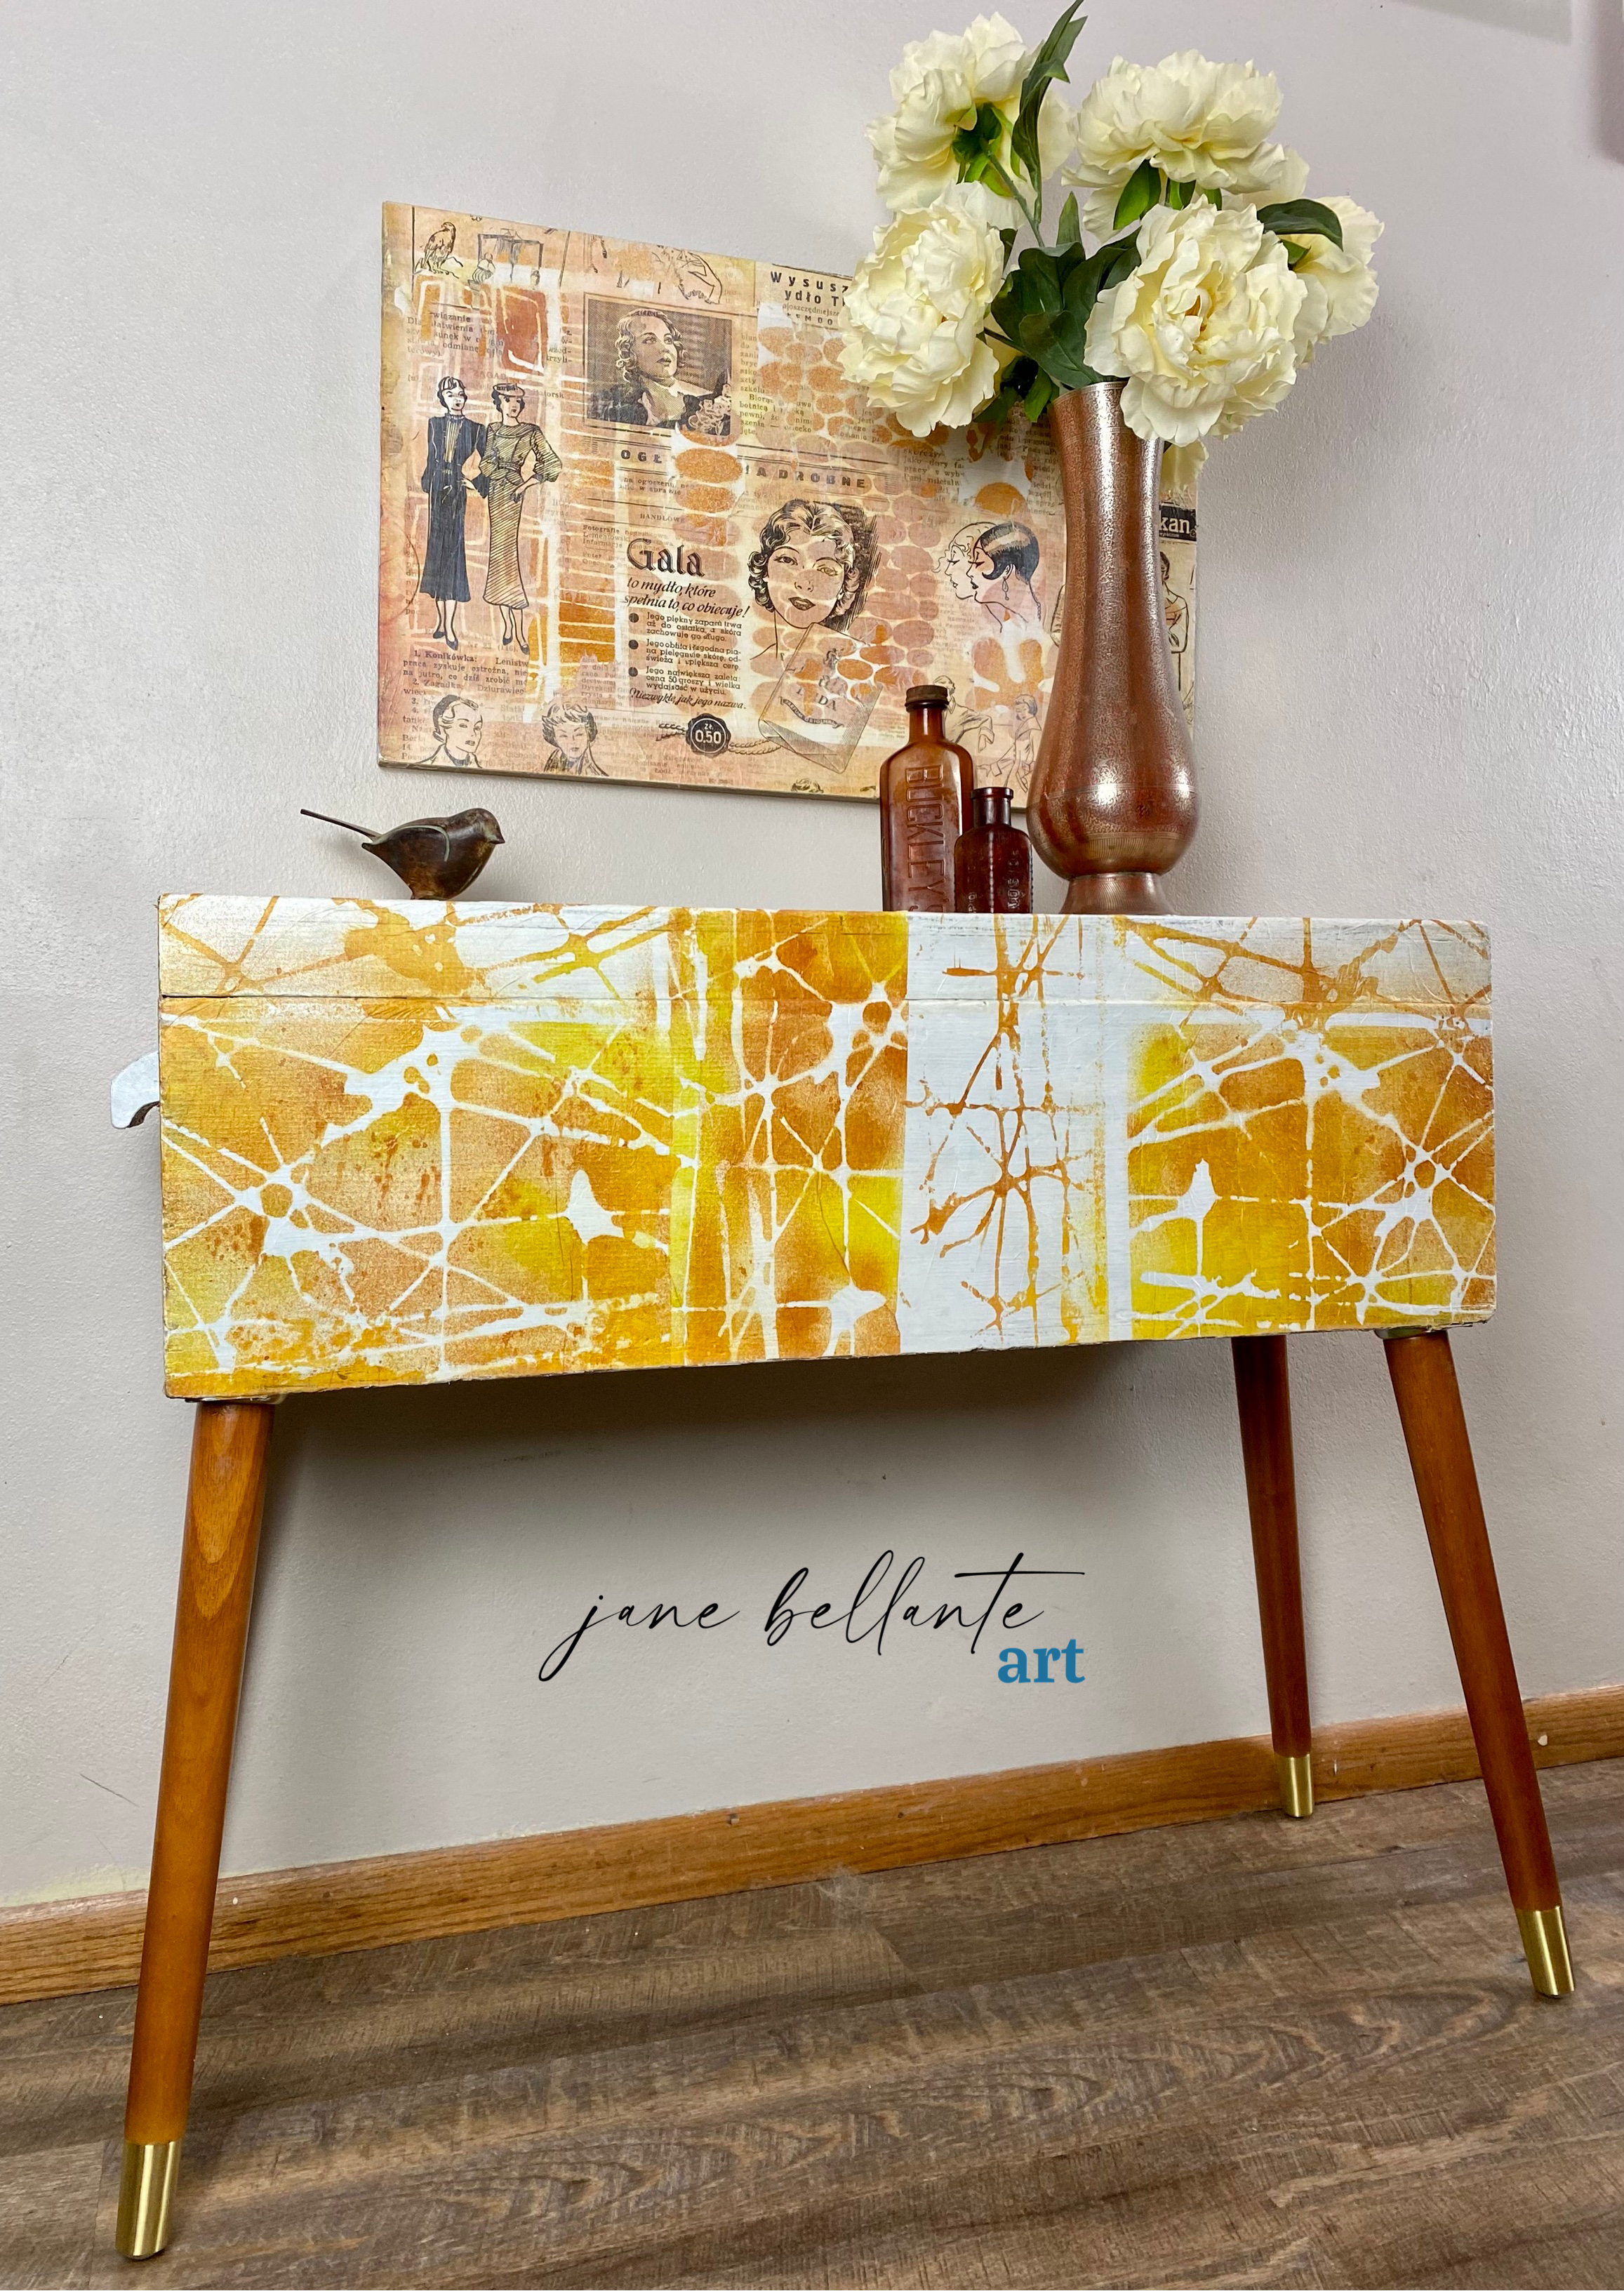
For this tutorial, I found a super cool large vintage toolbox at a local flea market.  I ordered some wood legs from Amazon so I could make this toolbox into a table.  The legs have a Mid Century Modern feel to them, so I decided I wanted to use the Kinsugi stencil by Jane Monteith.  It has clean lines, but also a more updated, modern look which I just can't get enough of.  

For the tool box, I used Paint Pixie Undercover Primer to cover up all of the old paint and give this homemade paper a good chance of adhering.  

Then I grabbed my Dina Wakely Gloss Sprays in Gilt and Syrup and got started spraying my large tissues.

You can watch the full tutorial on how I made my papers right here:


This process is so easy and so much fun! Just make sure your area is protected because sprays can be very messy.

I took my tissue and decoupaged it onto my toolbox using soft gel, then I did two coats of Paint Pixie Forcefield to protect my paper from getting damaged. I'm dying over the result!


Thank you so much for watching, I hope I inspired you to use your favorite StencilGirl Stencils to create your own papers and tissues for decoupaging anything and everything!

You can find the Kinsugi stencil right here, and you can find on all social media platforms at @janebellanteart, and on my website at www.janebellanteart.com.

Please let us know if you enjoyed this tutorial by leaving a comment below!

xo, 

Jane


Monday, October 4, 2021

Girl with a Pearl Earring - A Rags to Riches Story


It’s Jill McDowell here with another upcycled project.  This time I’m combining decoupage and stencils to give a sad little chest of drawers a make over.  It’s a real rags to riches story.

They say hunting for the perfect piece is half of the fun.  But I can tell you that upcycling that perfect piece is even more satisfying.  Lately I seem to be overrun by art supplies.  I’m convinced that they, like Gremlins, have a propensity to multiply if you use them after midnight.  On the other hand, perhaps that’s just when I’m at my weakest and the pull of that online shopping cart is the strongest.  While I could really benefit from a good old fashioned purge, I’ve been looking for a small chest of drawers to tide me over until I actually get the courage up to do it. I thought that a small bureau slid under my work table would give me some much needed storage and give me more time so I could continue to put off making some really hard decisions. Come to think of it, I guess procrastination does have its benefits.  
My search finally paid off when I spied this “flat file cabinet” in an online auction.  The auction notice pointed out that the piece had some issues; some pretty big holes where the knobs should have been and damage to the veneer on the side of the chest.  But since no one else had placed a bid on it I speculated that I might be able to pick it up at a bargain price.  To my delight, I ended up being the only bidder and took it home for just one dollar. Happy Dance! 
Once I got the chest home and was able to inspect it, I came to the conclusion that a "flat file cabinet" was somewhat of a misnomer. The piece had probably started life as the top three drawers of a larger dresser.  No matter, the size was perfect for my needs.  A little paint, decoupage tissue, a stencil or two, and some love was all this piece needed to transform it from and ugly little duckling to a real head turner.