Showing posts with label Home Decor. Show all posts

Saturday, July 4, 2026

Upcycle Thrift Store Finds with Spray Paint and Stencils

One of my favorite places to hunt for art supplies isn't an art store at all—it's the thrift store. Old wooden frames, forgotten by their previous owners, are often tucked onto the shelves just waiting for a second chance. They may look a little worn or outdated, but with a little paint and a great stencil, they can become the perfect finishing touch for your artwork.

The July 2026 exclusive StencilClub collection, designed by Carolyn Dube, couldn't have arrived at a better time. Carolyn's collection is filled with organic circles and dots in a variety of sizes. The shapes immediately reminded me of river rocks, pebbles, and gravel—those wonderfully imperfect patterns that nature creates without ever repeating itself. I've always been drawn to circles and dots, so I couldn't wait to incorporate these stencils into a project.


With an art show coming up, my studio has been filled with the smell of varnish and stacks of frames waiting for artwork. Instead of purchasing a new frame, I rescued a plain wooden one from a local thrift store and transformed it into a custom frame that perfectly complements one of my pink collages.


The entire makeover took very little time, cost only a few dollars, and completely changed the personality of the frame.


Supplies

  • July 2026 StencilClub Stencils by Carolyn Dube
  • Plain wooden picture frame
  • Rust-Oleum® Matte Spray Paint in Gray
  • Rust-Oleum® Paint + Primer Spray Paint in Pink
  • Clear spray varnish
  • Disposable gloves
  • Wallpaper, cardboard, or a drop cloth to protect your work surface
  • Finished collage or artwork
  • Optional: Painter's tape (for larger frames)


Step 1: Prepare the Frame

Before painting, wipe the frame thoroughly to remove dust, dirt, or any residue. A clean surface helps the paint adhere evenly and creates a smoother finish.

Since spray paint fumes can be harmful, always work outdoors or in a very well-ventilated space. I took my frame outside and laid down a large piece of old wallpaper to protect my deck from overspray. Gloves are also a good idea to keep your hands clean.


Step 2: Apply the Base Coat

I wanted a soft neutral background that would allow the stencil pattern to stand out, so I coated the entire frame—including the sides—with Rust-Oleum Matte Gray Spray Paint.

One of the reasons I reach for Rust-Oleum is that it's easy to find at stores like Walmart and Target, it's affordable, and it provides excellent coverage. I especially like the Paint + Primer formulas because they bond well to a variety of surfaces without requiring additional preparation.

Allow the gray paint to dry for at least an hour before moving on.


Step 3: Add the Stenciled Design

Once the gray paint was dry, I positioned Carolyn's stencil directly onto the frame.

Because my frame was fairly small, I simply held the stencil in place by hand. If you're working on a larger frame, painter's tape can help prevent the stencil from shifting.

Using Rust-Oleum Matte Pink Spray Paint, I sprayed directly over the stencil, making two light passes to build up the color without creating drips.

Carefully lift the stencil away and let the design dry for several hours.

The random arrangement of dots creates movement across the frame while still allowing the simplicity of the design to shine.


Step 4: Protect the Finish

After the paint had completely dried, I sprayed the entire frame with a clear varnish. This extra protective layer helps guard against scratches and scuffs while making the finish easier to wipe clean.

The following day, once everything had thoroughly cured, I cut my collage to fit and assembled the frame.

The finished piece looked like it had been custom-made specifically for the artwork inside.


Why Spray Paint is Perfect for Upcycling

Spray paint has become one of my favorite tools for giving secondhand items a fresh start.

Not only does it provide excellent coverage with very little effort, but it also reaches carved details, grooves, and corners that would be tedious to paint with a brush. The finish is smooth and even, helping inexpensive or worn objects look surprisingly professional.

Another advantage is speed. Large surfaces can be completely transformed in just a few minutes, making spray paint ideal for quick creative projects. It also adheres beautifully to a wide variety of materials—including wood, metal, wicker, plastic, and even some laminates—making it incredibly versatile for artists and makers.


More Ideas for Upcycling with Spray Paint

Once you begin looking around your home or local thrift store, you'll find endless possibilities.

Try giving new life to:

  • Picture frames
  • Wooden trays
  • Small side tables
  • Plant pots
  • Metal baskets
  • Candle holders
  • Lamps
  • Magazine holders
  • Decorative boxes
  • Shelves
  • Wooden crates
  • Mirror frames
  • Serving trays
  • Coat hooks
  • Vintage tins

Many of these items can become beautiful studio storage or decorative accents that coordinate perfectly with your artwork.

A Custom Finish for Your Artwork

One of the things I love most about making my own frames is that they become part of the artwork itself. Rather than settling for a store-bought frame that almost matches, I can create one that echoes the colors, patterns, and personality of the collage inside. It's a simple project that makes finished artwork feel even more personal—and it's a wonderful reminder that creativity doesn't have to stop at the edge of the paper.


Join StencilClub!

If you've been curious about StencilClub, now is the perfect time to join. Members who sign up before the 15th of the month will receive that month's exclusive stencil collection, including Carolyn Dube's beautiful July 2026 designs.


In addition to receiving an exclusive stencil set each month, members also enjoy:

  • An exclusive stencil collection that is never sold individually
  • A downloadable project tutorial and PDF from the featured artist
  • An additional members-only project created by me
  • 25% off regularly priced stencils from StencilGirl Products throughout your membership

Whether you're a mixed media artist, journal maker, collage enthusiast, or simply enjoy experimenting with new techniques, StencilClub is a wonderful way to add fresh inspiration to your creative practice each month.

I hope this project inspires you to take a second look at those overlooked thrift store frames. With a little spray paint, a great stencil, and a favorite piece of artwork, you can transform something ordinary into a custom frame that's every bit as creative as the art it holds.  I hope you will share your projects with me on my Instagram page @gluepaperscissors_ and Stencil Girl @stencilgirl_products

Friday, May 8, 2026

Stitches, Stencils & Hoops an up-cycled decor project


It’s time for a wall refresh in my studio!


Hello friends, 

Tina here from Tina Hois Art  
Each season I like to update some of the decor in my art studio. This year I am in the midst of renovations and have a small corner that I craft in so I will update it with just a little somethin~somethin.

I had these embroidery hoops from a previous thrift shop and they inspired me with the perfect idea for my little corner ~ stitched wall art!

Off I went gathering the few supplies needed for this project (see supply list below).
I decided on denim as my fabric and the pretty stencil created by Jane Chipp.
The stencil is titled Seed Heads which is very fitting for this time of year before everything starts blooming. 

Visit the Stencil Girl Products page for this particular stencil and discover a multitude of ways to incorporate it in your art. 
I will be slow stitching it.


STEP 1 :
Trace the stencil on to the fabric with a gel pen


STEP 2:
With your favourite colours start filling in the seed heads and the stem. 
Remember this is about enjoying the process and does not need to be perfect. 
Just like Nature, be imperfectly perfect. 
By the way I am by no means an embrydery expert, I just basically place the needle in the fabric and out 
until my seed head was filled. 


STEP 3:
With a cotton swab add some bleach circles. This will add another layer of interest  to the fabric.
If bleach is not your thing create circles with acrylic ink or simply leave as is. 


STEP 4 :
Select the appropriate size hoop and remember you can always go bigger for a differenc statement.


STEP 5:
Create more texture with adorable seed stitches


I hope you enjoyed this quick and simple project and remember if stitching is not your thing use acrylic ink or modeling paste that has been mixed with your custom colour!
Most of all enjoy the process and be proud of the outcome!
Until next time!
T.


SUPPLY LIST
Embroidery Thread
Fabric
Embroidery needle
Scissors
Embroidery hoop


Friday, October 4, 2024

Autumn Leaves Three Ways


Hello stencil friends! Nicole here with an easy little project (or three!) to add a touch of fall to your home. I don’t know about the weather where you are, but here in Central Texas we recently had three days of amazing, fall weather. It was glorious! I made chicken soup, my favorite pumpkin bars, and had the most amazing (cold!) morning walks while dreaming of wearing pants and long sleeves. 


Unfortunately, it didn’t last long as our temps went back up to near 100. Ugh! However, despite our rise in temps, I officially declared it fall. I bought all the new fall things from Trader Joes and put out my fall dĆ©cor.


One of my favorite things about fall, besides the weather, is the changing of the leaves and fall colors.  


With leaves and the colors of fall on my mind, I thought it would be fun to make something new for fall. I grabbed the Autumn Leaves stencil and began blending colors to create leaves.


First, like most of my painted paper projects, I began by adding watered-down gesso to some old book and ledger pages. This does a couple things. It adds some integrity to the sometimes-brittle pages and allows for a better surface to paint on. Since I don’t want to cover up the text and I don’t need a thick layer of gesso, I water it down. You can also use clear gesso.

Then, I grabbed all the fall colors of paint, an applicator and began to play. This is a fun, simple process but does require some patience. The Autumn Leaves stencil is a bit more delicate, so sometimes you have to hold down parts of it while you stencil. 

I love how fall colors blend together, especially purple and orange (trust me, try it!). 


A couple ideas and tips:

1. Less is more! Don't over-saturate your applicator.

2. However, if paint seeps under the stencil, don’t stress! Just go back and stencil again a bit when it dries. This creates a cool shadow look. 

3. Lift the stencil to peak at your leaf before completely removing it. Then, set it back down if you need to add more paint.

4. Use one color on several leaves, lifting the stencil each time, and then go back with another color, for more of a two-step approach (or even three). The paint blends a little less this way for a different look.


5. Try an ombre palette, or a candy-corn one. 


6. Start with a lighter color, add a darker one and then go back and blend more with the lighter color.

7. If you don’t like how one turns out, stencil over a bit with a darker color. 

8. Don’t forget a few solid leaves, too!  


9. Flip the stencil over half-way through for more variety (or to make your leaves double sided in the end, more below) 

10. Put your favorite fall movie on a screen and have fun!

My favorite fall leaves are the ones with spots of color, so when my leaves were finished, I splattered leftover paint on them.

After the splatters dried, I cut them out and grabbed some kraft-colored card stock to give them some strength.

I stuck them down with matte medium, front and back, and then also added another layer on top for extra protection. 


Then, once they dried, I had to cut them out again! I chose to leave a border each time, one with the original paper and one with the kraft paper. 


Check out the beautiful pile of leaves! 

Now that you’ve made some amazing leaves, what can you do with them?


Create a Garland 

Grab some bakers twine or thin jute and string them up! I am putting together a fall-themed thank you basket for a friend, and adding a garland to it is the perfect final touch. I’m also going to hang a small one in my house.


All you have to do is punch a couple of holes in each leaf and add them to the string of choice. I added some extra colors of twine by weaving it around my original one after I added the leaves.


Make a Mobile or Wall-hanger 

Similar to the garland, string some leaves to dangle from a branch, old paint brush, vintage wooden spoon, or anything you can think of! You could add some beads or other fall-themed items. 


Start a Thankful Tree Tradition

Use bakers twine or string to create single, hanging leaves. Place them in a container with a pen or makers. 

Then, find a fun branch and add it to a vase or other container. Each day leading up to thanksgiving, write something you are thankful for on the back of the leaf and hang it on the tree. You could use multiple leaves for each family member, or all write on the same leaf each day. After the fall season, save them in a special container for a fun keepsake from the year.


More Ideas

For the garland, mobile, or wall hanger, if you think your leaves might twist in the wind, you could always make them double sided. All you need to do is add a back-side leaf after you cut them from the Kraft cardstock. This will take a bit more planning to match up your leaves so you have a front and back one (stenciled from each side of stencil).


I have a few leftover leaves even after the three projects. I’m going to scatter some on our Thanksgiving table, tuck them inside letters and packages, maybe make a card or two, and I think I might add a couple to my door wreath. I might even need to make more. They are so fun to create!


You can watch how I made the leaves + the projects following in the video below


Happy fall!

-Nicole


Connect with me on


Stencil

Autumn Leaves


Supplies for the leaves:

  • Gesso
  • Vintage book and ledger papers
  • Matte medium
  • Fall colors of acrylic paint (I used Golden's SoFlat)
  • Scissors
  • Kraft card stock
  • Palette paper
  • Round applicator
Extra supplies for projects:
  • Bakers twine or another string of choice
  • Twig (and anything else you want to add to your mobile) 
  • Branches, Vase, Bucket, Marker, etc... for your tree
  • Hole punch


Tuesday, June 14, 2022

Wildflowers

 
W   I   L   D   F   L   O   W   E   R   S

I am so happy to be back on the blog and to spend another year on ®StencilGirl's design team. I am Nancy Curry coming to you from the suburbs of St. Louis.  I'm in pretty dazzling company on the team and look forward to every Tuesday when new inspiration drops. I also love all the guest artist posts.  We all have a different artist voice that sings loudly and I love to hear them all.   For those new to my blog projects, almost all of them are titles of songs.  This one happens to be a Tom Petty song, but my choices head across all genres.  I also paint and design a lot of pieces that are floral related so I didn't leave my wheelhouse this time.  This project came about when I wasn't even thinking about it.  I was walking around my local Michael's looking for frames that weren't dented a few weeks ago, but, of course, I browsed the art materials and did a general loop around the store.  I also needed some foam board for  mailing so I headed off to find that and lo and behold I saw a 22" x 28" piece of translucent polyethylene  (mylar is a brand) plastic that was a nice weight (12 pt) and decided to get it and some day I'd have a spin around it.    Fast forward to this week and that's exactly what happened.  A few minutes in,  the lightbulb went off and this project was born.

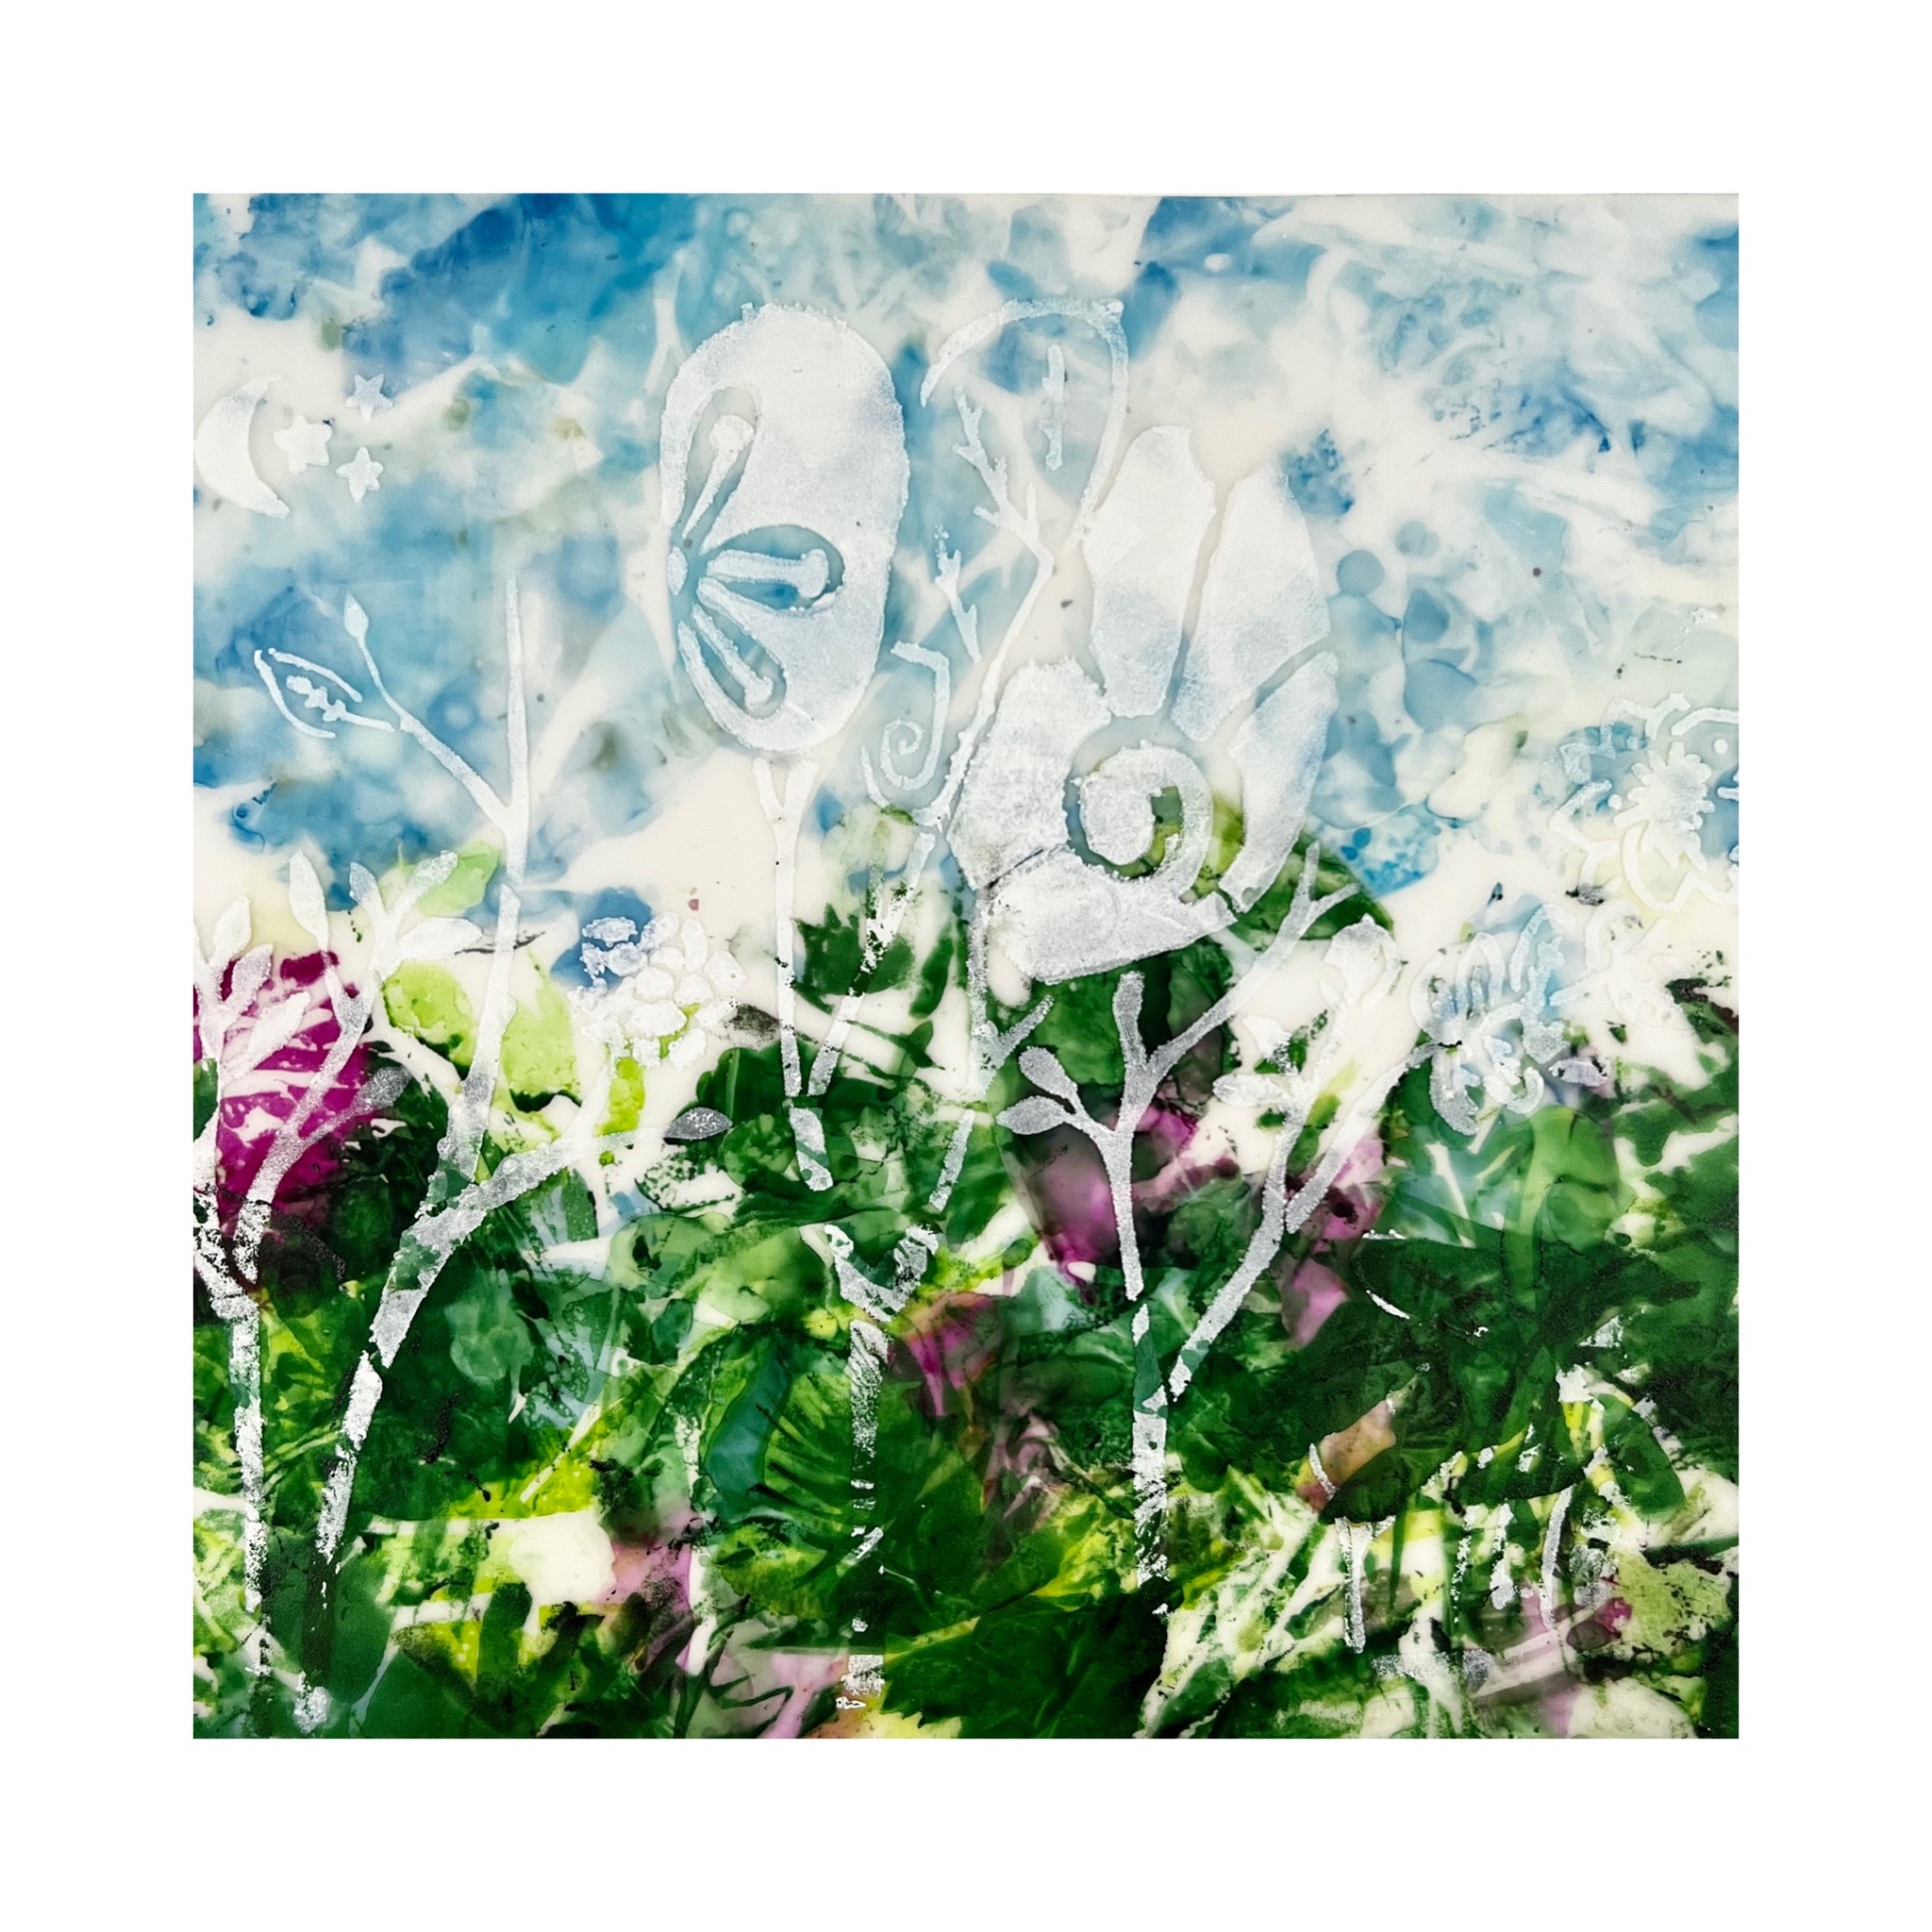
I delved into my vast stencil stash and got four out to play with.  The main project and the one featured on the video tutorial was done with a favorite of mine, Cathy Nichols' Love Story (L341).  I knew immediately it was the perfect stencil for me to curate parts of for the ideas going on in my head. I love to use parts of larger stencils.  The others I chose were David Daniels' Rooted in Nature Large Caladium (L810) which is more abstract yet still intriguing, Traci Bautista's organically patterned,  Circles Circles (L301), and one of the most interesting SG stencils, Moths by Jane Dunnewold (L520). All of them were approached in the same matter.  Without further adieu, here's the materials list and then the video tutorial.  
 
MATERIALS:
plastic sheet cut into working size
gesso or white paint
cosmetic sponge
stencils
91% rubbing alcohol in a spritz bottle (good ventilation is recommended when you are using alcohol inks)
Ranger alcohol inks:  wild plum, everglades, botanical, glacier, cloudy blue, sailboat blue, boysenberry
paper towels
plastic wrap or white plastic trash bag cut down to size
mats/frames or deep cradle
Krylon Kamar varnish & Krylon UV Archival spray (spray in well-ventilated area)


I hope you enjoyed the process.  It is one I have used for years on clear acetate with varous types of ink or paint.  It was really fun to work it with a translucent substrate that was inexpensive so I could save my more expensive Yupo for other projects.  Below you will see a close up of the original piece that really shows how much visual texture comes from the alcohol ink on the backside.  It would have overpowered the gesso to be on the front, but from the back it allows the white flowers have enough high contrast to shine.  I have also included the other pieces I mentioned in the introduction.  This process will work for many genres and I love processes that can be versatile.  I'd love to see what you do with these should you head down the road to try this.  


Rooted In Nature Large Caladium
 
Moths

Circles Circles

 
As promised in the video, I said I'd share the finishing process.  I do two-three light coats of Kamar as an isolation coat and then two coats of UV Archival in whatever finish you want. I am partial to satin.  Let it thoroughly dry in between layers and keep the can 12" away.  Even with this finishing, do not hang in direct sunlight.  Indirect should be fine.  They mat well or you can go the deep cradle route.  Both look great.  I'm sure there will be more great options floating around. 
 
As always it's a pleasure sharing my meanderings with you.  Should you want to see what I am up to more frequently, I post most of my tutorials on Instagram on my grid and reels page and post art almost daily.  I post most of it also on my Facebook art page.  My regular Facebook page includes some art, no politics, and lots of standard poodles.  My website is always a little behind, but when I get a chance I update it.  It does have my online store that carries originals and prints available any time.  To get updates about classes, art sales (one coming in June), please sign up for my low volume newsletter.  

Have a wonderful rest of June.  I'll be back on the blog later in the summer. 


xoxo

Nancy

Tuesday, December 14, 2021

Merry Makings - DIY Ornaments by Nancy Curry


M  E R R Y        M  A  K  I  N  G  S


I adore the magic of the holiday season, even the wrapping, but most of all, I enjoy putting my own diy stamp on our home decor that blends well with my favorite motifs that are part of my life story.  I've been making alcohol ink ornaments for a few years now and really enjoy the happenstance of them all.  I hadn't planned to do an ornament project until I walked into my studio and saw some ornaments at the ready.  That's when the idea of melding my process with stencil design was hatched.  In the tutorial video above, I talk through the process, but there are a few specifics I'll add here.  

I chose to use 3" white glass orbs but you could use clear and drop some diluted white in the middle to create the contrast layer or use metallic colored glass balls.  I love the look of alcohol ink on the metallics.  What I won't recommend are the powder coated ornaments.  The alcohol ink eats right through the powder coat and you are usually left with a silver undercoat.  It makes for a choppy application.  There is no prep that needs to happen with these ornaments.  I love that convenience.  You can find them at Michael's or Hobby Lobby early in the season. 


The rest of the products I used are in the flat lay photo below that includes a view of the finished orbs.  I used Ranger and Jacquard on this project.  Nothing tops Jacquard's Real Gold for me.  Any alcohol ink could be substituted except for Ranger's Alcohol Pearls.  The Pearls would not move as well over the surface in this process.  The bottle of 91% is rubbing alcohol.  As for the acrylic, I would use the most pigmented, smooth black you have so that it stands out well against the prior layer.  Cosmetic sponges are great to use because you can cut them to fit smaller stencils.  Last but not least, I chose a few abstract stencils:  The smaller scale stencils were from ( L792) Rae Missigman's ATC Mixup#1Art Marks, the mainly organic circles were a StencilClub  1/2019  by Mary Beth Shaw and Seth Apter, Cecilia Swatton's Ornamental Curls (S462) challenged me to use narrow lines,  and Daniella Woolf's Fez Medina Wall (S749) gave me the chunky coverage I was looking for.  What I would say about stencil choice is that abstract is the easiest to use because if you miss a little coverage pouncing on the orb, no one will know. Staying in the abstract genre also follows the random, abstract application of the bottom layer. 


Once the orbs are dry, it's your choice to add a spray sealant layer.  They really don't need it but if you do, you will need an isolation layer or two of Kamar Varnish and then your choice of a final coat, matte, satin or gloss spray.  Always give the layers time to dry before adding another spray.  All choices give a different look.  


As always, it is my pleasure and privilege to be on this blog.  I'll back in February with something new.  Follow me on FBK and Nancy Curry Art and  IG at Nancy Curry Art or browse my galleries on my site. I'll have a sale coming up shortly so sign up here if you want notice (very low volume).

Merrily On High,

xoxo

Nancy

Monday, October 4, 2021

Girl with a Pearl Earring - A Rags to Riches Story


It’s Jill McDowell here with another upcycled project.  This time I’m combining decoupage and stencils to give a sad little chest of drawers a make over.  It’s a real rags to riches story.

They say hunting for the perfect piece is half of the fun.  But I can tell you that upcycling that perfect piece is even more satisfying.  Lately I seem to be overrun by art supplies.  I’m convinced that they, like Gremlins, have a propensity to multiply if you use them after midnight.  On the other hand, perhaps that’s just when I’m at my weakest and the pull of that online shopping cart is the strongest.  While I could really benefit from a good old fashioned purge, I’ve been looking for a small chest of drawers to tide me over until I actually get the courage up to do it. I thought that a small bureau slid under my work table would give me some much needed storage and give me more time so I could continue to put off making some really hard decisions. Come to think of it, I guess procrastination does have its benefits.  
My search finally paid off when I spied this “flat file cabinet” in an online auction.  The auction notice pointed out that the piece had some issues; some pretty big holes where the knobs should have been and damage to the veneer on the side of the chest.  But since no one else had placed a bid on it I speculated that I might be able to pick it up at a bargain price.  To my delight, I ended up being the only bidder and took it home for just one dollar. Happy Dance! 
Once I got the chest home and was able to inspect it, I came to the conclusion that a "flat file cabinet" was somewhat of a misnomer. The piece had probably started life as the top three drawers of a larger dresser.  No matter, the size was perfect for my needs.  A little paint, decoupage tissue, a stencil or two, and some love was all this piece needed to transform it from and ugly little duckling to a real head turner.