Showing posts with label Alcohol Ink. Show all posts

Friday, May 15, 2026

Using Stencils with Encaustics Along with Jane Monteith

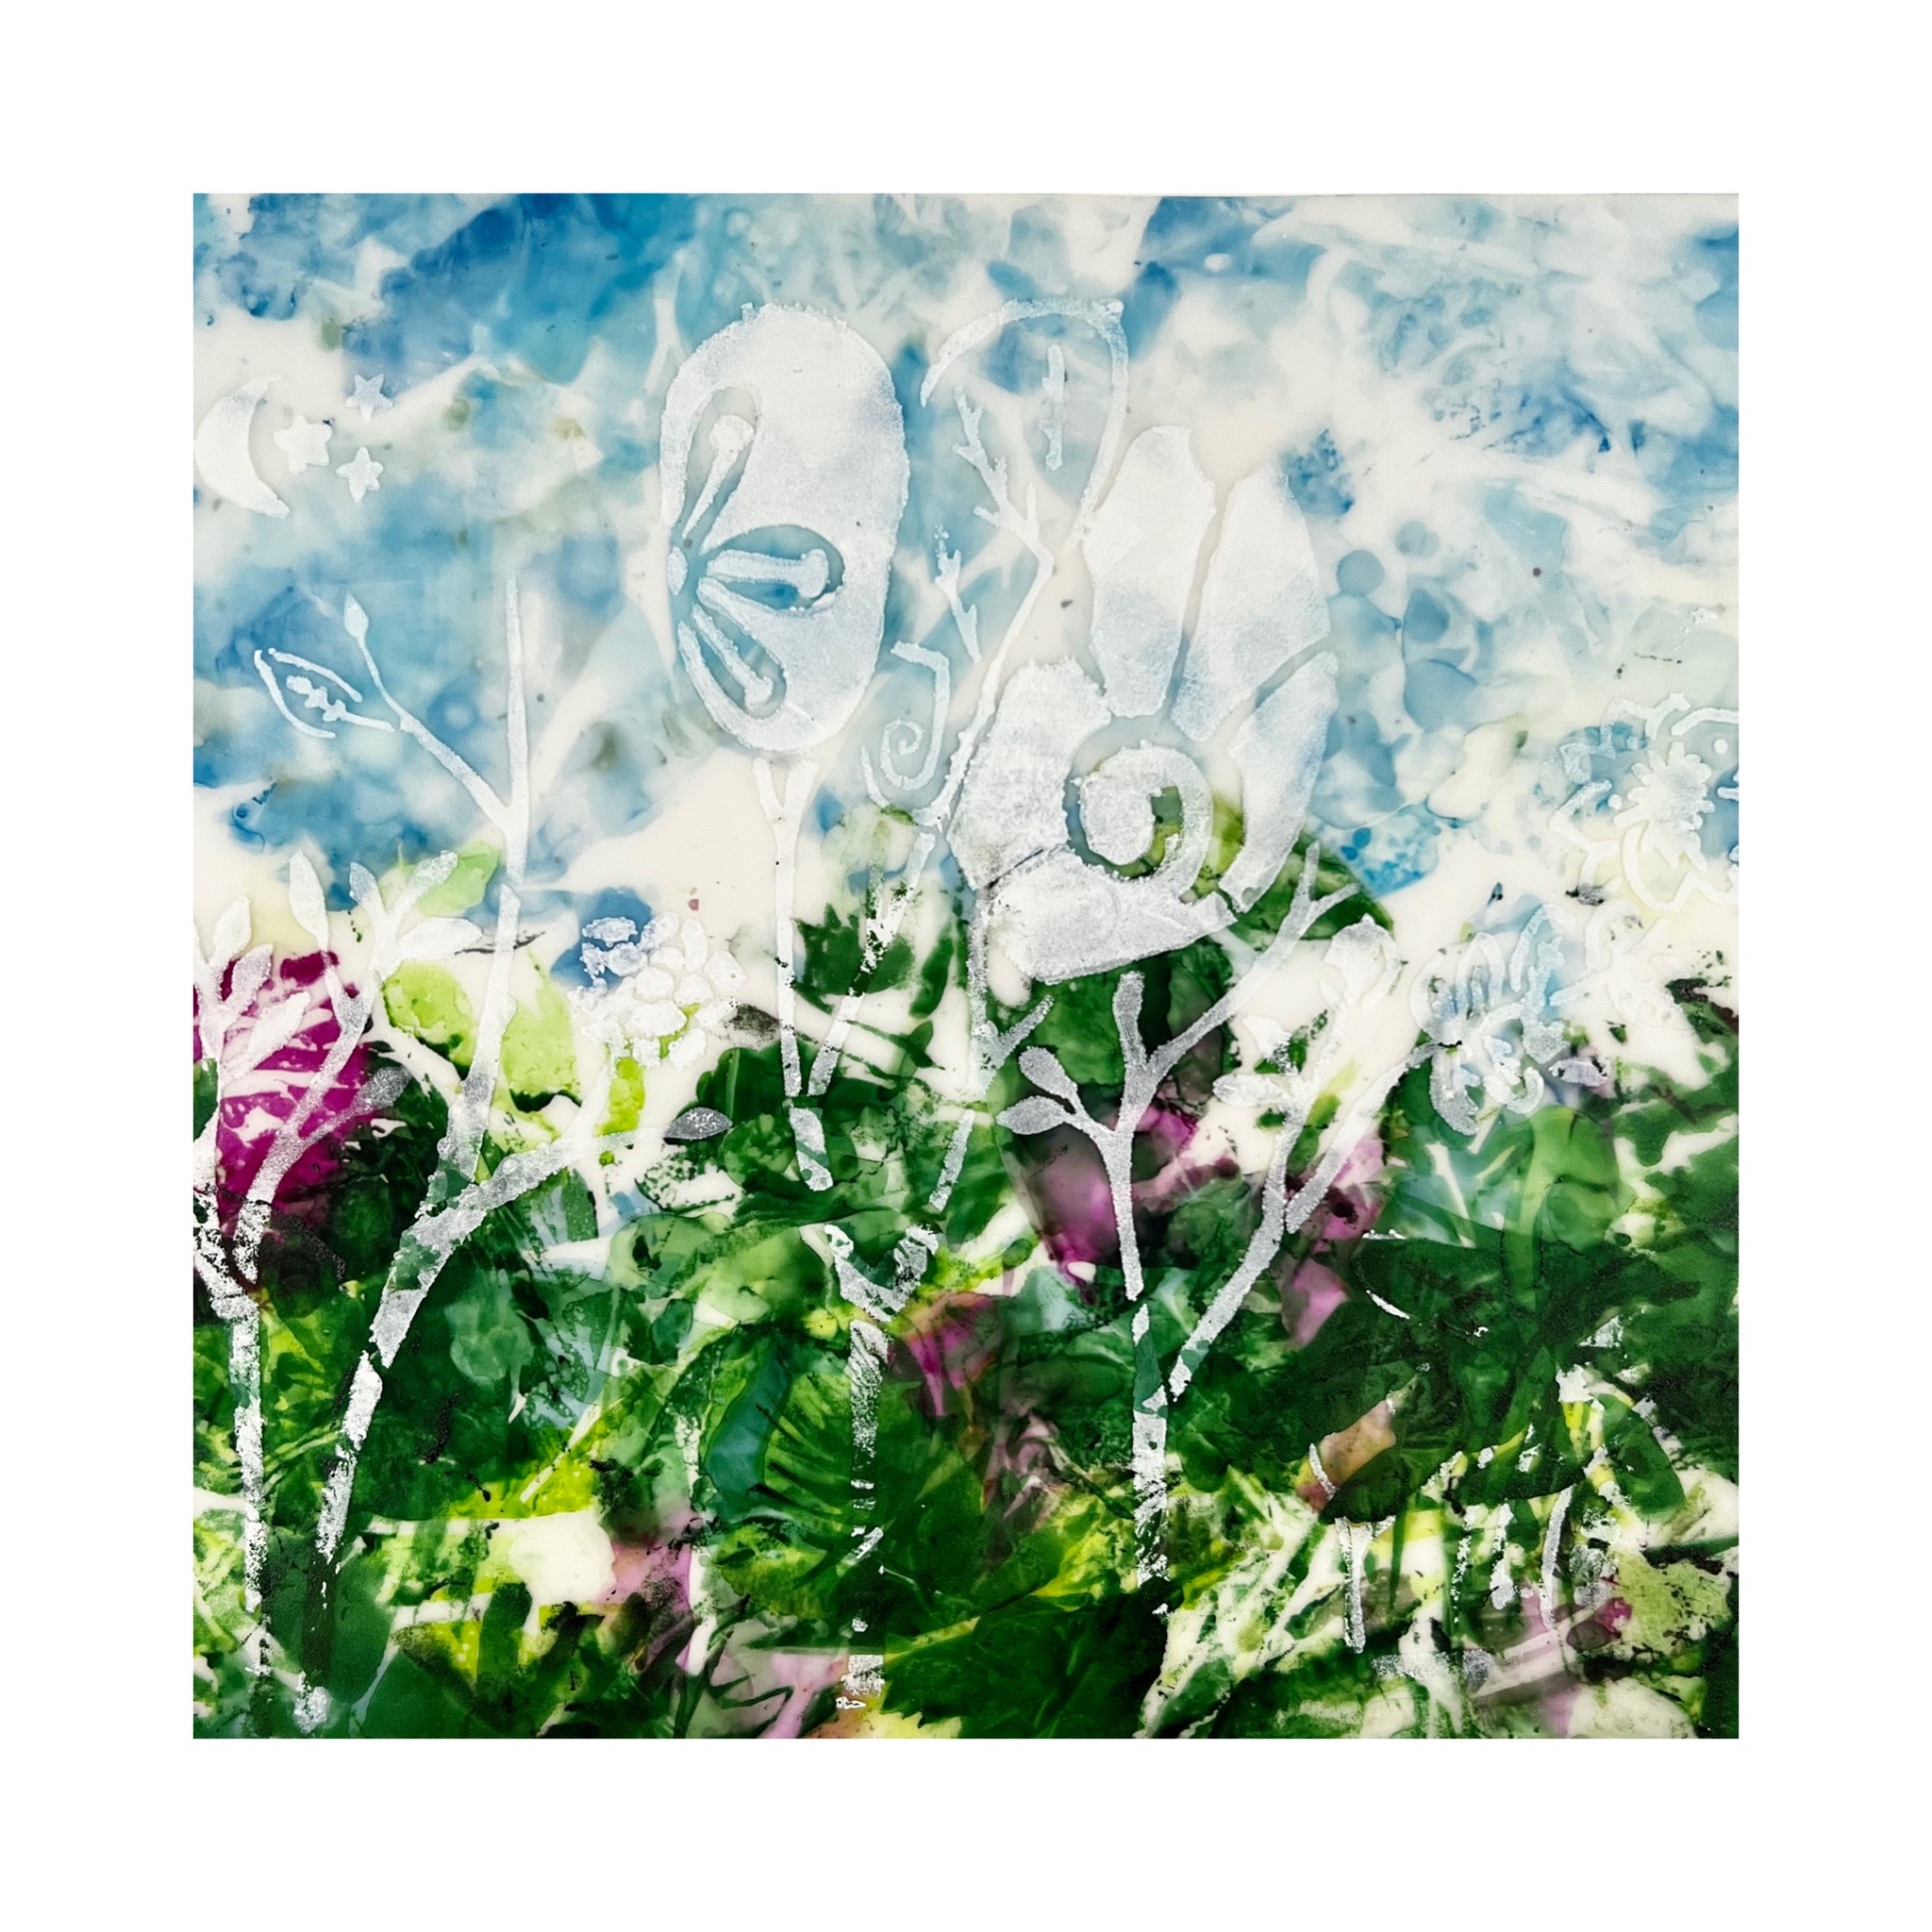
Jane Monteith here. I wanted to share a few tips using stencils with surface inks and reducing the amount of bleed from under them.

I recently tried using Jacquard's brand new alcohol ink formula. As you may know, I've been a fan of their products for many years, including the Pinata Rich Gold. 

They've now created a smoother, finer type formula which has been renamed to Gold Leaf. There are other colors too, as you can see here.


They work great on the the surface of encaustic because it's non-porous, and alcohol ink is designed for these types of surfaces.

To hold stencils in place, we generally use a temporary tack spray. But with wax we can't really do that because it leaves a residue on the surface.

So, here's the tip.

Start by warming your surface with a heat gun. While your wax is still warm, sit your stencil on top, and using a brayer, roll over the stencil a few times to set it in place. 

This will prevent it from moving and embeds it slightly into the surface.


You can now begin painting over it.

Keep in mind you'll see all brush marks, dents and pinholes in your encaustic because of the light reflecting off the metallic ink. 

I used the gold leaf formula with an old paint brush. Probably should have used a better brush. So don't be me. Use a foam brush or a nice soft bristle one. 

Once the surface is painted, leave it to dry and then simply peel back the stencil.


I ended up with a big pinhole in mine because I over heated (wasn't wearing my glasses to see what I was doing). 

But, we can fix that with the ink!

We can also fix any areas that did bleed. There were a few on the outer edges and a little bit in the middle. 

I suggest using a micro-makeup applicator for getting rid of excess ink. I use them ALL the time for things like this. 

I also use Jacquard's Claro-Extender (aka blending solution) because this isn't as harsh as rubbing alcohol. 

It's also great for cleaning the ink off your stencils. 


Once you've removed the unwanted ink, you can go back in with more ink on a fresh applicator and cover areas with more gold. 

You can also fill in any small holes, like the pin hole I created :)


You may decide to scrape away areas, too. I wasn't very happy with the overall look so I created a few guidelines guidelines with my ruler and removed the unwanted sections. 

I ended up with a more interesting pattern. 

To finish, lightly fuse with your heat gun to set it in place. Don't over fuse or the alcohol ink with burn and separate. Just a light touch is all you need :)


Whether you use stencils to create inlays or for surface patterns using inks, they're a great way to add interest to your encaustic work. 

The stencil I have used is called Linework.  It and all of my stencils are on sale until May 28th.  Use code ENCAUSTIC to get 20% off. 


Stay creative.

xo Jane.

Tuesday, June 14, 2022

Wildflowers

 
W   I   L   D   F   L   O   W   E   R   S

I am so happy to be back on the blog and to spend another year on ®StencilGirl's design team. I am Nancy Curry coming to you from the suburbs of St. Louis.  I'm in pretty dazzling company on the team and look forward to every Tuesday when new inspiration drops. I also love all the guest artist posts.  We all have a different artist voice that sings loudly and I love to hear them all.   For those new to my blog projects, almost all of them are titles of songs.  This one happens to be a Tom Petty song, but my choices head across all genres.  I also paint and design a lot of pieces that are floral related so I didn't leave my wheelhouse this time.  This project came about when I wasn't even thinking about it.  I was walking around my local Michael's looking for frames that weren't dented a few weeks ago, but, of course, I browsed the art materials and did a general loop around the store.  I also needed some foam board for  mailing so I headed off to find that and lo and behold I saw a 22" x 28" piece of translucent polyethylene  (mylar is a brand) plastic that was a nice weight (12 pt) and decided to get it and some day I'd have a spin around it.    Fast forward to this week and that's exactly what happened.  A few minutes in,  the lightbulb went off and this project was born.

I delved into my vast stencil stash and got four out to play with.  The main project and the one featured on the video tutorial was done with a favorite of mine, Cathy Nichols' Love Story (L341).  I knew immediately it was the perfect stencil for me to curate parts of for the ideas going on in my head. I love to use parts of larger stencils.  The others I chose were David Daniels' Rooted in Nature Large Caladium (L810) which is more abstract yet still intriguing, Traci Bautista's organically patterned,  Circles Circles (L301), and one of the most interesting SG stencils, Moths by Jane Dunnewold (L520). All of them were approached in the same matter.  Without further adieu, here's the materials list and then the video tutorial.  
 
MATERIALS:
plastic sheet cut into working size
gesso or white paint
cosmetic sponge
stencils
91% rubbing alcohol in a spritz bottle (good ventilation is recommended when you are using alcohol inks)
Ranger alcohol inks:  wild plum, everglades, botanical, glacier, cloudy blue, sailboat blue, boysenberry
paper towels
plastic wrap or white plastic trash bag cut down to size
mats/frames or deep cradle
Krylon Kamar varnish & Krylon UV Archival spray (spray in well-ventilated area)


I hope you enjoyed the process.  It is one I have used for years on clear acetate with varous types of ink or paint.  It was really fun to work it with a translucent substrate that was inexpensive so I could save my more expensive Yupo for other projects.  Below you will see a close up of the original piece that really shows how much visual texture comes from the alcohol ink on the backside.  It would have overpowered the gesso to be on the front, but from the back it allows the white flowers have enough high contrast to shine.  I have also included the other pieces I mentioned in the introduction.  This process will work for many genres and I love processes that can be versatile.  I'd love to see what you do with these should you head down the road to try this.  


Rooted In Nature Large Caladium
 
Moths

Circles Circles

 
As promised in the video, I said I'd share the finishing process.  I do two-three light coats of Kamar as an isolation coat and then two coats of UV Archival in whatever finish you want. I am partial to satin.  Let it thoroughly dry in between layers and keep the can 12" away.  Even with this finishing, do not hang in direct sunlight.  Indirect should be fine.  They mat well or you can go the deep cradle route.  Both look great.  I'm sure there will be more great options floating around. 
 
As always it's a pleasure sharing my meanderings with you.  Should you want to see what I am up to more frequently, I post most of my tutorials on Instagram on my grid and reels page and post art almost daily.  I post most of it also on my Facebook art page.  My regular Facebook page includes some art, no politics, and lots of standard poodles.  My website is always a little behind, but when I get a chance I update it.  It does have my online store that carries originals and prints available any time.  To get updates about classes, art sales (one coming in June), please sign up for my low volume newsletter.  

Have a wonderful rest of June.  I'll be back on the blog later in the summer. 


xoxo

Nancy

Tuesday, December 14, 2021

Merry Makings - DIY Ornaments by Nancy Curry


M  E R R Y        M  A  K  I  N  G  S


I adore the magic of the holiday season, even the wrapping, but most of all, I enjoy putting my own diy stamp on our home decor that blends well with my favorite motifs that are part of my life story.  I've been making alcohol ink ornaments for a few years now and really enjoy the happenstance of them all.  I hadn't planned to do an ornament project until I walked into my studio and saw some ornaments at the ready.  That's when the idea of melding my process with stencil design was hatched.  In the tutorial video above, I talk through the process, but there are a few specifics I'll add here.  

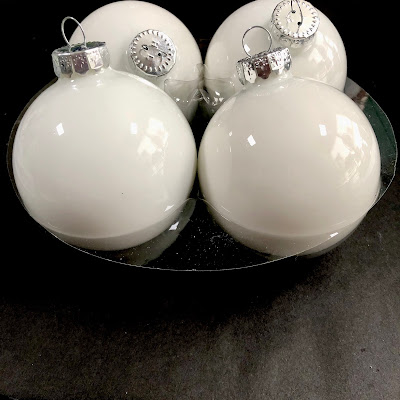
I chose to use 3" white glass orbs but you could use clear and drop some diluted white in the middle to create the contrast layer or use metallic colored glass balls.  I love the look of alcohol ink on the metallics.  What I won't recommend are the powder coated ornaments.  The alcohol ink eats right through the powder coat and you are usually left with a silver undercoat.  It makes for a choppy application.  There is no prep that needs to happen with these ornaments.  I love that convenience.  You can find them at Michael's or Hobby Lobby early in the season. 


The rest of the products I used are in the flat lay photo below that includes a view of the finished orbs.  I used Ranger and Jacquard on this project.  Nothing tops Jacquard's Real Gold for me.  Any alcohol ink could be substituted except for Ranger's Alcohol Pearls.  The Pearls would not move as well over the surface in this process.  The bottle of 91% is rubbing alcohol.  As for the acrylic, I would use the most pigmented, smooth black you have so that it stands out well against the prior layer.  Cosmetic sponges are great to use because you can cut them to fit smaller stencils.  Last but not least, I chose a few abstract stencils:  The smaller scale stencils were from ( L792) Rae Missigman's ATC Mixup#1Art Marks, the mainly organic circles were a StencilClub  1/2019  by Mary Beth Shaw and Seth Apter, Cecilia Swatton's Ornamental Curls (S462) challenged me to use narrow lines,  and Daniella Woolf's Fez Medina Wall (S749) gave me the chunky coverage I was looking for.  What I would say about stencil choice is that abstract is the easiest to use because if you miss a little coverage pouncing on the orb, no one will know. Staying in the abstract genre also follows the random, abstract application of the bottom layer. 


Once the orbs are dry, it's your choice to add a spray sealant layer.  They really don't need it but if you do, you will need an isolation layer or two of Kamar Varnish and then your choice of a final coat, matte, satin or gloss spray.  Always give the layers time to dry before adding another spray.  All choices give a different look.  


As always, it is my pleasure and privilege to be on this blog.  I'll back in February with something new.  Follow me on FBK and Nancy Curry Art and  IG at Nancy Curry Art or browse my galleries on my site. I'll have a sale coming up shortly so sign up here if you want notice (very low volume).

Merrily On High,

xoxo

Nancy

Tuesday, October 12, 2021

Under the Tuscan Sun

I love the thought of wine, the unique wine labels, the rich, saturated color of a red, the curve of the glass, but it just doesn't agree with me. However, I do love to give wine or spirits and enjoy really doing it up for a special occasion. The big-box craft stores have gift cylinders and often discount them three to four times a year.  The one pictured below (left) was under a dollar.  There are also paper mĆ¢chĆ© ones that would work with this process. My inspiration for today's wine cylinder was Tuscany for its textures, colors, and of course, Chianti vineyards.


PART 1:

Any cylinder you choose should be prepped. I chose to prep with two different gessos: white and gold. If you want a white background, I would recommend doing two thin coats. I am partial to Liquitex Professional but any gesso should do the trick. Be sure each step is dry before you continue. Next, because I was grooving on my Tuscan idea, I added a coat of Daniel Smith Iridescent Gold gesso with a paper towel. (I have Mary Beth Shaw to thank for that obsession.  I will say that a tub lasts for quite a while.) The paper towel allowed for a very textured application. 


The thicker application took a little longer to dry, but when it was partially dry, I rolled it in a paper towel to create even more texture. Once dry,  I decided I liked the bits of white gesso peeking through in some parts. I added a few more of those spots with some leftover gesso.

PART 2:

There are many media choices for this project but I chose alcohol inks to add over the texture to keep the cylinder somewhat abstract. Any alcohol inks will do but today I chose Kielty inks (dark olive, slate blue/lavender, and burgundy) for their moodiness. I put out a white kitchen trash bag that will be our palette and chose two large stencils to put the ink through. I chose Wendy Brightbill's Floral Frolics, a collaged flowery feast of leaves, marks, and some more structured flowers interspersed, June Pfaff Daley's Early Art  2 Collection from June 2021Stencil Club, and Rae Missigman's ATC Mixup 2.


I placed the stencils side by side, uncapped my three colors, loaded one color to a felt applicator tool to add the inks through the stencil in a pouncing motion. Tip: pouncing is better than leaving the felt (or a brush) on the stencil as it will continue to bleed. I wanted a fairly crisp image so the pouncing motion was key. I did both stencils, waited 5 minutes, and then lifted to see the pattern. The next steps will transfer parts of the


Fill a spray bottle with 91% rubbing alcohol and lightly spray the first quarter of the palette.  Begin rolling the cylinder over the wet area. Repeat spraying and continue rolling. For more coverage, spray and repeat areas again without lifting the cylinder. I am looking to have marks that suggest. In the next process, we'll add more clarity. I used the circular-based stencil more for mark making. The last picture above shows what the cylinder looks like after this process. It could stay this way and appear very gestural or you can either paint some details yourself or use stencils to add some interest and bring some of the hinted areas into focus.Part 3 will showcase how to keep the abstract but add some detail.


PART 3: 

 I chose to use the same stencils again and added a small, organic mark-making one to finish the piece. I focused on adding leaves, a few flowers, and some marks from both stencils with the same inks, although I varied their saturation with some 91% rubbing alcohol on the felt. The same pouncing motion will add just the right amount of ink to the background. After that dried, I spot added some marks with white gesso and that tiny, ATC-sized stencil. I used a cosmetic sponge to apply (tap off excess onto a paper towel) to create a subtle pattern. 

In the picture below, I chose to showcase four parts that zoom in on the visual texture that begins in the deeply textural under layer and ends with the variegated top layers. 


 I finished the project off with alcohol ink on the lid, a ribbon to hold it on when opened, and a matching gift tag pressed into the recently sprayed with 91% palette.  I do seal any work I give away that has alcohol ink with two products:  Kamar Varnish and UV Archival Satin, both by Krylon.  I do two thin coats of Kamar to isolate the alcohol ink and two coats of UV Archival.  It probably isn't necessary for this project, but I am a creature of habit.  


I do truly hope you enjoyed your mini trip to Tuscany. I'd love to be there right now. As always, it's my pleasure to share my visions with all of you. See you back on the blog in December!

xoxo

Nancy


Thursday, June 6, 2019

Cynthia Silveri: Yupo Paper Lanterns Created with StencilGirl® Products


Only recently have I ventured into the arena of alcohol inks and yupo paper, inspired by none other than Nancy Curry! I wanted to play with her method of using the inks directly on top of stencils on Yupo paper. Once I realized that Yupo paper comes in a translucent weight, I had the idea to make these lanterns. I thought that a battery-operated tea light or other battery operated candle would make them glow showing off the beautiful intense colors of the alcohol inks. These easy and beautiful lanterns could be hung up-I place mine on a decorative platter for a simple and lovely table center piece.
Materials:
Translucent Yupo Paper 9” x 12”
Alcohol Inks (I used Ranger)
Gloves (essential for alcohol ink which stains)
Transparent tape

Optional: tape to hold down stencils, and mini cups to dilute alcohol inks, 91% alcohol, spritzer with 91% alcohol.

Method:
1.      I used Cecilia Swatton’s 9” x 12” stencil to fit the Yupo paper size, but you can overlap other smaller stencils (I show this in my video tutorial). Tape a couple of sides of the stencil down if you like, to keep the stencil in place while you are working.
2.      Choose your ink colors, I used Lemonade, Raspberry and Peach Bellini (summer!) for Cecilia’s stencil, and Cloudy Blue, Citrus, Meadow and Black for the Ellsworth Kelly work. One thing to keep in mind with alcohol inks is that the nicest results are obtained when you use colors that are analogous (near each other on the color wheel). Complimentary colors tend to make brown because the ink is so fluid and mixes together very easily. (Don’t get me wrong, I love browns, grays and black too!)

3.      You can apply the ink directly onto the stencil from the bottle, but I squirted a small amount into each of my tiny cups and diluted it a bit with the 91% alcohol ink to make it go a little farther. I also swirled some additional alcohol into each cup to get out as much color as possible onto the paper. I worked without thinking too much about where the colors would go-just spread them randomly onto the paper. I left some areas white too, which I think is nice for the overall design.

4.      Now comes the hard part! Simply set aside your work and let it dry completely. I put a little desk fan on mine and waited about 45 minutes. I like to let the ink that seeps under the stencil to dry as much as possible to get the best effect. Overnight is always good, if you can wait! Or you can make another lantern while it is drying, which is what I did with my Ellsworth Kelly inspired stencils. I layered the 6 x 6 inch and 4 x 4 inch stencils until I filled up the entire 9 x 12 inch page. Then I poured on the color just like in step 2.
5.      After everything is nice and dry, it is time for the fun part-the reveal! I love how alcohol inks are loose and unpredictable. Once you’ve removed your stencils, set them aside to use on another piece of yupo or photo paper-there’s lots of good ink dried onto it. (All you have to do is spritz the dried ink on the stencil and then place it onto the paper and again, let it dry. I can often get more than one “print” using this method. It’s a great way to make collage paper!) And then, step back and admire your lovely colors.
6.      To finish the lantern, I rolled the paper into a cylinder and used masking tape to hold it together on each end so that I could apply transparent tape down the “seam”. I also punched holes in one of them and used a bit of stenciled cloth to tie it closed. I think twine, jute, or even wire would be cool ways to close the lantern’s seam. I placed my lanterns on a decorative platter, but I think if you punch some holes in the top (probably three) you could use wire or string of some sort to hang the lanterns or string them together and hang them outside!


Friday, September 14, 2018

Stored in My Studio – Stencils & Then Some; Adding Pops of Color with Trena Brannon


Hello Beautiful People!

Today I’m sharing an idea for how to add pops of color to your space. Since all the colors are my favorite, it’s a challenge for me to pick one (or even a few) to fill my creative space. We moved last year and I’m still trying to decide what my space will look like – it changes a little every time I get inspired to organize. 

Once I saw the Japanese Influence stencil (coming soon), I got an idea of how to add color to my IKEA Alex drawers. I could see each one of the 12 squares as an independent design. To get color that really pops, for me alcohol inks are the way to go!


I'm also sharing a wooden piece I found from a local thrift store, Recycle Ann Arbor ReUse Center - that helps me organize. What's Old is New Again... I painted it, used stencils to personalize it and filled it in a way that helps me be more efficient when I’m creating greeting cards.


In this video, I show the steps of what I did to create the color pops and a tour of my creative space, including how I store my stencils. 


Supplies used:
Substrate:  Yupo white, a found piece of wood 
Paints: Alcohol Inks, Matisse and ColourArte acrylic paints, ZIG paint pen, Liquitex white gesso
Other: Liqutex Gloss Gel, palette knife, Krylon Kamr Varnish finishing spray, blending solution
Stencils: The January 2014 StencilClub Set: Peacock by Jessica Sporn, my own Brush Alphabet Stencil, L645.
The other stencil you see in the video will be released soon. It's "Japanese Influence" by Cynthia Silveri.


Thank you so much for reading and watching!!

Take care and STAY POSITIVE!Trena