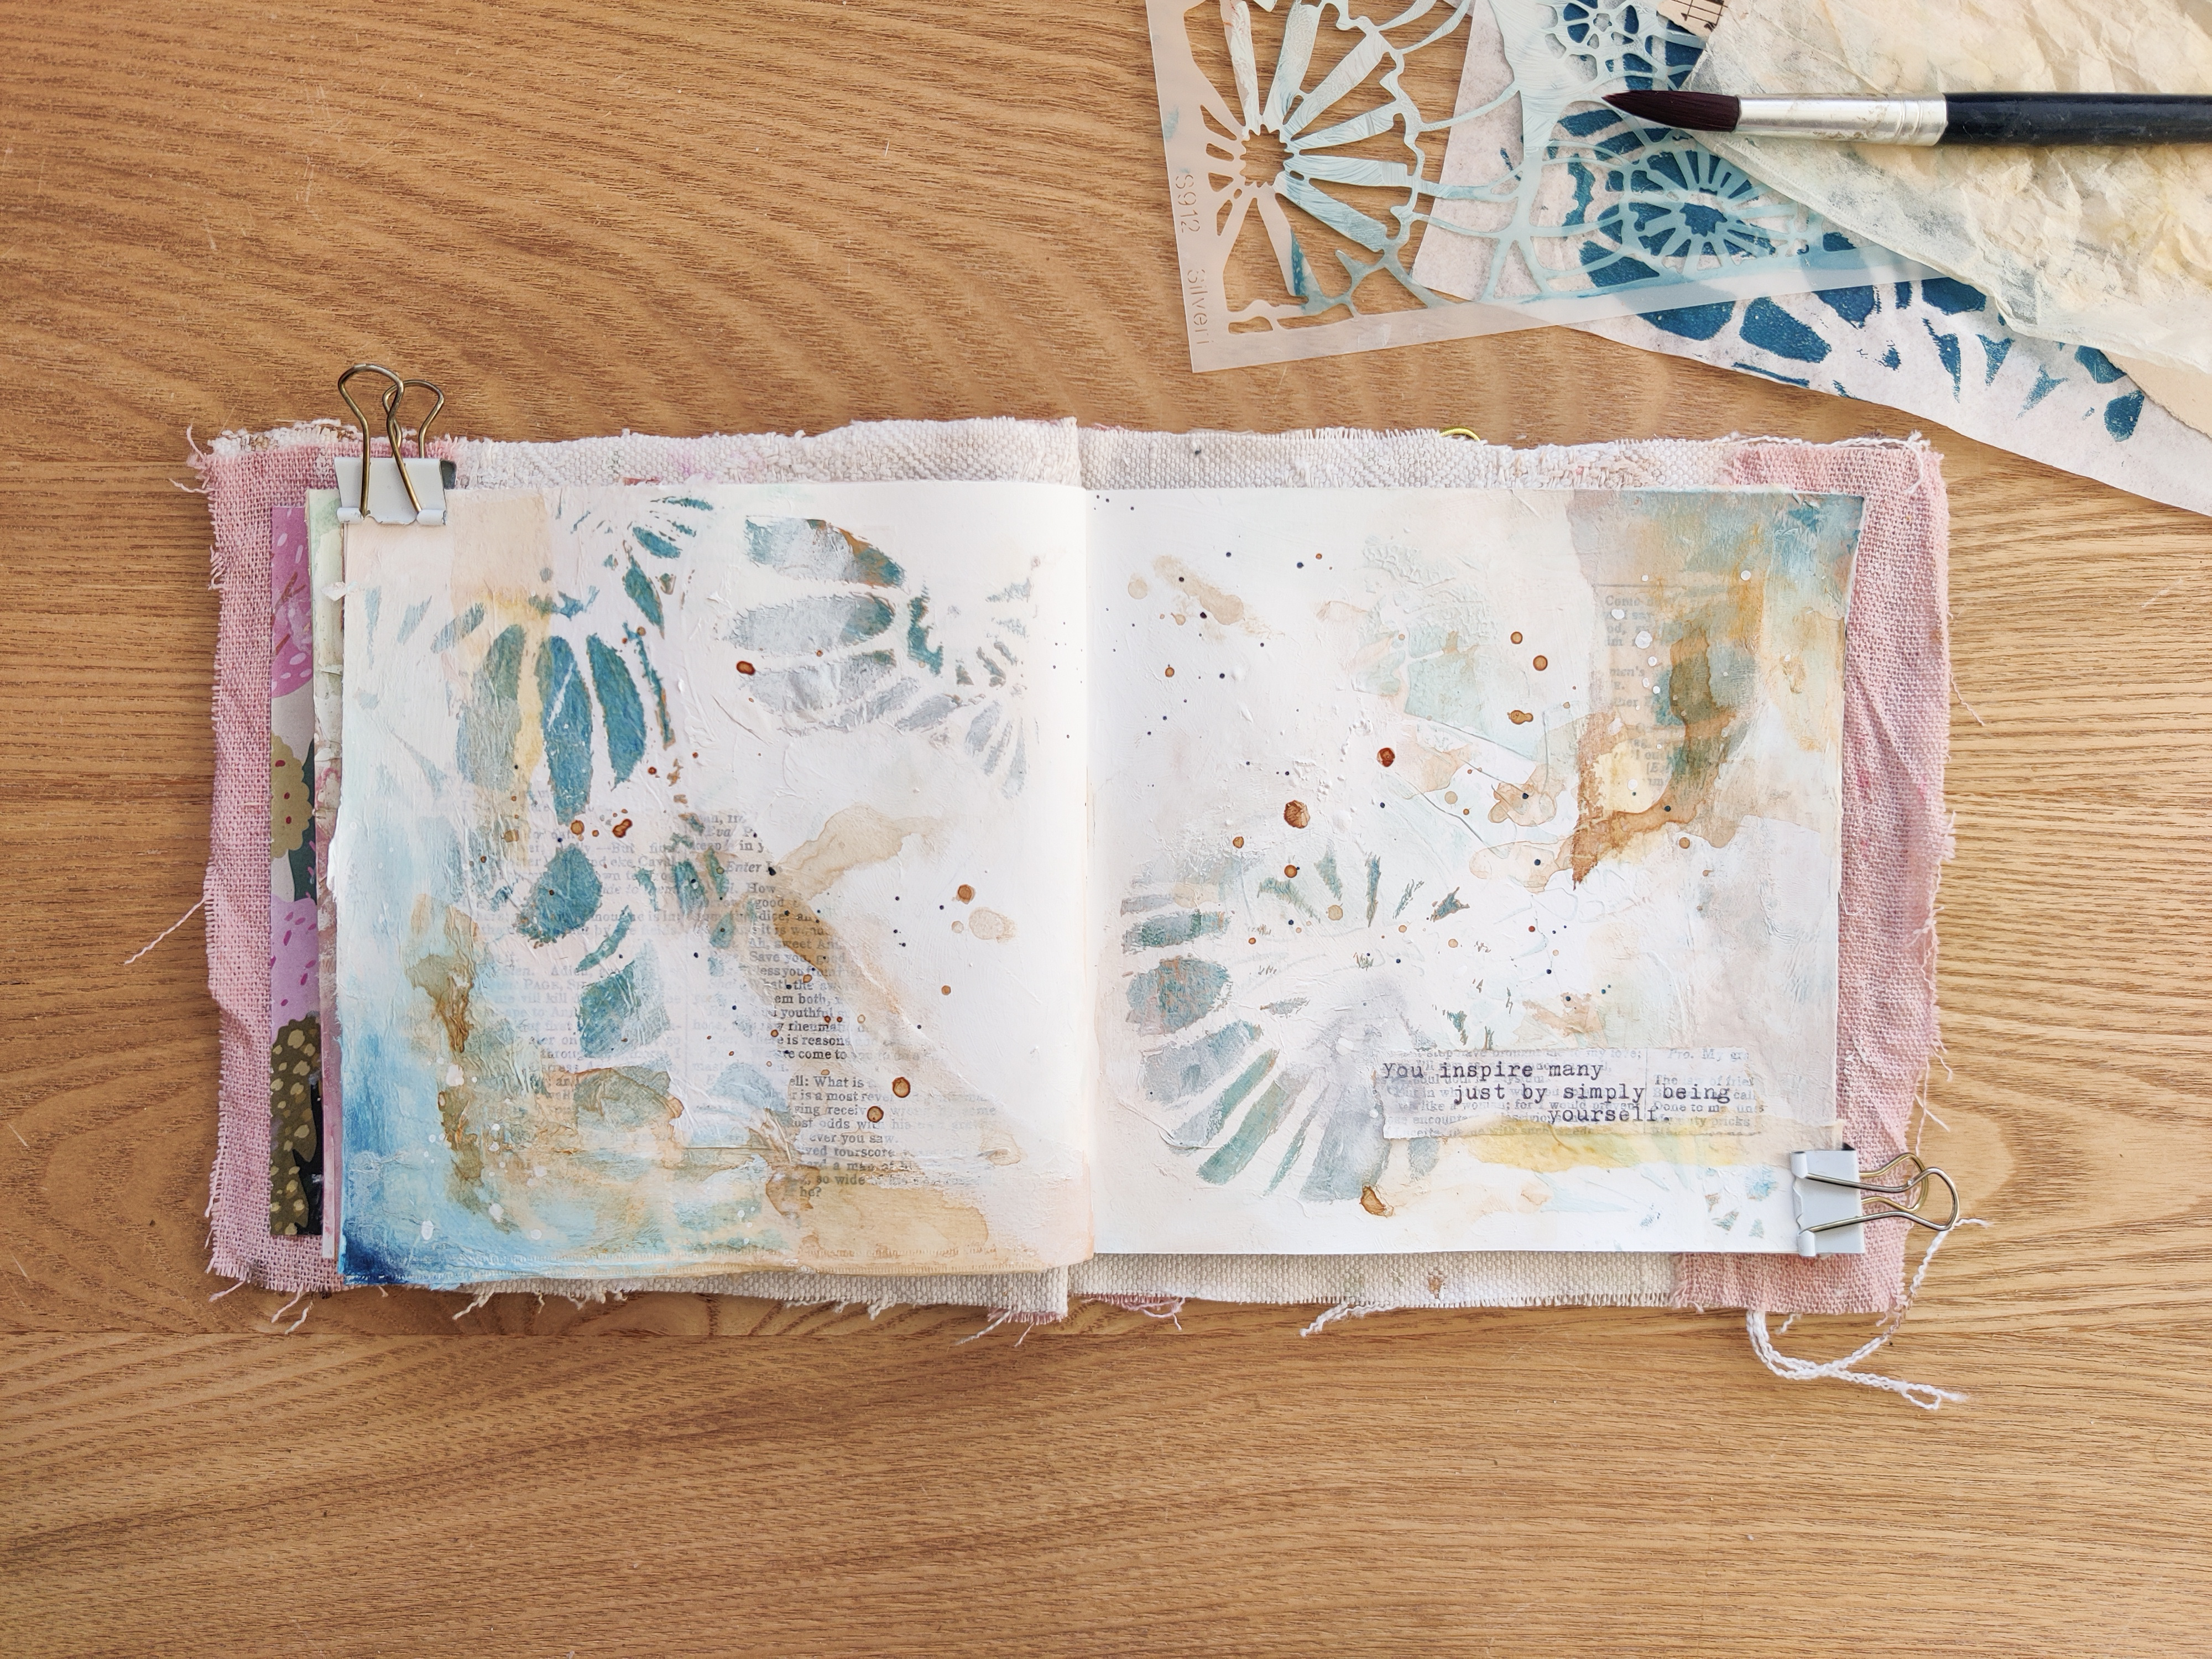
Showing posts with label mixedmedia. Show all posts

Friday, August 30, 2024

Slow Stitched Boho Birds


Hello creative friends,

As a stencil artist I always push my creative options with each stencil - what else can I create with this- and I so love the results with this fabulous stencil! 

Today’s project was an answer to that question.
Get ready to slow down and enjoy the meditative process of stencil art & slow stitching.

I am using Boho Birds stencil designed by Gwen Lafleur and her passion for creating collage animals in here art.
This stencil has three beautiful hand drawn birds as well as words and phrases making it the perfect addition to any stencil collection.

The Process:

With a pencil trace the outline of the bird ( I’m showing two here because we will be bird stuffing later!)
This will be the template for our bird base.
Trace the tail, the wing, beak and eye.
Feel free  to piece out as many and multiple pieces of each bird section- in my bird I also cut out a piece for the underbelly. 


Cut each piece and we will use them as templates on our fabric or papers.


Trace each piece onto your fabric pieces and cut.


Assemble the bird using a glue stick to temporarily tack down the pieces~ this will make it easier to stitch. 


Select your thread and start stitching.
Remember this is not about perfection so create stitches intuitively, some short some longer. 
Varied stitches will also add interest.
A variety of thread colours and densities can also be incorporated for further interest and dimension. I am using a crochet thread, feel free to use thread if your choice.
Once you are satisfied with the stitching - this little guy can be used as is in your art. 
If you want to use it as decor refer to the next steps.


To create a dimensional bird, grab the second base piece.
Use cotton, batting, tissue or like I did here a  dried baby wipe! (Nothing gets wasted) 

With the glue stick to adhere the top stitched piece to this base and join them together with stitching around the perimeter.


Watch the full process here YouTube


Supplies:
Stencil L628 Boho Birds 
Fabric or papers 
Needle & thread 
Pins
Cotton batting 


Let’s connect


Tuesday, December 27, 2022

Creanouk - Gell Press Poppy Seeds


Hi, you beautiful artist! Anouk here again to share another art journaling spread.  I hope you had a wonderful Christmas and are all ready a new art journaling process video!
This time I worked with the gorgeous stencil Poppy Seed Heads by Cynthia Silveri that I pressed on tissue paper with my Gel Press printing plate. I alway enjoy a gel printing session, they are just so relaxing! And in the end you'll have a stack of beautiful papers to use in your art journal! You can use these papers when you don't have a lot of time to be creative or to just get yourself inspired.

I build this page up by creating layers with the same stencil. I started with a light colour as a background layer and then I add the darker tissue paper print of the stencilling to create the foreground. I like to work this way to create an art journal spread with a little bit of depth. Sometimes I even add a third layer with modeling paste or gesso to create even more dimension. 
It can be scary to use one stencil multiple times, it can become quite busy if you overdue it. That's why I like to use my tissue paper prints when I'm building up a page with stencilling. The tissue paper is easier to control and to try out if you aren't sure of the outcome.

While I was filming this page I run out of Mod Podge. I almost cried. Ha! Life is tough with a newborn. I remembered that Matt Medium is also an adhesive so at the time it felt like a life saver. Little did I know that tissue paper and Matt Medium are not the best of friends. It dries very waxing in my opinion. So if you are watching this video and see me using Matt Medium for sticking down the tissue paper, I'll not recommend doing the same. I can't wait for my Mod Podge to arrive, because it's been a hard few days without.  


As you can see, the Poppy Seed Heads is such a nice little stencil to create layers with. I hope you enjoy the video from my process that I made for you! 

I wish you all a Happy New Year with lots of creativity!

Until next time.

Anouk


Productlist:
Handmade journal
Amsterdam Matt Medium 
Vintage Music and Book Paper
Amsterdam White Gesso
Amsterdam Titan Buff Deep Acrylic
Amsterdam Prussian Blue Acrylic
Sostrene Grene - Pale Green
Sostrene Grene - Gold
Tissue Paper
Tea Bags
Instant Coffee
Ranger - White Linnen Acrylic ink
Gel Press - A5 printing plate
Gel Press - Brayer
Typewriter


Thank you so much for reading my blog post. I hope that I have inspired you to create today! My name is Anouk or Creanouk on social media, and I'm an all-round creative from the Netherlands. I love art journaling because I can put my heart and soul into it. You can find my work on Instagram and Youtube.


Wednesday, November 2, 2022

Anouk (Creanouk) - Journal with me during naptime


Hello you beautiful artist! Anouk here to share an art journal page that I made in a journal that I've been calling my 'naptime' journal.


Our son is currently three months old, so my time to journal has become very limited to his naptime. If I'm lucky he sleeps around twenty minutes before he wakes up and needs my attention again. I've dedicated a small A6 junk journal for the few moments that I can spare journaling during the time that he sleeps.

The way that I work in this journal is very similar to my 5 minutes journal. I like to use big elements to fill up the page quickly and work in multiple but simple layers to create more depth. The only difference with this journal is that I don't limit myself to a certain amount of time. I'll keep this journal open on my desk so I can work on a page whenever I can.

For this page I used the Medallion stencil by Jessica Sporn and Rembrandt's Words by Carolyn Dube.


I picked out a colour scheme form my creative log book and prepped my page with some clear gesso. My naptime journal is made of tea dyed vintage papers so if I use clear gesso to prime the pages for any wet mediums.
The colour scheme I'm working with is Ultramarine Violet mixed with Titanium White, Heather from Dina Wakley, Napels Yellow Red and Napthol Red Deep mixed with Titanium White.


With the Ultramarine Violet mixed with Titanium White I stencil the Medallion stencil on the entire page. Using a big stencil on a small page really makes the statement I'm looking for when I'm journaling for only a few minutes. 


I wanted to create the feeling that the Medallion stencil would emerge from the bottom. So I glued down some book paper, tea bags and cardstock with Mod Podge Matt.


With the help of a pallet knife and my fingers I spread some white Gesso on the page. I used the white Gesso to make the collage blend in more and to make a few area's a little bit lighter. The Gesso also helps to create a nice texture for my next layer.


Currently my favourite part of journaling is to add some coffee. I know I'm addicted. During my pregnancy I got so sick from the smell off the coffee mixed with the old papers, but that didn't stopped me from using it on every single page. Ha! Luckily for me I can know use it again without any problems.


Now it's time to add some more colour! From my colour scheme I'm using Heather from Dina Wakley, Napels Yellow Red and Napthol Red Deep mixed with Titanium White. Applying it with my fingers to get that nice soft blended look.


I wanted to add a bit more detail to the bottom of the page, so with a bit of gesso I stencilled Rembrandt's Words.


For journaling I typed a quote on an old book page that I prepped with a layer of white Gesso. I really like how the letters from the book page are still peeking through the Gesso.


For the final finishing touch I hand stitched the edge of the right page.


Stencils:

Product List:
Handmade Journal
Book Paper
Dried Tea Bags and Fabrics
Mod Podge - Matt
Amsterdam - White Gesso
Amsterdam - Clear Gesso
Instant Coffee
Vintage Typewriter

Dina Wakley Acyrlic Paint - Heather
Amsterdam Acylic Paint - Ultramarine Violet
Amsterdam Acylic Paint - Napthol Red Deep
Amsterdam Acylic Paint - Napels Yellow Red
Amsterdam Acylic Paint - Titanium White


Thank you so much for reading my blog post. I hope that I have inspired you to create today! My name is Anouk or Creanouk on social media, and I'm an all-round creative from the Netherlands. I love art journaling because I can put my heart and soul into it. You can find my work on Instagram and Youtube.


Tuesday, October 12, 2021

Under the Tuscan Sun

I love the thought of wine, the unique wine labels, the rich, saturated color of a red, the curve of the glass, but it just doesn't agree with me. However, I do love to give wine or spirits and enjoy really doing it up for a special occasion. The big-box craft stores have gift cylinders and often discount them three to four times a year.  The one pictured below (left) was under a dollar.  There are also paper mĆ¢chĆ© ones that would work with this process. My inspiration for today's wine cylinder was Tuscany for its textures, colors, and of course, Chianti vineyards.


PART 1:

Any cylinder you choose should be prepped. I chose to prep with two different gessos: white and gold. If you want a white background, I would recommend doing two thin coats. I am partial to Liquitex Professional but any gesso should do the trick. Be sure each step is dry before you continue. Next, because I was grooving on my Tuscan idea, I added a coat of Daniel Smith Iridescent Gold gesso with a paper towel. (I have Mary Beth Shaw to thank for that obsession.  I will say that a tub lasts for quite a while.) The paper towel allowed for a very textured application. 


The thicker application took a little longer to dry, but when it was partially dry, I rolled it in a paper towel to create even more texture. Once dry,  I decided I liked the bits of white gesso peeking through in some parts. I added a few more of those spots with some leftover gesso.

PART 2:

There are many media choices for this project but I chose alcohol inks to add over the texture to keep the cylinder somewhat abstract. Any alcohol inks will do but today I chose Kielty inks (dark olive, slate blue/lavender, and burgundy) for their moodiness. I put out a white kitchen trash bag that will be our palette and chose two large stencils to put the ink through. I chose Wendy Brightbill's Floral Frolics, a collaged flowery feast of leaves, marks, and some more structured flowers interspersed, June Pfaff Daley's Early Art  2 Collection from June 2021Stencil Club, and Rae Missigman's ATC Mixup 2.


I placed the stencils side by side, uncapped my three colors, loaded one color to a felt applicator tool to add the inks through the stencil in a pouncing motion. Tip: pouncing is better than leaving the felt (or a brush) on the stencil as it will continue to bleed. I wanted a fairly crisp image so the pouncing motion was key. I did both stencils, waited 5 minutes, and then lifted to see the pattern. The next steps will transfer parts of the


Fill a spray bottle with 91% rubbing alcohol and lightly spray the first quarter of the palette.  Begin rolling the cylinder over the wet area. Repeat spraying and continue rolling. For more coverage, spray and repeat areas again without lifting the cylinder. I am looking to have marks that suggest. In the next process, we'll add more clarity. I used the circular-based stencil more for mark making. The last picture above shows what the cylinder looks like after this process. It could stay this way and appear very gestural or you can either paint some details yourself or use stencils to add some interest 
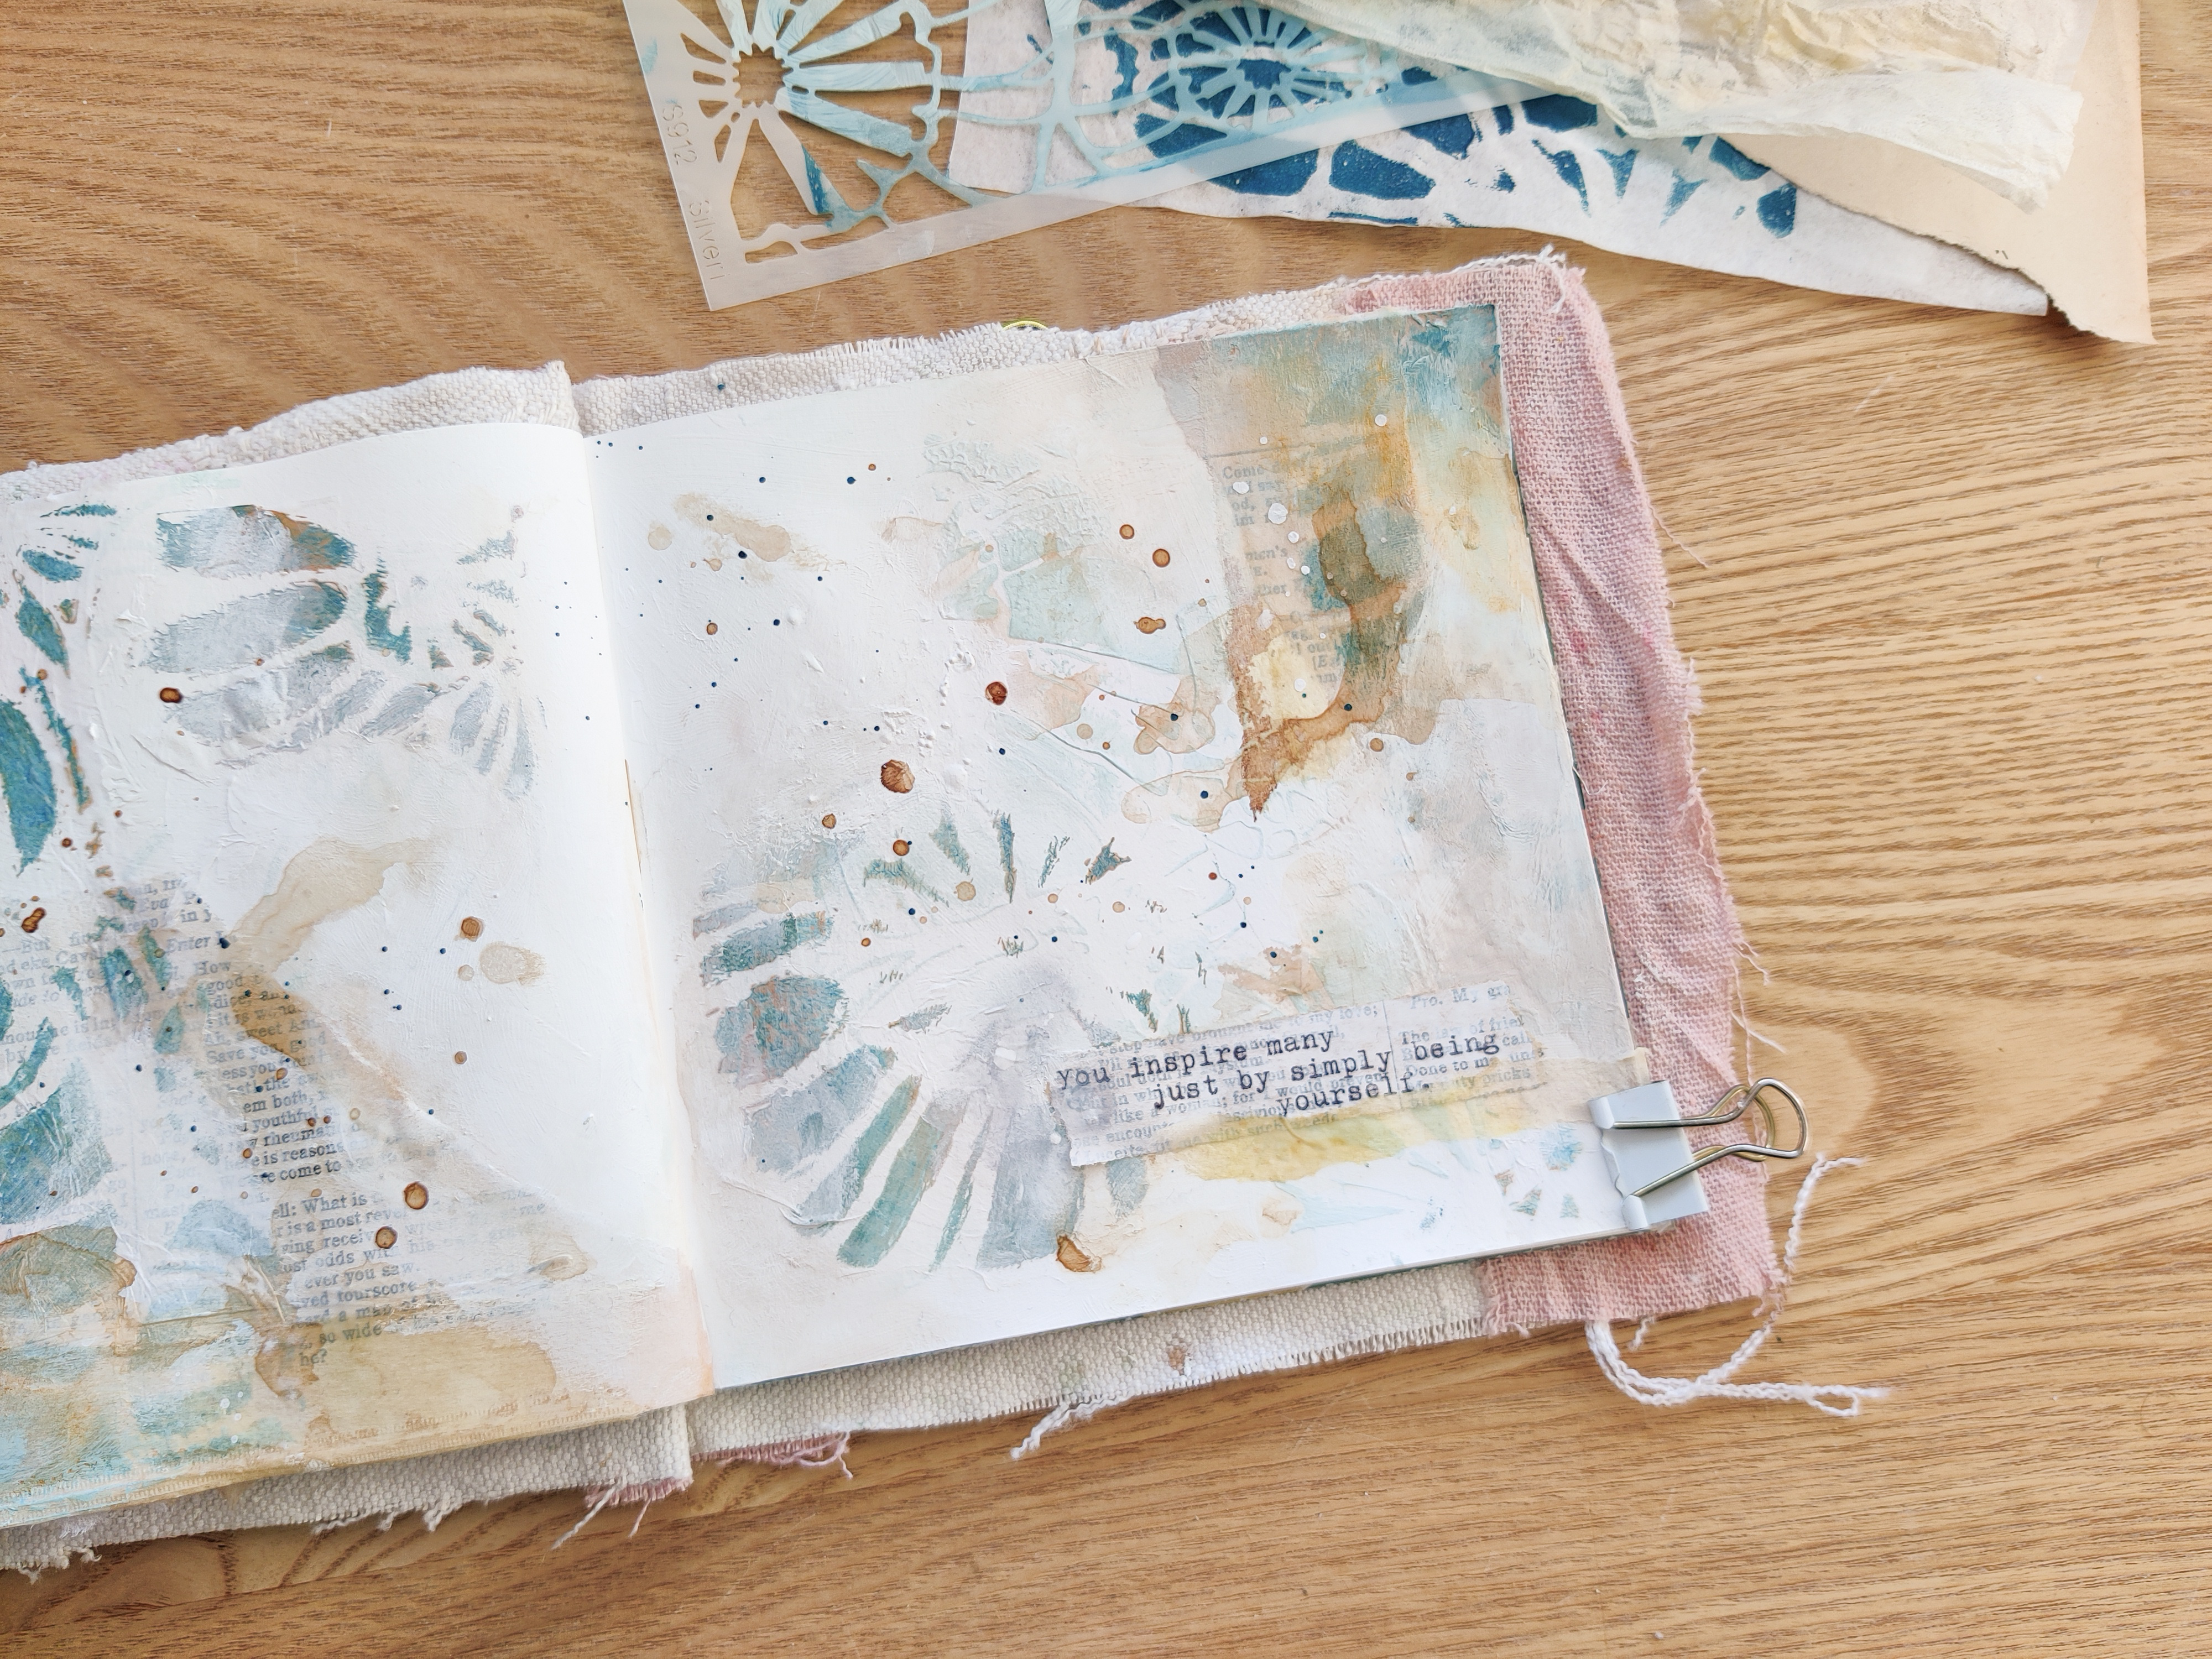
and bring some of the hinted areas into focus.Part 3 will showcase how to keep the abstract but add some detail.


PART 3: 

 I chose to use the same stencils again and added a small, organic mark-making one to finish the piece. I focused on adding leaves, a few flowers, and some marks from both stencils with the same inks, although I varied their saturation with some 91% rubbing alcohol on the felt. The same pouncing motion will add just the right amount of ink to the background. After that dried, I spot added some marks with white gesso and that tiny, ATC-sized stencil. I used a cosmetic sponge to apply (tap off excess onto a paper towel) to create a subtle pattern. 

In the picture below, I chose to showcase four parts that zoom in on the visual texture that begins in the deeply textural under layer and ends with the variegated top layers. 
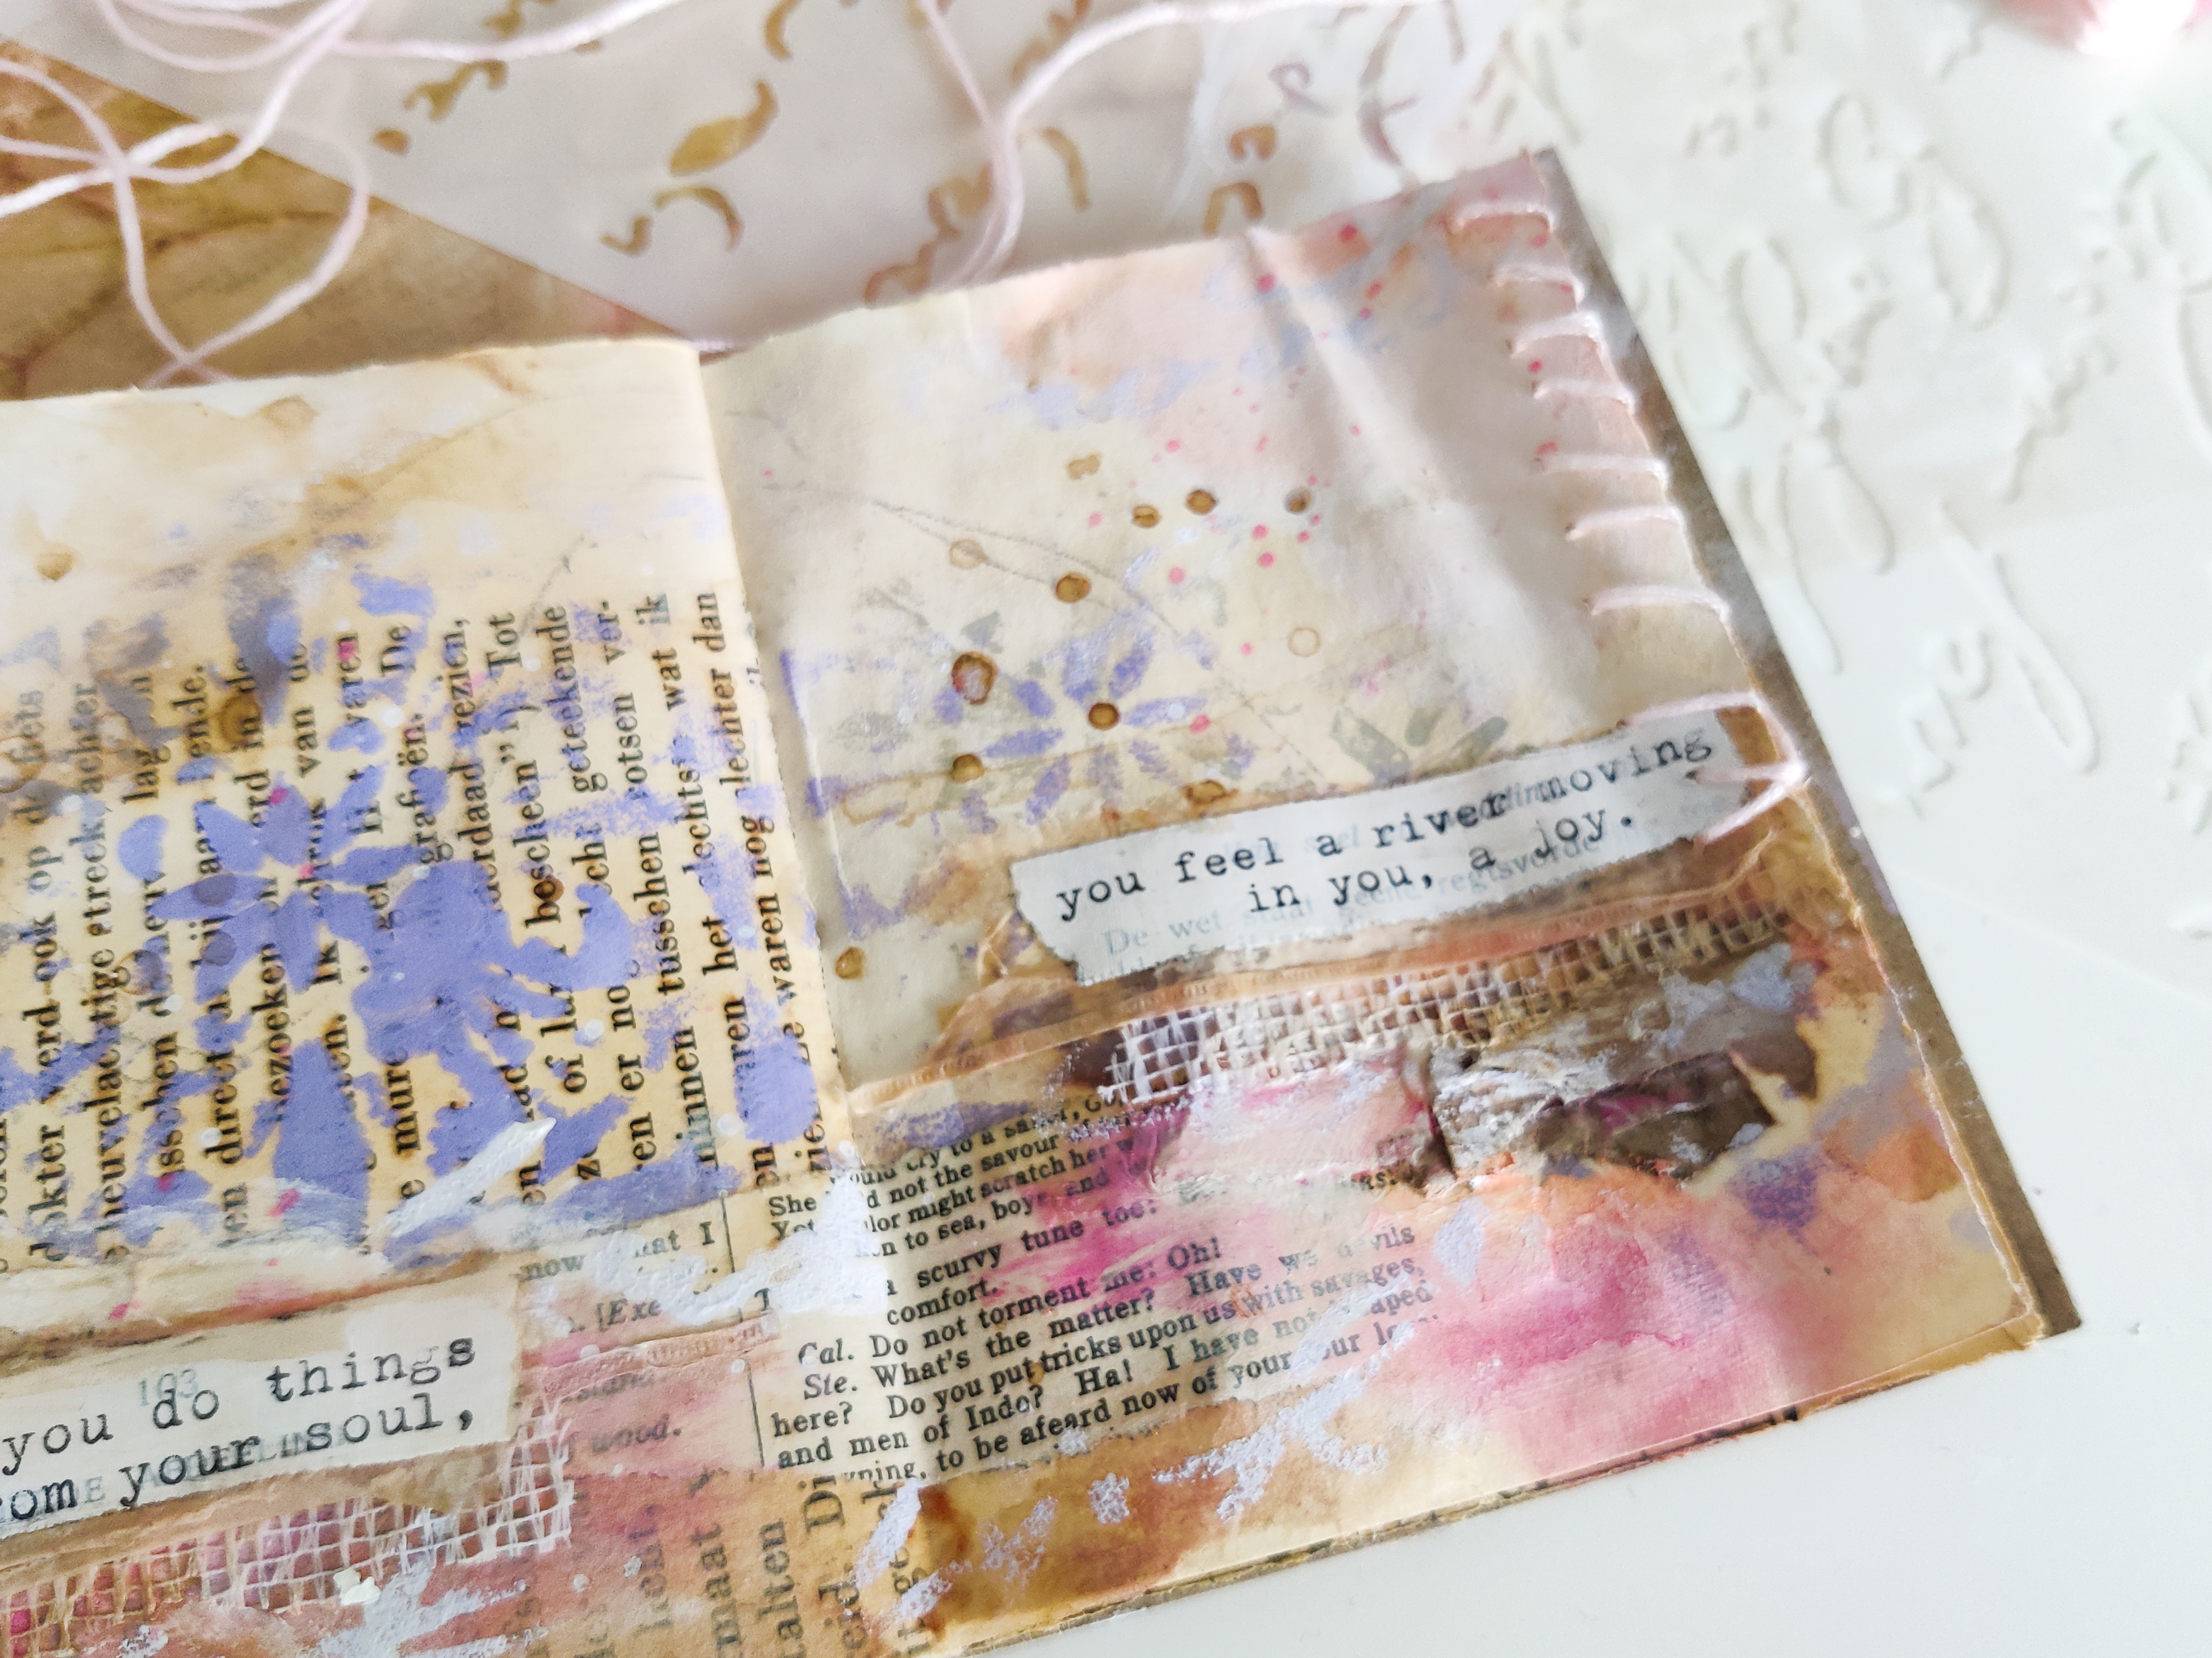


 I finished the project off with alcohol ink on the lid, a ribbon to hold it on when opened, and a matching gift tag pressed into the recently sprayed with 91% palette.  I do seal any work I give away that has alcohol ink with two products:  Kamar Varnish and UV Archival Satin, both by Krylon.  I do two thin coats of Kamar to isolate the alcohol ink and two coats of UV Archival.  It probably isn't necessary for this project, but I am a creature of habit.  


I do truly hope you enjoyed your mini trip to Tuscany. I'd love to be there right now. As always, it's my pleasure to share my visions with all of you. See you back on the blog in December!

xoxo

Nancy