Showing posts with label tissue paper. Show all posts

Monday, October 21, 2024

Spooky Stencilled tissue paper skins

Hello creative friends! 
So excited to share this spooky home decor craft with you.
It's perfect for Halloween, super easy and the best part versitile!   
Think, Christmas, Spring and Summer!! All you need are your favourite StencilGirl stencils and a few supplies.

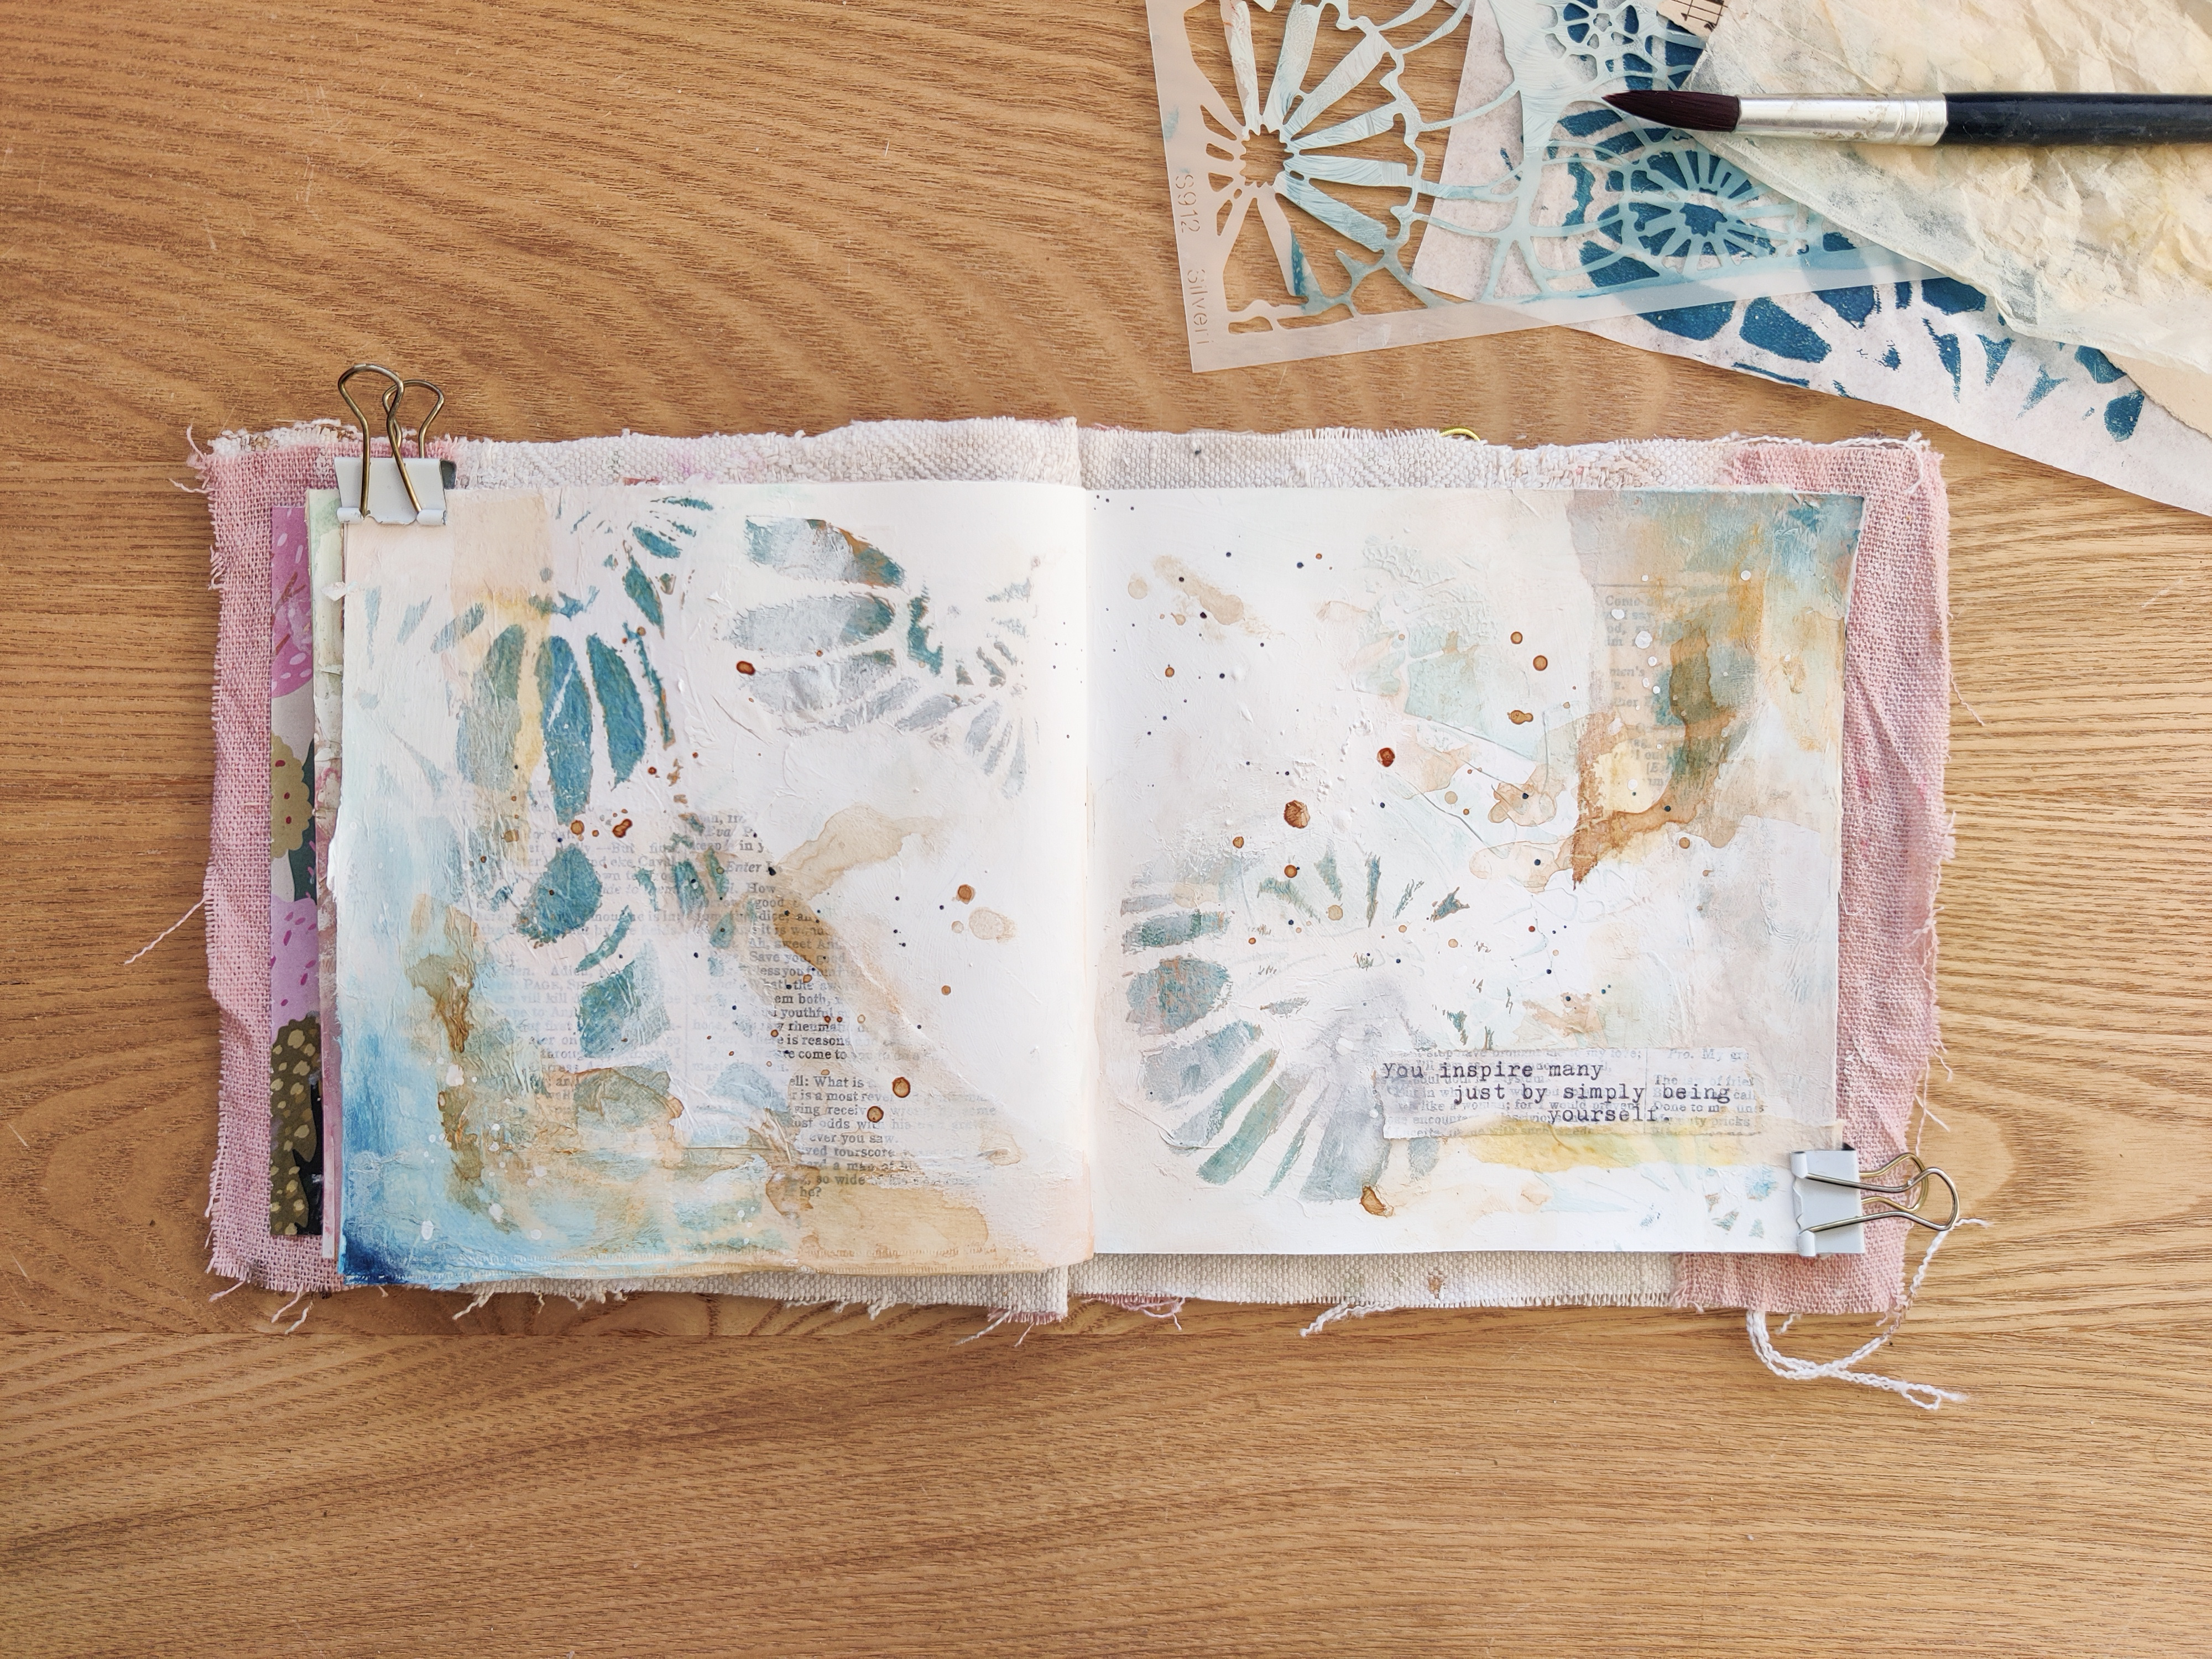
Today I will be creating with two fabulous stencils from my stash,   Alchemy designed by Laurie Mika and  Leafy Garden by Rae Missingman. This will be the first time they get paint on them and they are perfect for this project.

Also if this is your first time creating tissue skins YAY!! you will love them!!

A step by step video is also availble here~DIY Spooky Stencilled tissue paper skins

Let's get started.

Supply List:

Stencils~ Alchemy & Leafy Garden
ModPodge
Craft mat/waxpaper/pallet paper
Tissue paper 
Acrylic paint
Water spray bottle
Various sizes of embroidery hoops
Jenga blocks
Hot Glue 
Moss and nature (optional)

The Process:

  • Select either of the matt, wax paper sheet or pallet paper for the foundation.  What is required here is a non porous surface that the tissue can lay on without sticking
  • Spray water on to the surface (remeber a light mist is all that's needed) ensuring it is covered from end to end where the tissue will lay
  • Lay the tissue paper on top and smooth it so it is making contact with the water.  It will have lines and wrinkles and this is perfect!  Exactly what we are looking for

  • Once the paper is lightly saturated and with light strokes brush on the modpodge (if you happen to create a hole it's ok it will add to the spookiness!
  • Once covered allow to dry completly and if you are impatient like me take a blow dryer to it

  • Once dry grab the embroidery hoop and outline the inner circle on to the tissue~this will provide the guide for the stencil application

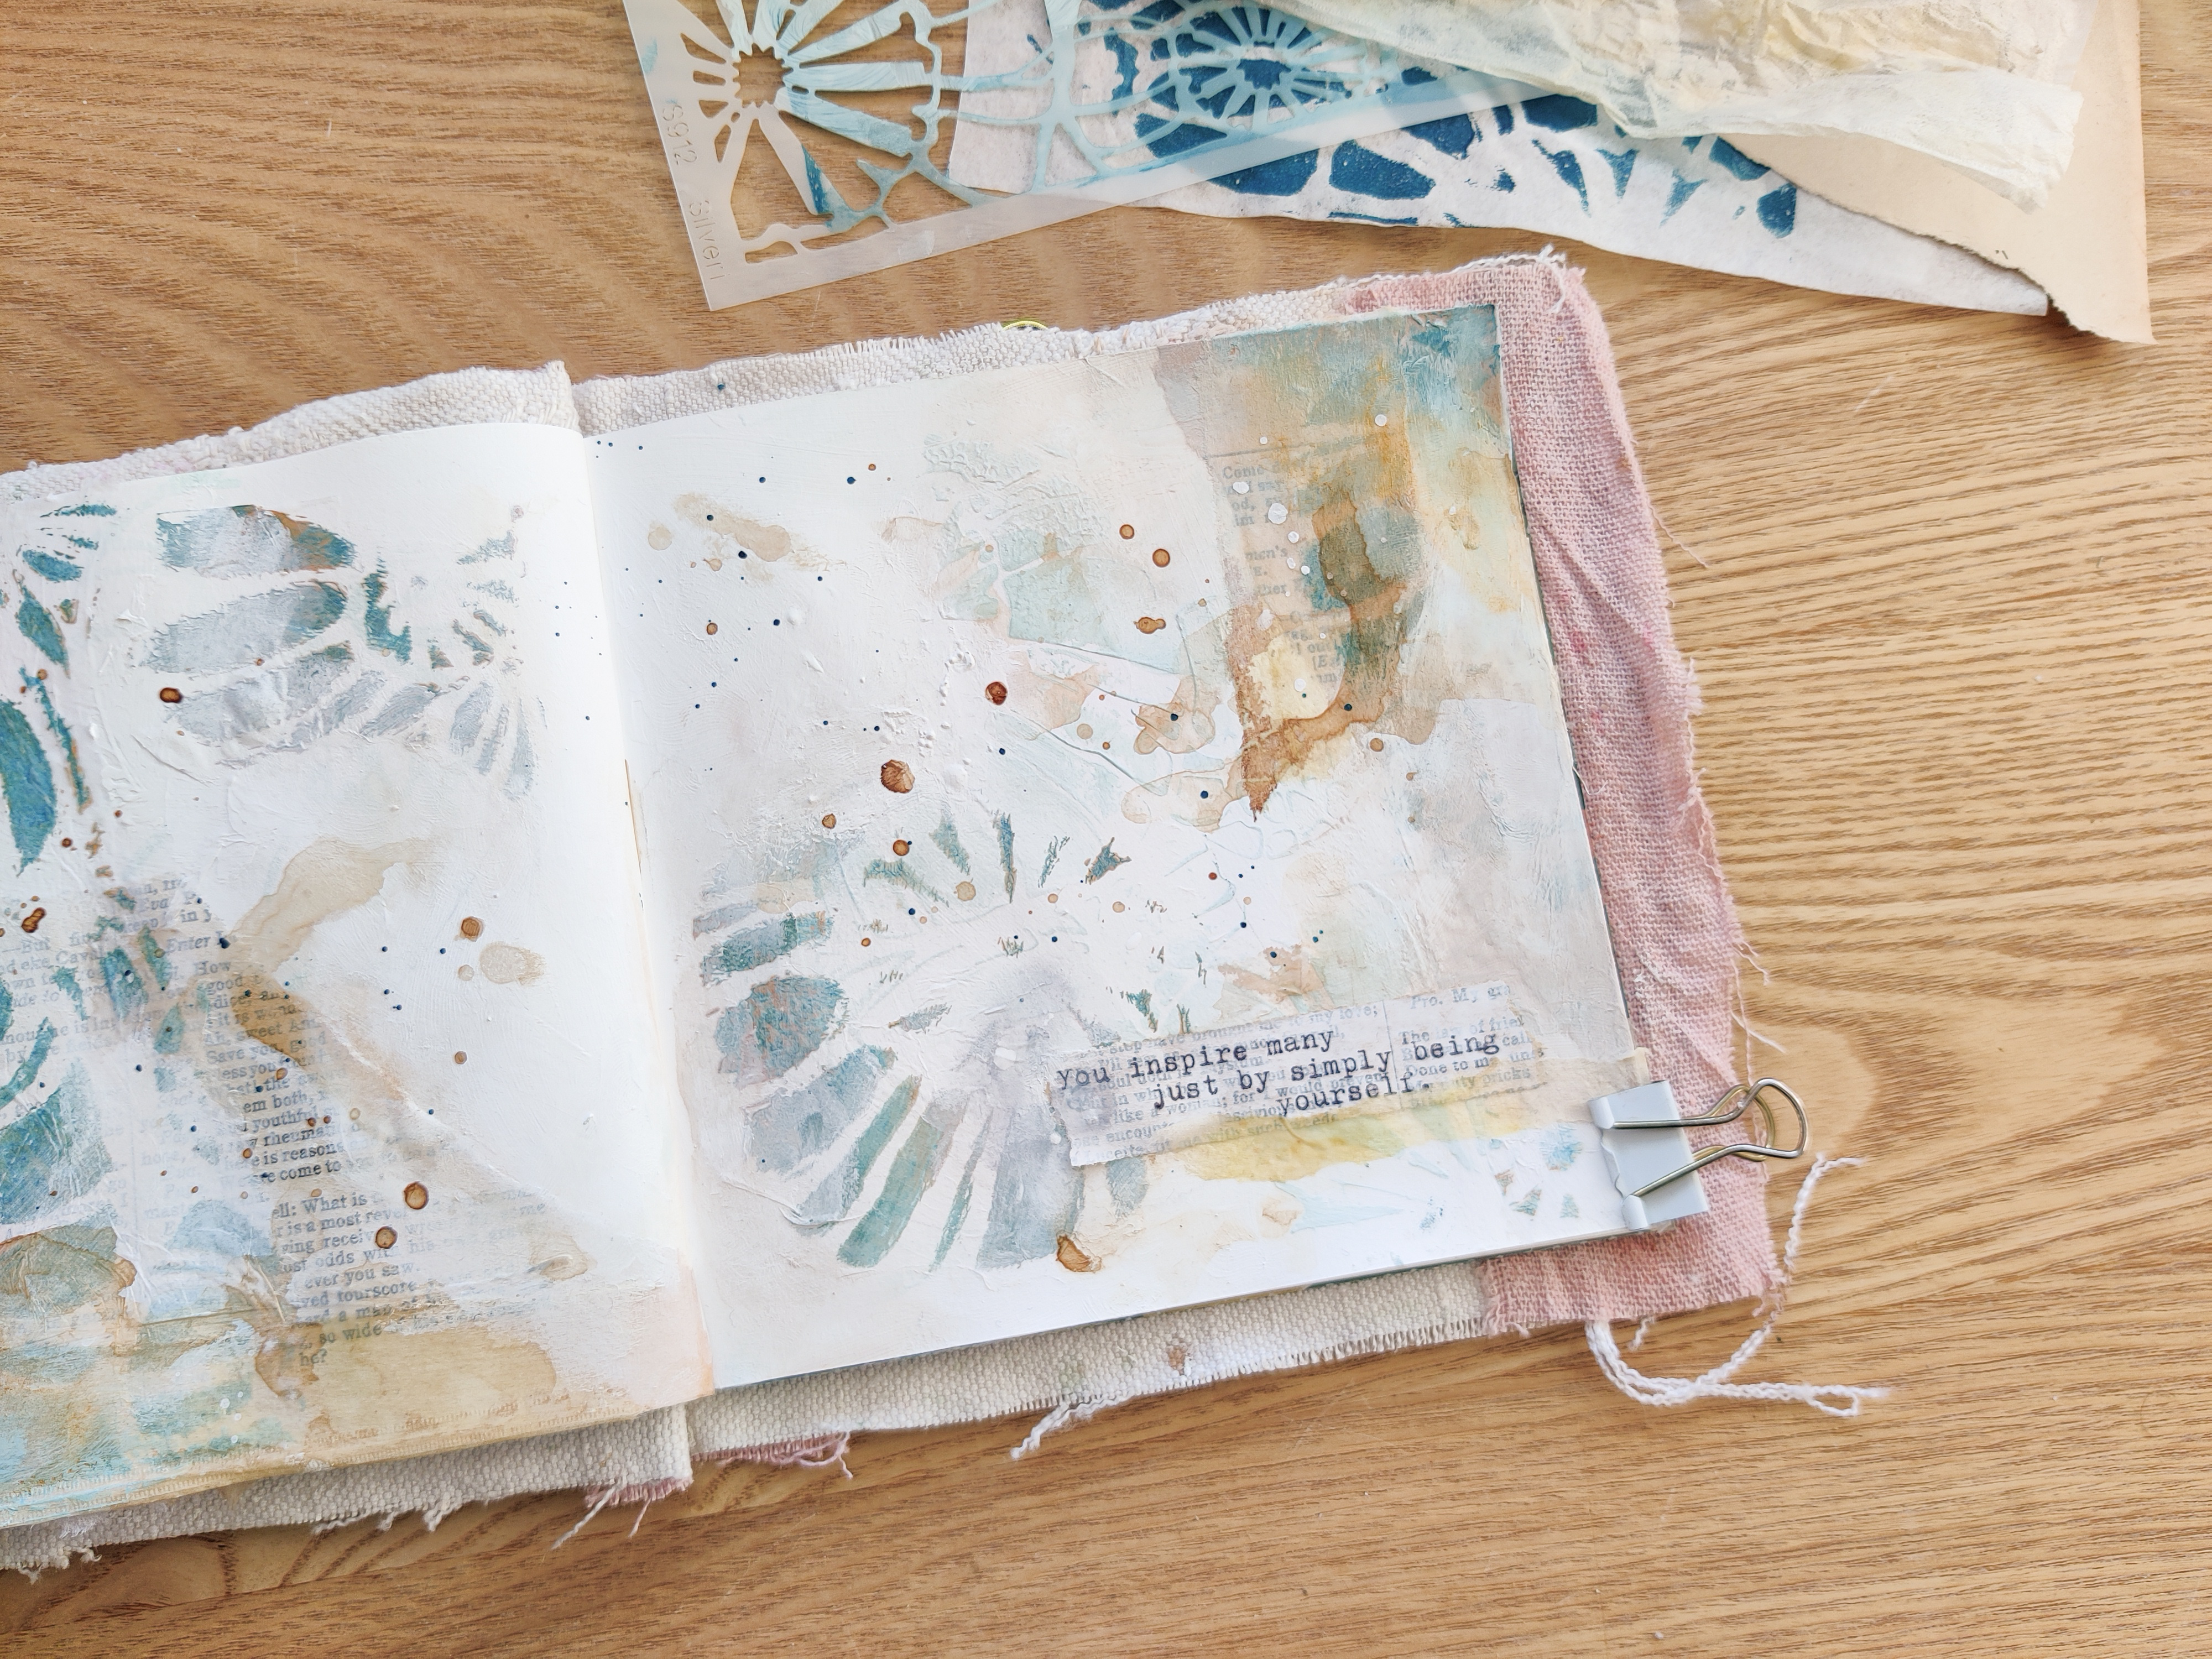
  • Select the stencil images and stencil them to the tissue. Remeber to allow enough extra tissue  diameter to be folded into the embroidery hoop if creating multiple on one piece of paper


  • Allow stencilled image to dry completly 
  • Once you have all the images on the tissue it's time to peel the tissue off the backing!! 
  • With slow pulls it should easily come off


  • Take apart the embroidery hoop placing the smaller piece on the bottom, tissue image in the center and the final larger hoop on top.  Press down and ensure the hoop is even all around. Tighten the screw on top and flip it over.  Cut any excess tissue off.
  • With the glue gun apply a dollop of glue on to the center of the jenga block and place and hold the hoop on it till it can stand on its own
  • Feel free to glue dry moss or nature around the base 
  • Note: these spooky hoops can also be hung so there is no need to do these last steps


I hope you enjoyed this tutorial, thank you for stopping by.

Tina


Tuesday, December 27, 2022

Creanouk - Gell Press Poppy Seeds


Hi, you beautiful artist! Anouk here again to share another art journaling spread.  I hope you had a wonderful Christmas and are all ready a new art journaling process video!
This time I worked with the gorgeous stencil Poppy Seed Heads by Cynthia Silveri that I pressed on tissue paper with my Gel Press printing plate. I alway enjoy a gel printing session, they are just so relaxing! And in the end you'll have a stack of beautiful papers to use in your art journal! You can use these papers when you don't have a lot of time to be creative or to just get yourself inspired.

I build this page up by creating layers with the same stencil. I started with a light colour as a background layer and then I add the darker tissue paper print of the stencilling to create the foreground. I like to work this way to create an art journal spread with a little bit of depth. Sometimes I even add a third layer with modeling paste or gesso to create even more dimension. 
It can be scary to use one stencil multiple times, it can become quite busy if you overdue it. That's why I like to use my tissue paper prints when I'm building up a page with stencilling. The tissue paper is easier to control and to try out if you aren't sure of the outcome.

While I was filming this page I run out of Mod Podge. I almost cried. Ha! Life is tough with a newborn. I remembered that Matt Medium is also an adhesive so at the time it felt like a life saver. Little did I know that tissue paper and Matt Medium are not the best of friends. It dries very waxing in my opinion. So if you are watching this video and see me using Matt Medium for sticking down the tissue paper, I'll not recommend doing the same. I can't wait for my Mod Podge to arrive, because it's been a hard few days without.  


As you can see, the Poppy Seed Heads is such a nice little stencil to create layers with. I hope you enjoy the video from my process that I made for you! 

I wish you all a Happy New Year with lots of creativity!

Until next time.

Anouk


Productlist:
Handmade journal
Amsterdam Matt Medium 
Vintage Music and Book Paper
Amsterdam White Gesso
Amsterdam Titan Buff Deep Acrylic
Amsterdam Prussian Blue Acrylic
Sostrene Grene - Pale Green
Sostrene Grene - Gold
Tissue Paper
Tea Bags
Instant Coffee
Ranger - White Linnen Acrylic ink
Gel Press - A5 printing plate
Gel Press - Brayer
Typewriter


Thank you so much for reading my blog post. I hope that I have inspired you to create today! My name is Anouk or Creanouk on social media, and I'm an all-round creative from the Netherlands. I love art journaling because I can put my heart and soul into it. You can find my work on Instagram and Youtube.