Hi friends! I always enjoy a good gel plate printing sesh and can easily loose myself in the process of pulling prints for hours on end. I have small gel plates, large plates, different shaped plates, and even different brands of gel printing plates. And you know what, I enjoy them all.
Today I'm going to share how how I created a couple of greeting cards, using a 4" round gel plate.
I started by placing 2 plain white greeting cards on my printing area, with the 4" gel plate in the middle. Since I planned to work on two multi-layered cards simultaneously, I made sure that the closed edge, or the fold of the greeting cards, faced towards the gel plate and that they were spaced far enough apart to allow me to open first one card, then the other.
Once I was happy with the placement of the cards, I used a bit of washi tape to tape the open edge down to my work surface. This helps ensure that the cards stay in place and that the gel plate registers in the same spot on the greeting cards with each layer.
Using my brayer, I added a very light layer of acrylic to my plate.
I placed the
Circles Circles stencil on top of it and brought down the cover of one of my greeting cards to pull the first print.
I then removed the stencil and brought down the cover of the other greeting card to pull a ghost print. I just love ghost prints. You can see what a different look you get between the original and ghost.
Next I used an August 2014 StencilClub stencil from MaryBeth Shaw's Private Collection 14.2 and repeated the process.
Again, getting very different looks with the original pull and the ghost print.
Alternating between the two greeting cards and adding in different colors of paint, I repeated the steps with the
Bittersweet stencil.
Keeping with the round, or circle vibe I had going on, next I used the
Dancing Lights stencil and continued to build up my prints, layer after layer.
Next I decided to add in some white with the
Spring Bloom Collage 3 stencil.
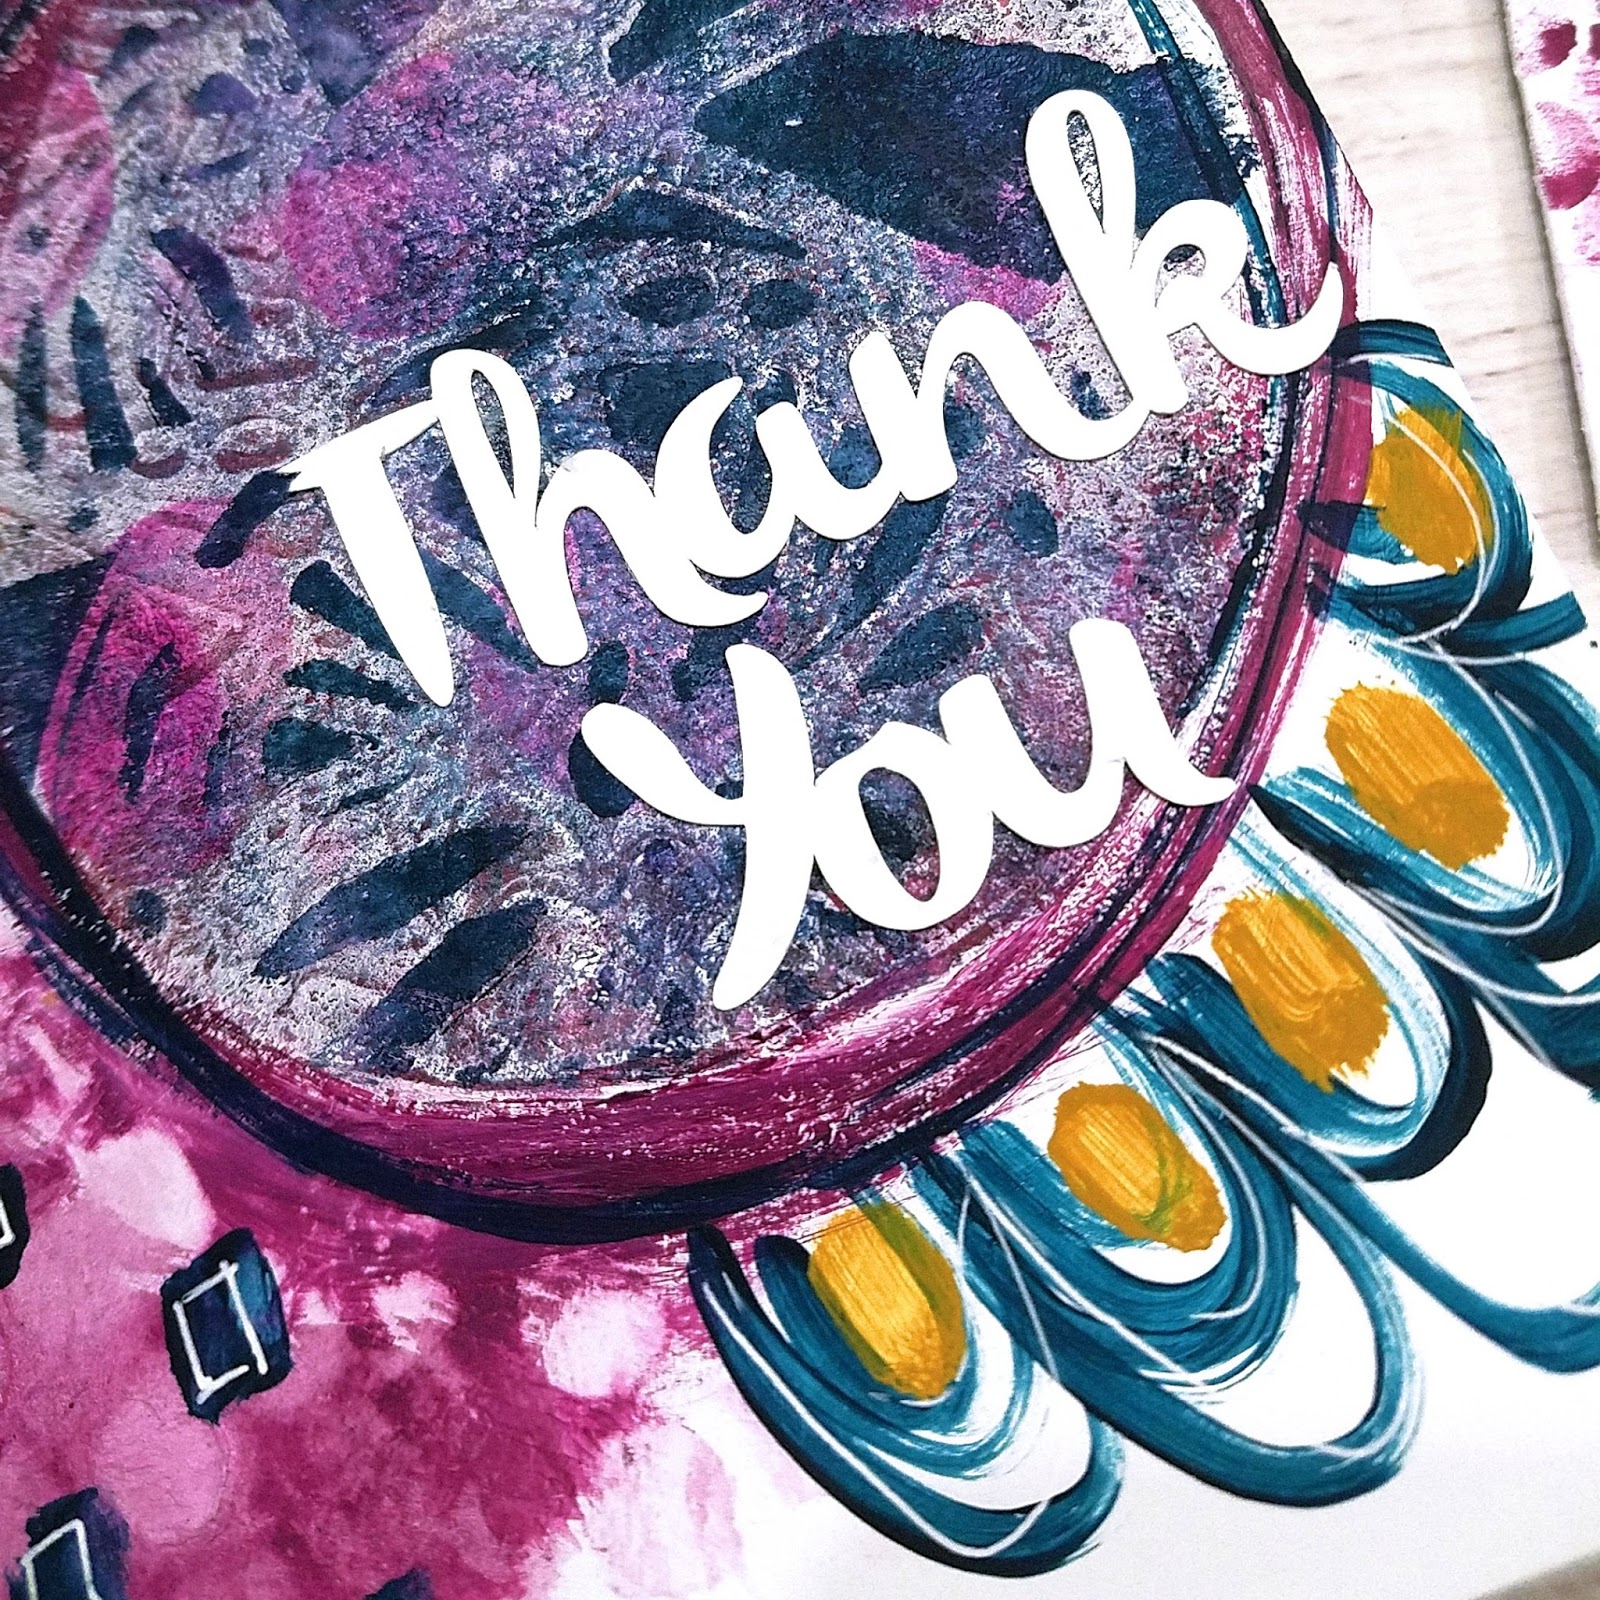
With my mono prints done, I added a few doodles and a bit of mark making, using more acrylic paint, to grunge up my cards.
To finish them off, I added some pen work and used my die cutting machine to cut out a sentiment for each card.
Thanks for joining me for some gel printing fun. I hope I've inspired you to grab yours and pull a few prints of your own.
Wishing you a week full of art and full of whimsy.
xo, Belen


No comments:
Post a Comment
If you are entering a GIVEAWAY, please add your email address in the event we need to contact you.
To avoid SPAM, please write it like this:
marybeth (at) stencilgirltalk (dot com)
Thank You!