
Hello Beautiful Creative People,
Kiala back again with an idea that I think will make you smile.
Have you ever wished that you had a quick and handy reference book with all of the many StencilGirl® stencils you've happily accumulate?
I have that thought every time I reach for my stack of stencils. In this tutorial I'll show you what I'm doing to create a quick reference of the more than 200 stencils I own.

This little project started with my love for cards. I thought I would make one card for each stencil I own. After making 20 of them, I realized I was going to need a container for them. That's when my bookbinding radar lit up.
I gathered my supplies and began:
- Stencils -- All of them!!!!
- Acrylic Paints
- Chipboard
- Paper -- I used Mixed media paper cut to 3.5 x 4 2/8 cards.
- Makeup sponge
- White washi tape
- Sakura Gelly Roll in Black
- A piece of old art from my stash
- Crop-a-dile hole puncher
- Single hole punch
- Utility knife (for cutting your boards)
- Ruler
- Pencil
Step One: Cut Your Card
I started with a 14 x 17 sheet of Canson Mix Media paper. I folded it in half and kept reducing it to half until I had a size I liked and that I thought would give me enough of the stencil image to be able to identify the stencil easily.

Step Two: Mask A Strip at the Bottom of the Card(s)
I used a 3/8 inch wide piece of white washi tape that can be easily removed after I stencil the image. The tape helps keep a strip of the card white so I can write the details of the stencil on it after the paint dries.

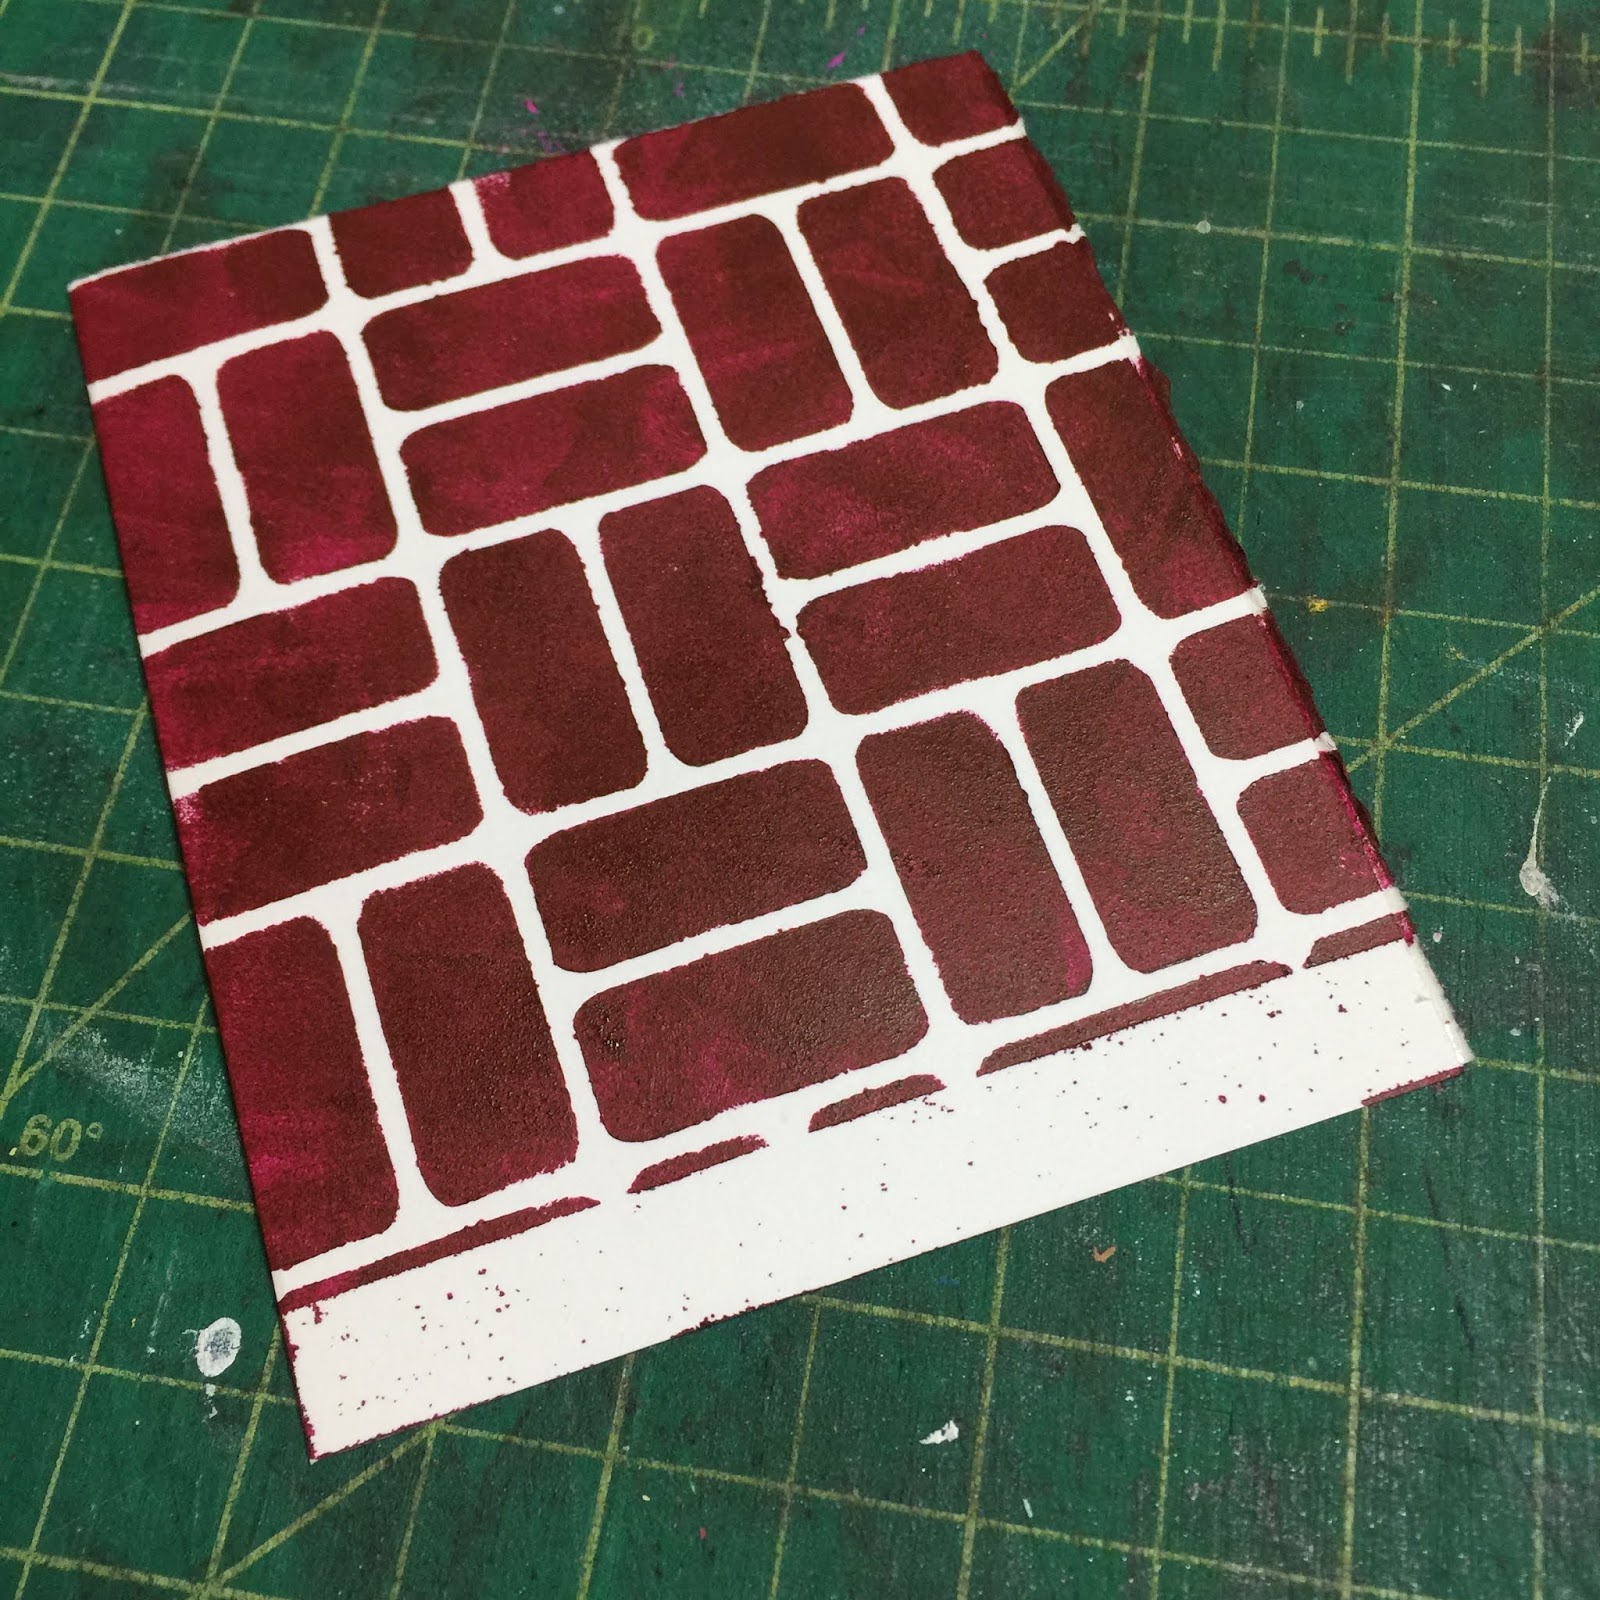
Step Three: Stencil the entire card (or a portion -- based on the stencil).
I like the look of having the entire card covered with the stencil (except for the strip of course). I used my makeup sponge, but you could also use spray inks for this step if you prefer. I only stenciled one side of my cards, but you could totally do a different stencil on the back. The way this book works, it would be okay to have something on the front and the back of the card. I think I may have to do that so that my stack of cards doesn't get too thick.


Step Four: Let the paint dry and remove the tape.
Step Five: Add stencil info to the white strip.
I used a black Sakura Gelli Roll Pen in 06 tip.


Step Six: Punch Holes in the Cards
I used a single hole punch for the cards and a Crop-a-dile for the chipboard.


Step Seven: Make a hard cover for your book
I used book board for my cover, but you can use chipboard or the hard backing from an empty paper pad. Basically anything that will behave like a hard cover for the book.

I covered my boards with an old piece of art paper that was in my collage stash. I then added the StencilGirl® logo stencil to the front cover for an added element of pride!!

Step Eight: Assemble the book
This book structure is held together by a screw post that goes through the holes I made in the top left corner of my book. I like this mechanism because it allows the cards to swing in and out so I can see them easily AND it unscrews so that I can add more cards as I accumulate more stencils. Let's face it, I WILL accumulate more StencilGirl® stencils :-).
The screw posts can also be extended by purchasing the extension pack, thus allowing for even more cards.


Easy Peasy!!! You've got yourself a reference book for your stencils. You can add to it periodically. It took me less than 20 minutes to stencil 20 cards -- so that's about 1 minute per card -- and that includes the time for drying and adding the name to the cards.
You might also consider how you want to organize them. There are lots of ways:
- Alpha by name of the stencil.
- Alpha by name of the designer.
- Numerically by the number in the StencilGirl® shop.
- In order of most used to least used.
- In order of size of the actual stencil.
- You could group them by which ones are from StencilClub versus not StencilClub.
- Your own random way of organizing your stuff.
Another thing I may do when I have them all done is add in section divider cards. White cards with headings on them, like -- name of designer, stencil club section, etc.
I'm curious to hear if you decide to make your own set of stenciled reference cards. Share your images with us on social media.
Until our next bookbinding adventure...keep stenciling!!!
xo
Kiala
STENCILS PICTURED:
Faces in the Crowd by Jennifer Evans
Soulful Scribbles by Traci Bautista
Spring Garlic by Daniella Woolf
Flicks by Lizzy Mayne
Pixels by Rae Missigan
Primitive Wedges by Terri Stegmiller
Corrugated Lines by Lizzy Mayne
Puddles by Rae Missigan
Basket by Daniella Woolf
Basket Weave Brick by Lizzy Mayne
Love this whole idea!!!!
ReplyDeleteThis is brilliant. I know what I'll be doing this week!
ReplyDeleteLove this!
ReplyDeleteFantastic idea - don't know why it never occurred to me, Kiala!
ReplyDeleteThank you for this brilliant idea!
ReplyDeleteWonderful idea! Love the screw punch idea, that’s something I have not heard of before.
ReplyDeleteLove this idea! Did you make the Stencil Girl logo stencil?
ReplyDeleteGreat Idea! I already have my stencils organized by categories. I'm going to work my categories into separate books. Using the screw posts is a perfect choice! Expandable and easily flipped through. LOVE this idea!
ReplyDelete