
Standing Together
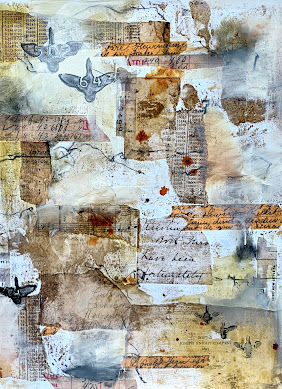 |
| original collage - master background |
With a laser print of the collage, I used Valerie Sjodin's Figures Couples stencil and mask set (L730) and inked one of the larger single figures four times on the back of the paper - two facing left, two facing right - so I could cut them out. Looking at the stencil design, I think this may be intended to be a male figure, but to me it reads as simply a human figure. The closed posture gives it a monumental quality that I like. It's very still, very solid, very stable, like some of the earliest figural sculptures. On its own, it reads as a generic human figure, and I use it quite often. I made a happy accident when inking these - the paper was thin and the ink was orange, so it bled through and added yet another color change to the paper. I cut them out and had four different but similar human figures.

Now, we are fortunate that so many StencilGirl® stencils come in more than one size, but they don't come in more than two sizes, for the most part. Again turning to digital tools, I composed a crowd by layering and resizing these four figures. I used Procreate, a powerful but fairly intuitive app that allows you to layer images one over the other. I used the original collage as a background and kept adding and layering the figures on top, making the figures farthest away somewhat fainter, but always keeping the heads aligned. If you recall from one of my earlier columns in this series, keeping the eye-line of all the figures consistent allows them to occupy the same plane extending backwards toward the horizon and visually unites them with the viewer. Back in DistressedFx, I added some digital birds and tinkered a bit more with textures and tones. Honestly, I lost track of how many times I digitally altered the colors! There's something so addictive about pushing those digital sliders to adjust brightness, contrast, hue, temperature, vibrance, sharpness, etc. etc.....
At this stage I printed it and collaged it to an 8x8 cradled pine board, and then let it sit for a while so I could contemplate what to do next, as I felt it lacked a central focus. I debated adding text, but in the end, decided it just needed one dominant figure, so I resized the figures digitally again and printed out my focal point. Placement was tricky - where exactly does the head belong in this crowd? It's not the tops of the heads that need to fall on the same line, but the eyes, so I figured the clear space in the middle would do the trick. If you want to review this principle, see my column from November 11, 2021. In order to create a bit of tonal contrast with the rest of the crowd I added some ink (real ink, not digital!) and some texture using Zippy, by Daniella Woolf (S352). Once I added it to the crowd I felt the composition was complete. I hope you have enjoyed my all my Faces & Figures columns - next time, I start a new theme, but for now, let's relish the satisfaction of all standing together, united.

Stencils used in this project
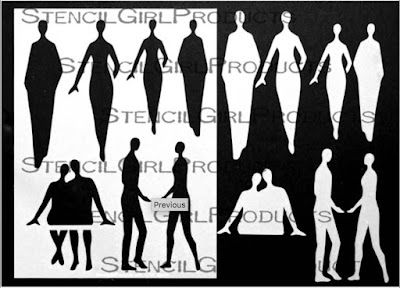 |
| Figures Couples by Valerie Sjodin L730 |
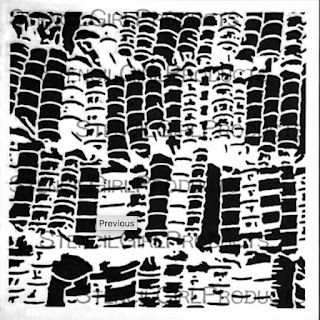 |
| Zippy by Daniella Woolf S352 |
 |
| Flock by Cat Kerr S854 |
Hi. I was just curious what type of paper you print on? I am seeing a lot people doing the actual design digitially then putting it on paper. Do you have anything that would teach this process? Thank you.
ReplyDeleteHi Sher - I just print on regular computer paper. If you download the apps I cited and just start tinkering with them you'll find out all the cool things you can do. There are lots of tutorials on-line, I believe. They are pretty intuitive. Have fun!
ReplyDeleteThank you.
DeleteBeautiful and inspirational piece for your final Faces and Figures entry. I've enjoyed this series.
ReplyDelete