Hi, everyone! Laurie Mika here! Today is Cinco de Mayo, the fifth of May, which is a celebration of the Mexican Army’s victory over the French at the Battle of Puebla on this date in 1862. While the holiday is a relatively minor one in Mexico, here in the United States, this holiday has evolved into a beloved commemoration of Mexican heritage. Being a lover of Mexican culture and traditions, I thought today’s blogpost would help celebrate Cinco de Mayo by focusing on handmade polymer “Milagros”.
Milagros, which literally translates to miracles, are tiny, tin folk art charms that are used for healing purposes to give thanks for answered prayers. People pin individual milagros to the fabric of a saint or they can also be nailed onto churches. Sometimes these little charms are carried with people to remind them of their prayer for healing or gratitude. They come in a variety of shapes and sizes and often depict body parts which are often in need of healing.
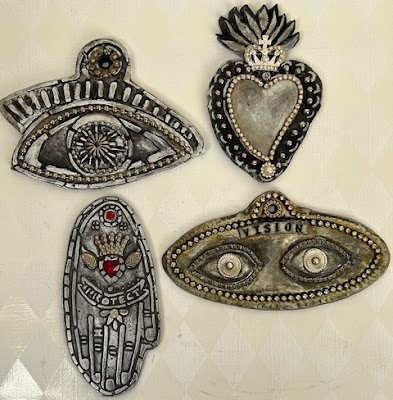
My Milagros were created using polymer clay and my Milagros and Sacred Hearts stencil sets.
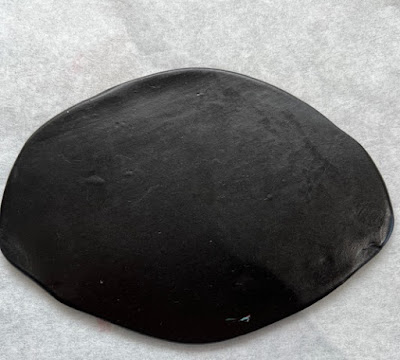
I am showing two different ways to use your stencils with polymer clay.To begin with you will need to condition a 2 ounce package of polymer clay by kneading the clay until it is soft. Next you will roll out a slab of clay (using a rolling pin) to about 1/4 inch thick. I roll out my clay on wax paper so it doesn’t stick to my work surface.
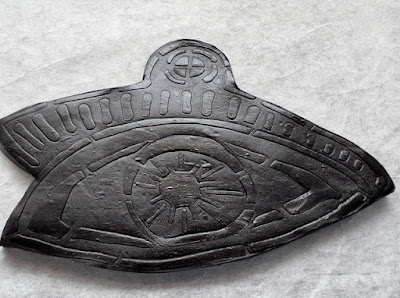
For an embossed stencil look, lay your stencil on your slab and push down lightly to set.
Then use your rolling pin to roll over the stencil applying firm pressure to “emboss” the design onto your clay surface.
Use a clay scalpel or an exacto knife to cut out the design from the clay slab.
If you would like your Milagros to hang on the wall, you will want to use a skewer or straw to push through the clay to create a hole. Next with a very light touch, use silver Rub n’ Buff to touch the surface of the embossed design and bring out the pattern.
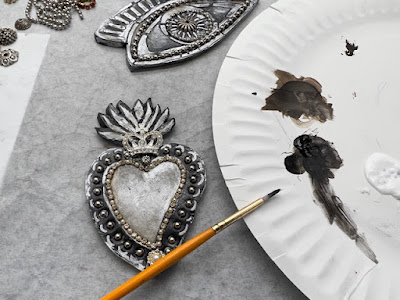
For the second technique, I used a stencil from my sacred hearts collection and followed the same steps as above. However, instead of using the rolling pin to emboss the design on the clay, I simply set the stencil on the clay and then used a paintbrush to add the silver Rub ’n Buff over the top of the stencil. Be mindful that the Rub ’n Buff stays sticky until it is baked. Be careful not to touch those areas or it may smear. I then followed the design to cut out the heart with a scalpel.
Next, I added a few details of a mixture of black and raw umber paint to give the Milagro a bit more depth and to make it look more aged.
If you would like traditional looking milagros, then you are done!! The pieces just need to be baked. However, the embedding step is my adaptation of creating milagros by adding some bling to give them a beautiful jewel-like look!
Carefully lay out your desired bling/“do-dads”. Cut rhinestone or ball chain to size.
Remove the do-dads. To adhere the rhinestone or ball chain, paint a channel of glue using a small paintbrush and Weldbond glue. To embed other items into clay, I have found that using a pencil eraser is helpful to get them sunk or securely embedded into the clay.
If some of your Rub n’ Buff has smeared, I recommend using a fine detail brush and some black paint to help restore the details.
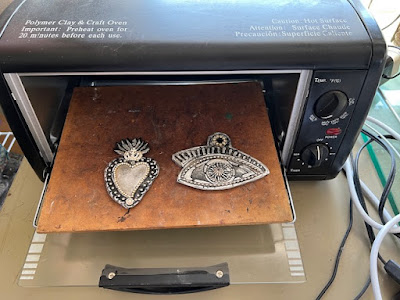
The very last step is baking. I recommend using a small dedicated polymer clay craft oven. I generally bake in a 275 degree oven for about 25 minutes.








I really enjoyed reading this.. lovely pieces .. thank you💜
ReplyDeleteI'm a great fan of milagros. Love your project and your stencils - thank you!
ReplyDeleteI ordered the stencils soon as I saw the tut... I hope I'll be able to make these.
ReplyDeleteGreat tutorial!
ReplyDelete