Servus and welcome to some grungy Halloween crafting (or upcycling) fun, dear creative friends!

Today's project is actually not only awesome fun to make or a great way to upcycle boring cotton bags (like I did), but you can use the technique shown to create your own grungy and fun (or any other style) stencilled and embroidered patches to apply to any kind of project you want! You can even create the patches and use these as a give-away on special occasions (in my case on Halloween for example...).


The stencils I have used were designed by the wonderful Roxanne Coble. I just adore her sense of humor and quirky designs!

Rabid Bunny Stencil
and

Rat and Bat Stencil
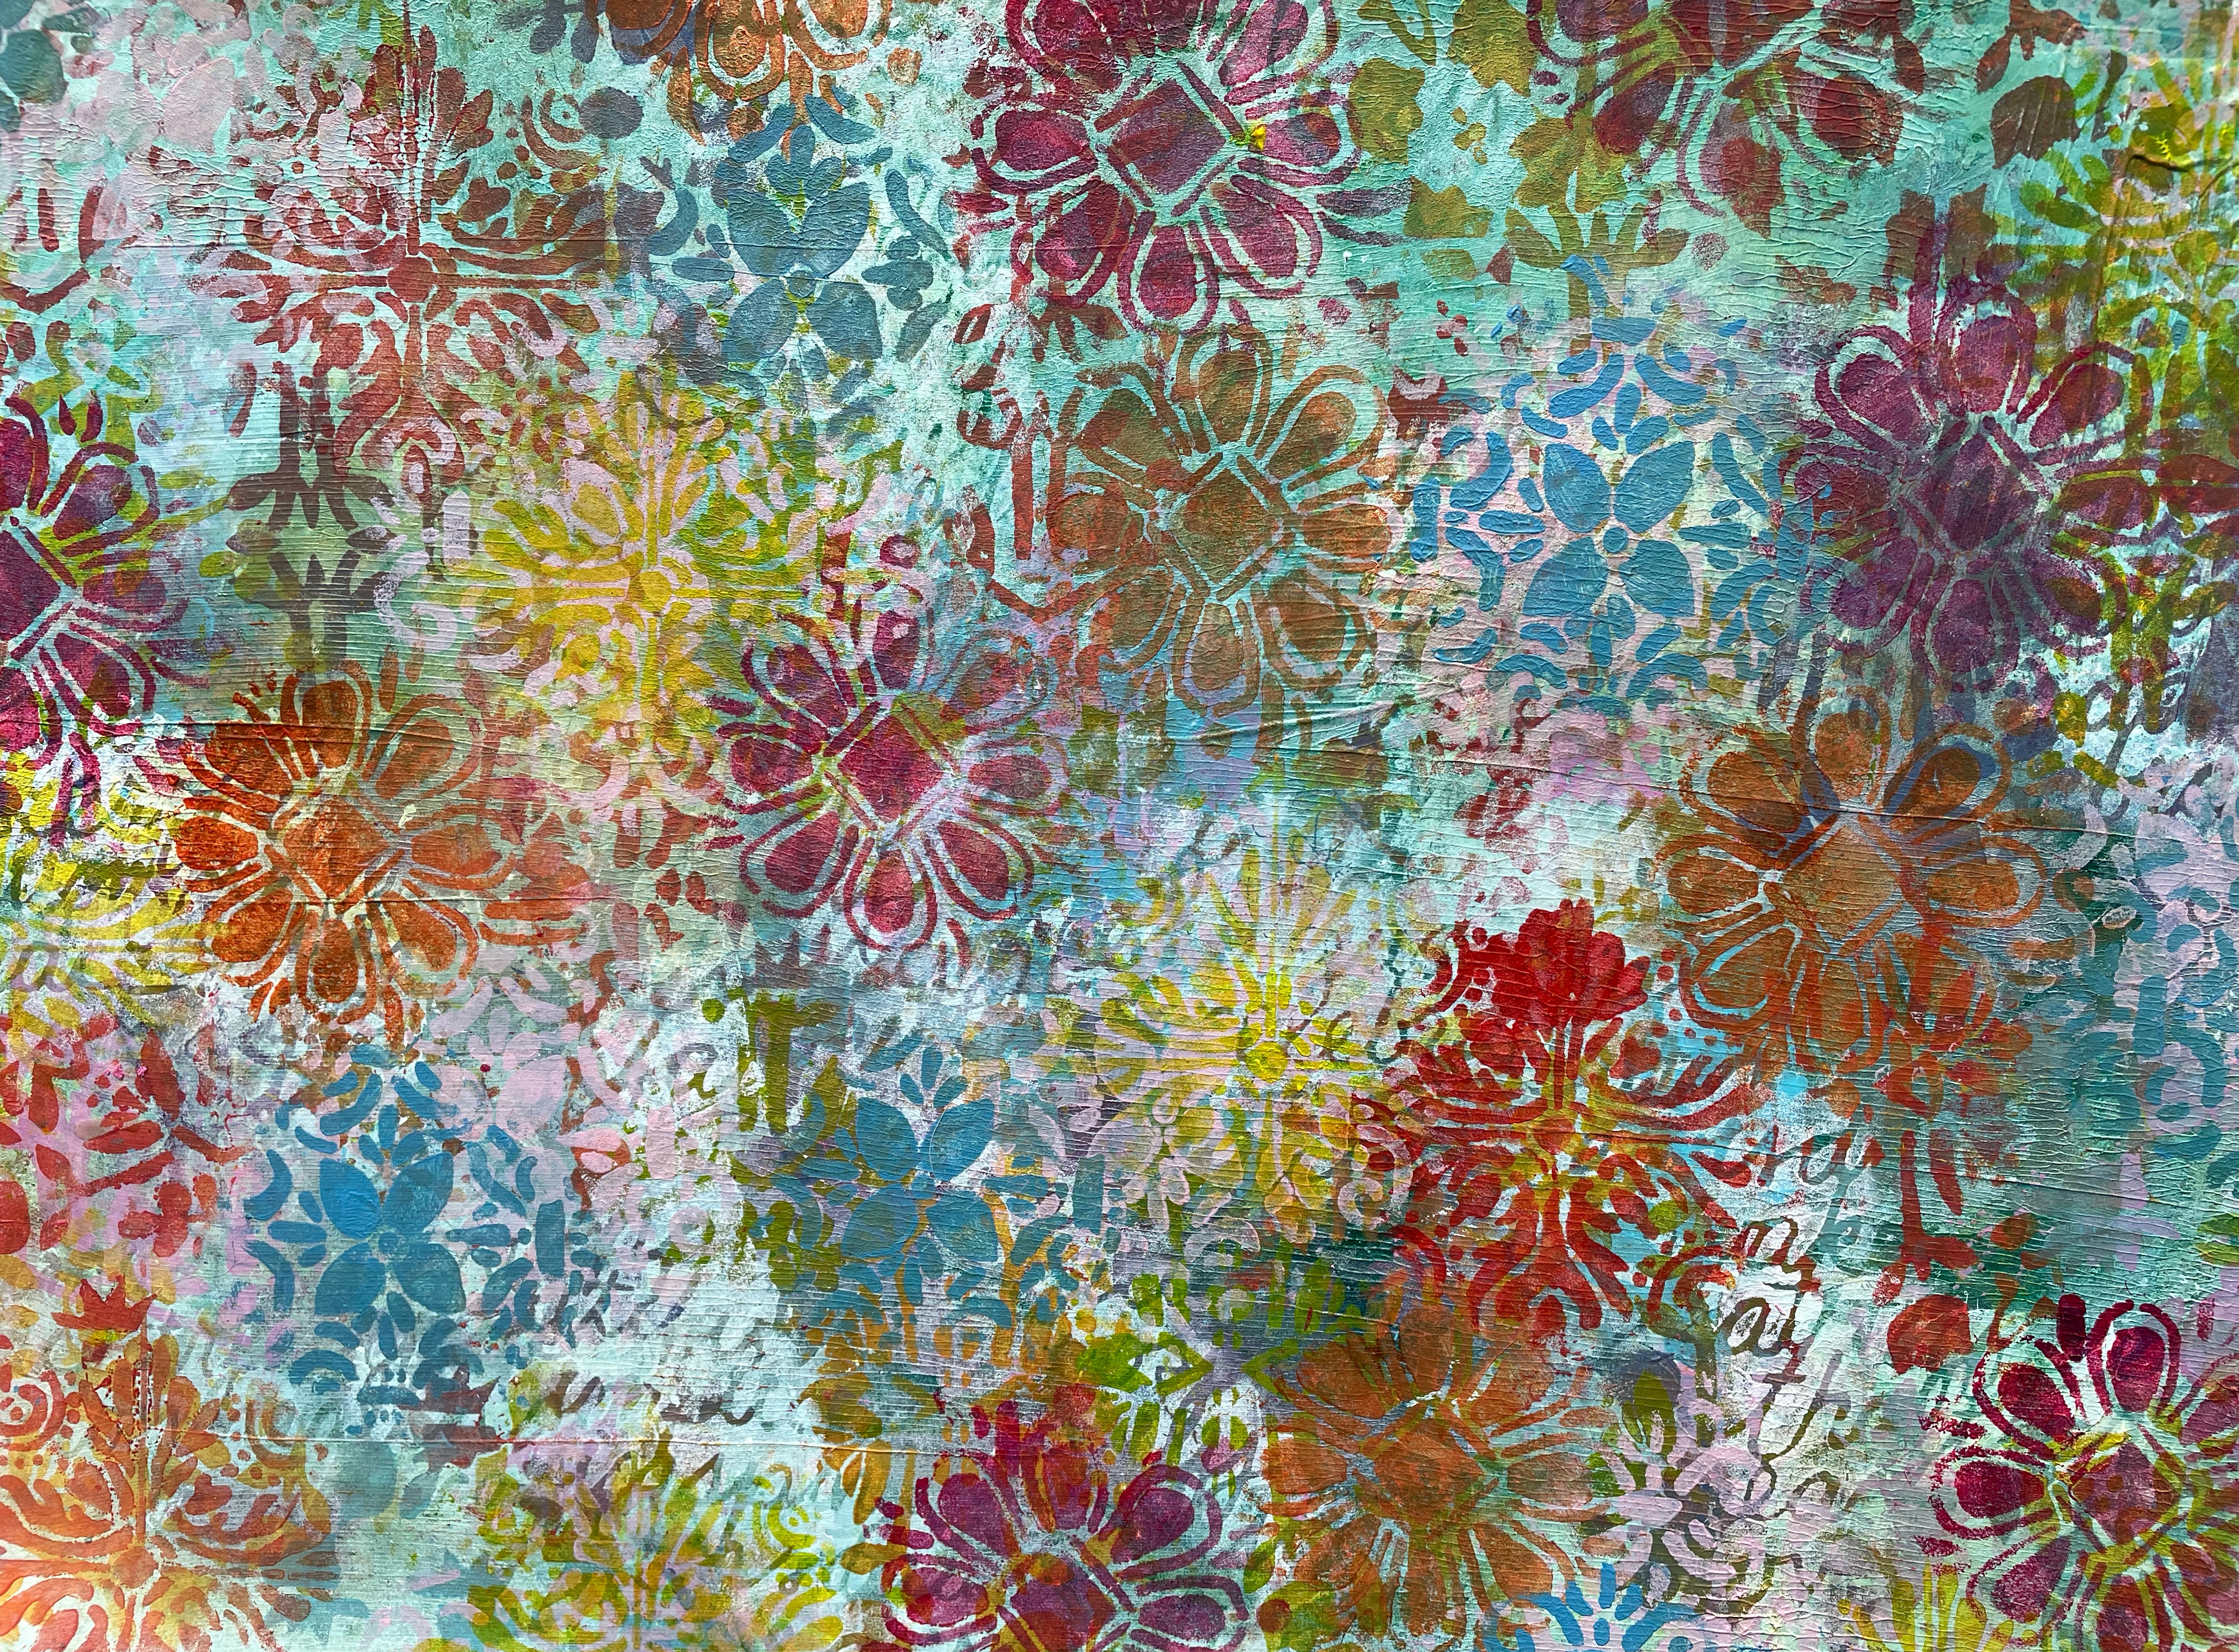
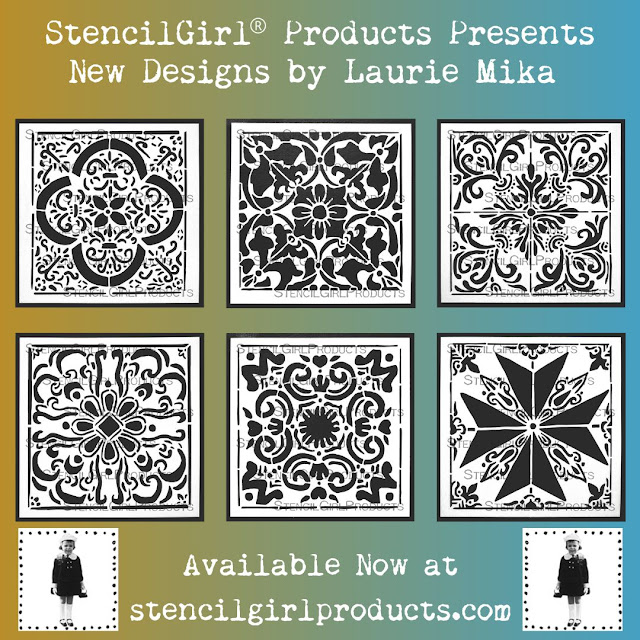
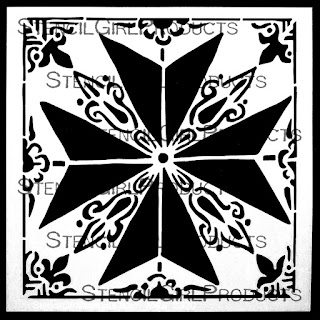
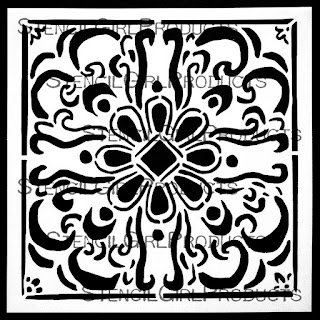
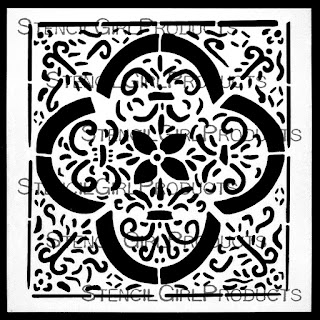
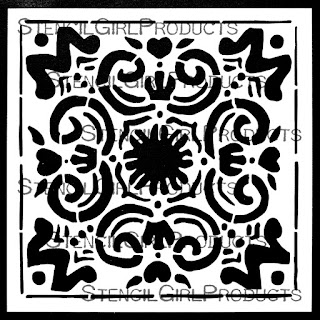
Especially stencils that provide a mask that matches the inner detail design are the ones you should go for with this project! But also for example designs like these (designed by amazing Laurie Mika for her "Alchemy" stencil) work brilliantly!

- stencils
- a cotton bag (you could even use one from a store where you would cover up any print you do not like) - but you can apply the patches to something else of course
- left over fabric scraps ((I have used an old kitchen towel and some left overs from shortened curtains)
- embroidery yarn, needle, scissors
- acrylic paint and fabric painting medium (or fabric paints of course)
- stencil brushes in various sizes


I also wanted to add a rough bling-y texture to the mix as that would kind of contrast the worn look and also add some really cool interest.
I chose orange Glitz Glitter Gel that I applied through the according stencils using a bristle brush.


Done!
I just love the result! And I think I will do some more patches to give to my sister and niece. Oh...and I could sew another bag from that old pair of jeans I will never wear again and add a flaming heart patch to that one...aaahhhh....the possibilities!!!!

Thank you all so much for stopping by! I hope you have enjoyed your visit and leave inspired!
Hugs and happy crafting!
Claudia
xxx
.jpg)