Sometimes I get
inspired by just going through my stencils and simply coming upon one that
attracts my attention. In this case it was the text Be True to Yourself
that made me think. It is at times quite hard to even know who you are, and it
is also a fluid concept, as we continually change. Who I am today is more than
likely not who I will be tomorrow. And I don’t know about you, but my head is
always full of those sort of thoughts. Sometimes I wish there was an Off
switch. That was the sort of idea I tried to capture in this spread.
Here is the
tutorial:
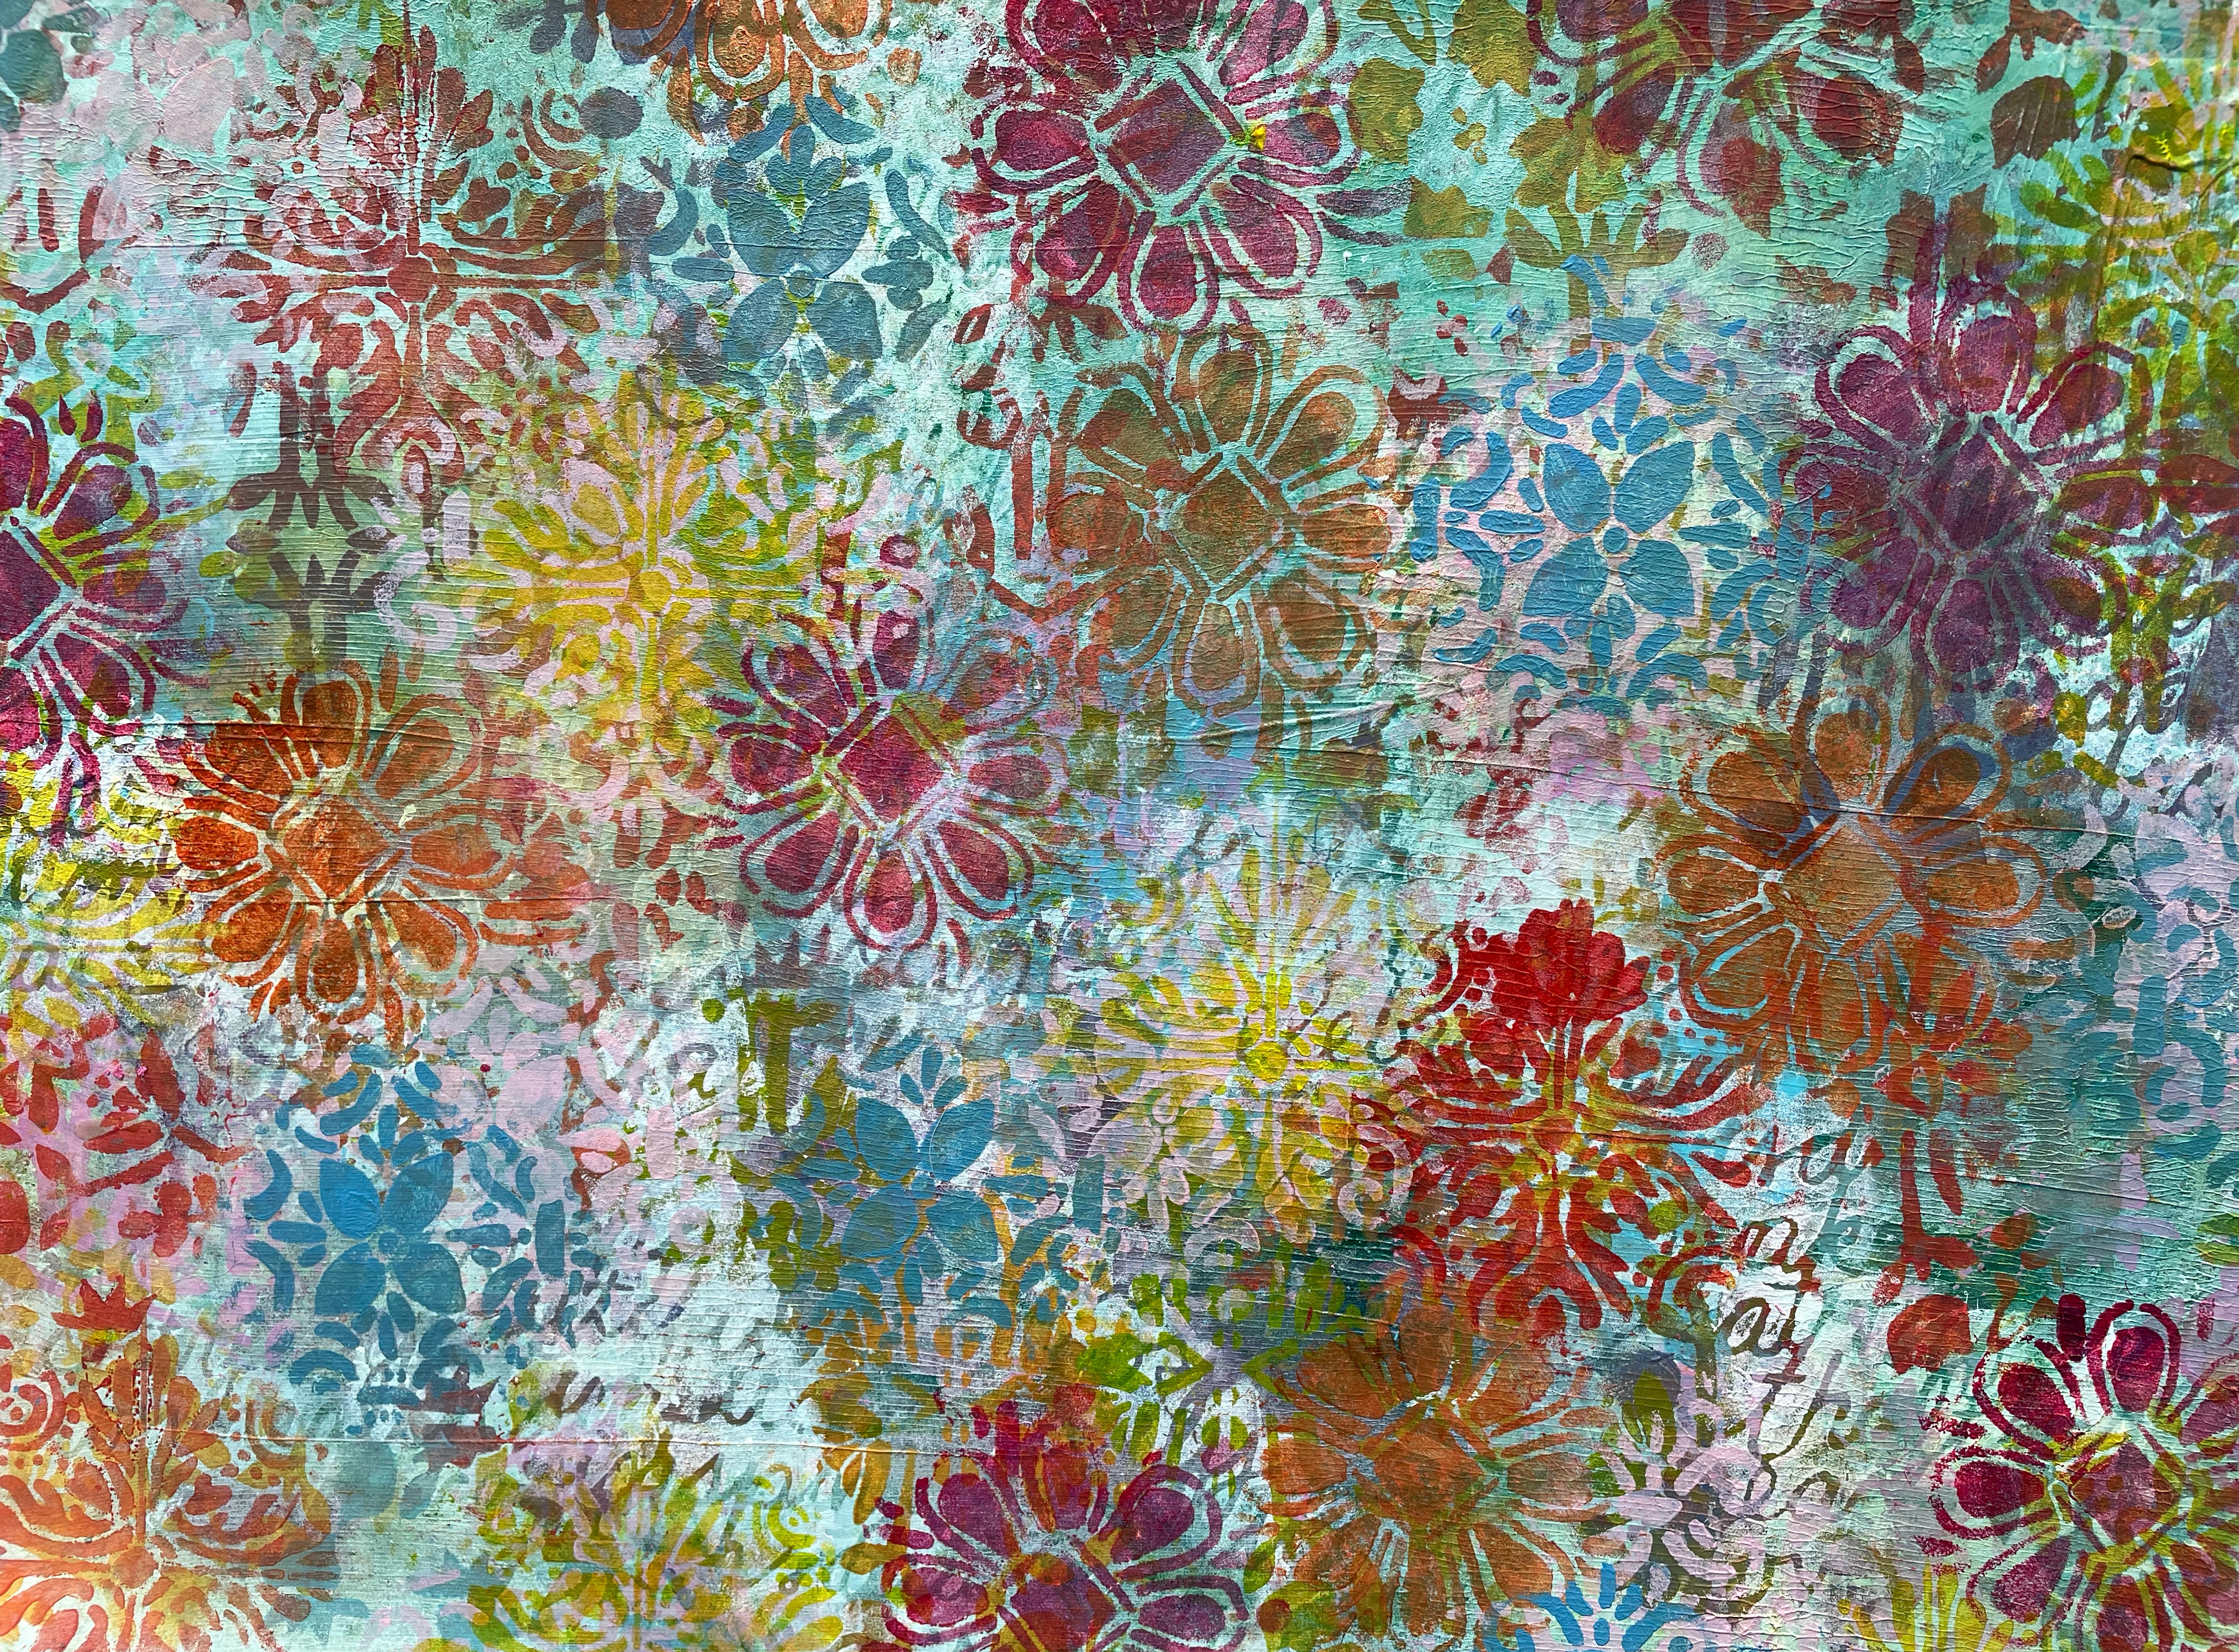
1. Brayer
on gold gesso on a spread in an 8 x 8” art journal with black paper.
2. Using a baby wipe and titanium white acrylic paint, stencil randomly over the pages using stencil Elizabethan Lizard.

3. Using the top layer only, glue on flowers from a paper napkin to the spread, using matte medium.

4. Stencil on leaves to the spread using green acrylic paint, a cosmetic wedge and stencil Kelp Mask.

5. Stencil on flower outlines using opaque blue paint, a cosmetic wedge and stencil Boho Daisy Small.

6. Repeat step 5 with opaque yellow and red paint.

7. Colour in the flowers with matching colours of soft pastels (mine are by Windsor and Newton).

8. Using stencil Elizabethan Lizard and white titanium paint, stencil on a separate black sheet.

9. Using the face mask from the B stencil of the May 2022 StencilClub, mark the face using both sides for 2 mirrored faces and cut out. Outline the patterns using with different colours of paint markers.

10. Glue
the faces to the opposite side of the pages and outline with a Stabilo All
black marker.
11. Doodle inside the background flowers with paint markers.

12. Stencil
on the text using the medium stencil from the
September 2016 StencilClub
13. Outline
the text with the Stabilo All black pencil
14. Spray on some gold mica sparkle through the same stencil as in step 2 and step 8.


©
Frieda Oxenham 2023