
The Idea and the Prep Work
Hi, everyone! Kathy Cornwell here! For several months now, I’d been toying with the idea of doing three-dimensional collage on wood blocks. I like the idea that this two-dimensional medium can become a 3D, interactive work of art!
First, I enlisted the help of my sweet husband. He bought some wooden planks at the hardware store and used his saw to cut a few shapes. Once I saw the shapes and started playing with them in different arrangements, I started getting very excited.
The wood pieces needed to be prepped. Over the course of a weekend, I applied two layers of Golden GAC 100 and then two layers of gesso (drying between all four of these layers). Here’s what they looked like at that point:


Then I painted the sides of the shapes with two layers of neutral grey acrylic paint. I didn’t want to collage on the edges, so I thought that the neutral grey would be less jarring than white or black. Finally the shapes were ready to accept collage.
The Fun Part: Playing with Stencils!
For
this project, I used the following StencilGirl®
stencils:
Arches Stencil with 20 Masks, designed by Carolyn
Dube
Soulful Scribbles, designed by Traci
Bautista
Sidewalks of Puerto Rico 2 Reverse,
designed by Mary Beth Shaw
Mid Century Modern Rocks and Leaves,
designed by Jennifer Evans
Garden Flowers Tile Mask Small
designed by Valerie Sjoden
I chose these particular stencils and masks because they represented a wide variety of imagery and would push me to use techniques that I often shy away from (I’m kind of an all-masks-all-the-time kind of artist, but as well all know, variety is so important).
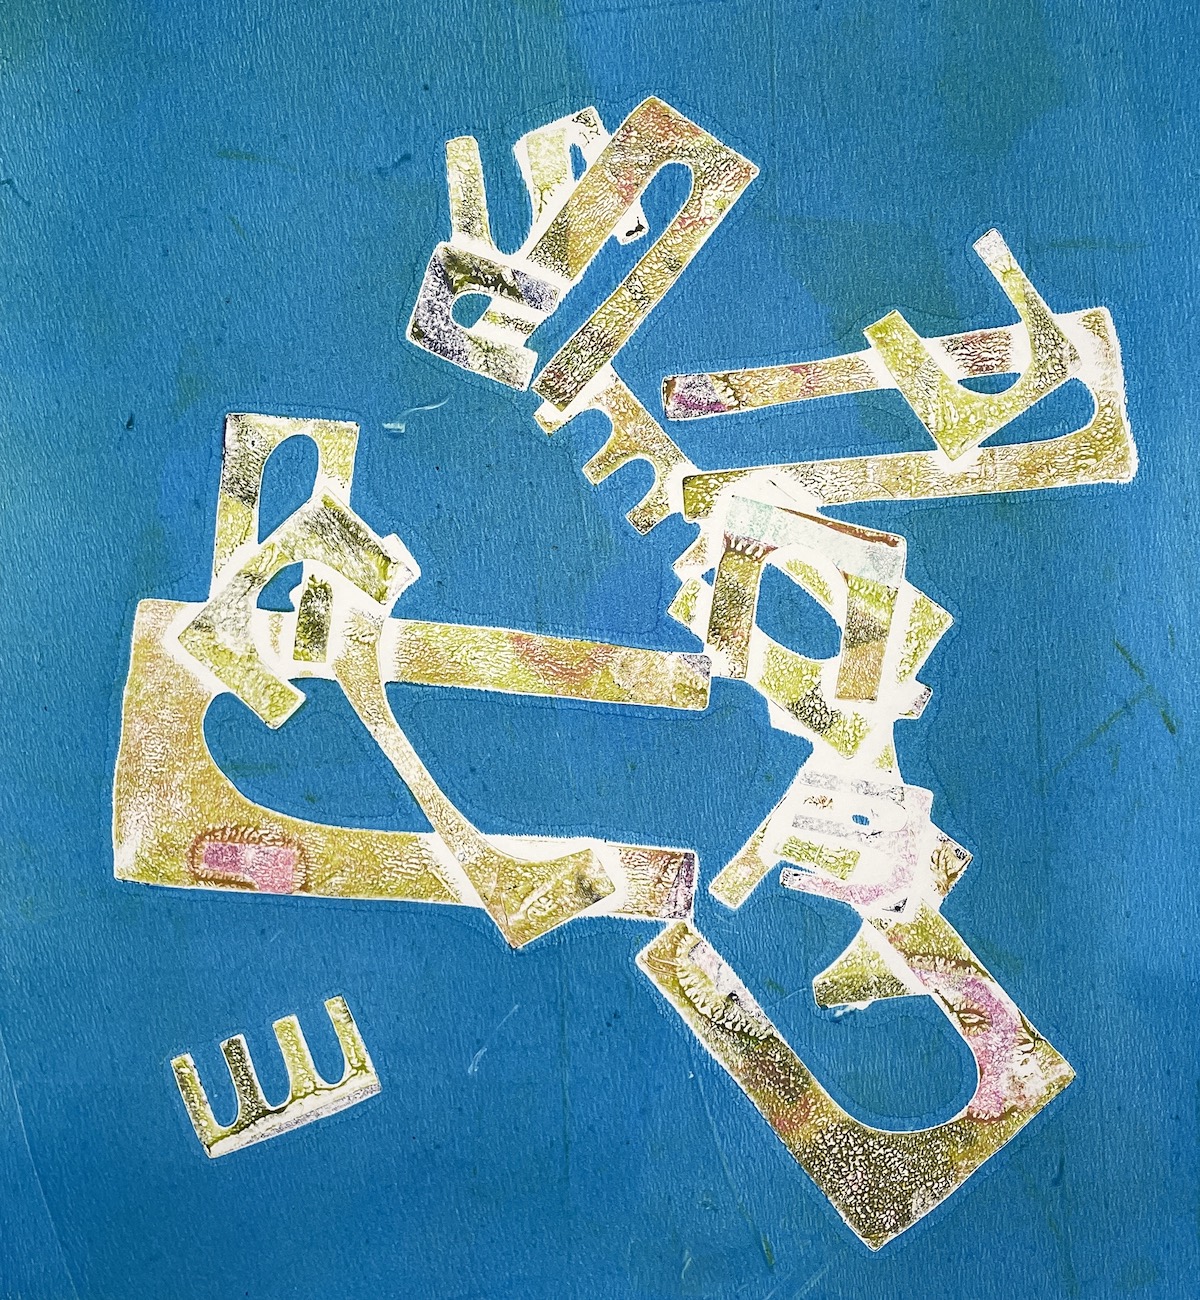
I grabbed my gel plate and my favorite paints and got printing!
Golden OPEN Paints Lead to Fun Results
I love using Golden brand’s OPEN paints. They have a very slow drying time, which allows me to take my time while gel printing. The slow drying time can also allow the stencils to transfer paint from print to print!
For example, in the photo below, you can see how the stencil transferred quite a bit of pink paint as I printed a layer of grey paint. The OPEN paint transfers from the stencils or masks have a unique, mottled texture that I really like.

Did I Discover a New Stencil Technique???
In recent months, I’ve been having fun making marks with a chenille stem, otherwise known as a pipe cleaner. Using Golden High-Flow paint, you can use this tool to paint delicate, thin lines. I just had to try combining this technique with stencils!
As you can see in the video below, I placed the stencil down on top of a dried print that I’d made using that stencil already. I was careful to place the stencil exactly on top of the print of the shape. This way, the plastic stencil was serving as a barrier. I painted swirling lines with the chenille stem. When I removed the stencil, I was very happy to see the results!
Carolyn Dube Would Be Proud
I’m a big fan of Carolyn Dube. Not only does she help us see that mistakes are opportunities, but she designs some really cool StencilGirl® stencils. I was super excited to try her “Arches” stencil and masks.
First, I used the masks in the way that I had envisioned, and that I had seen in other artists’ projects:

But then one time, the masks all stuck together with paint as I went to place the arches onto my gel plate. They fell in a jumbled mass! At first, I thought this was a problem. But once I saw the cool shapes created by this “random pile of arches” and the negative space that it creates, I was hooked! Carolyn Dube would be proud of how this OOPS became an intentional study that I found verry rewarding:
Mixing Things Up
I worked with the intention of creating some variety. For example, I used some papers that already had some marks on it, I used music sheets as a base paper, and I alternated opaque paints with transparent paints.


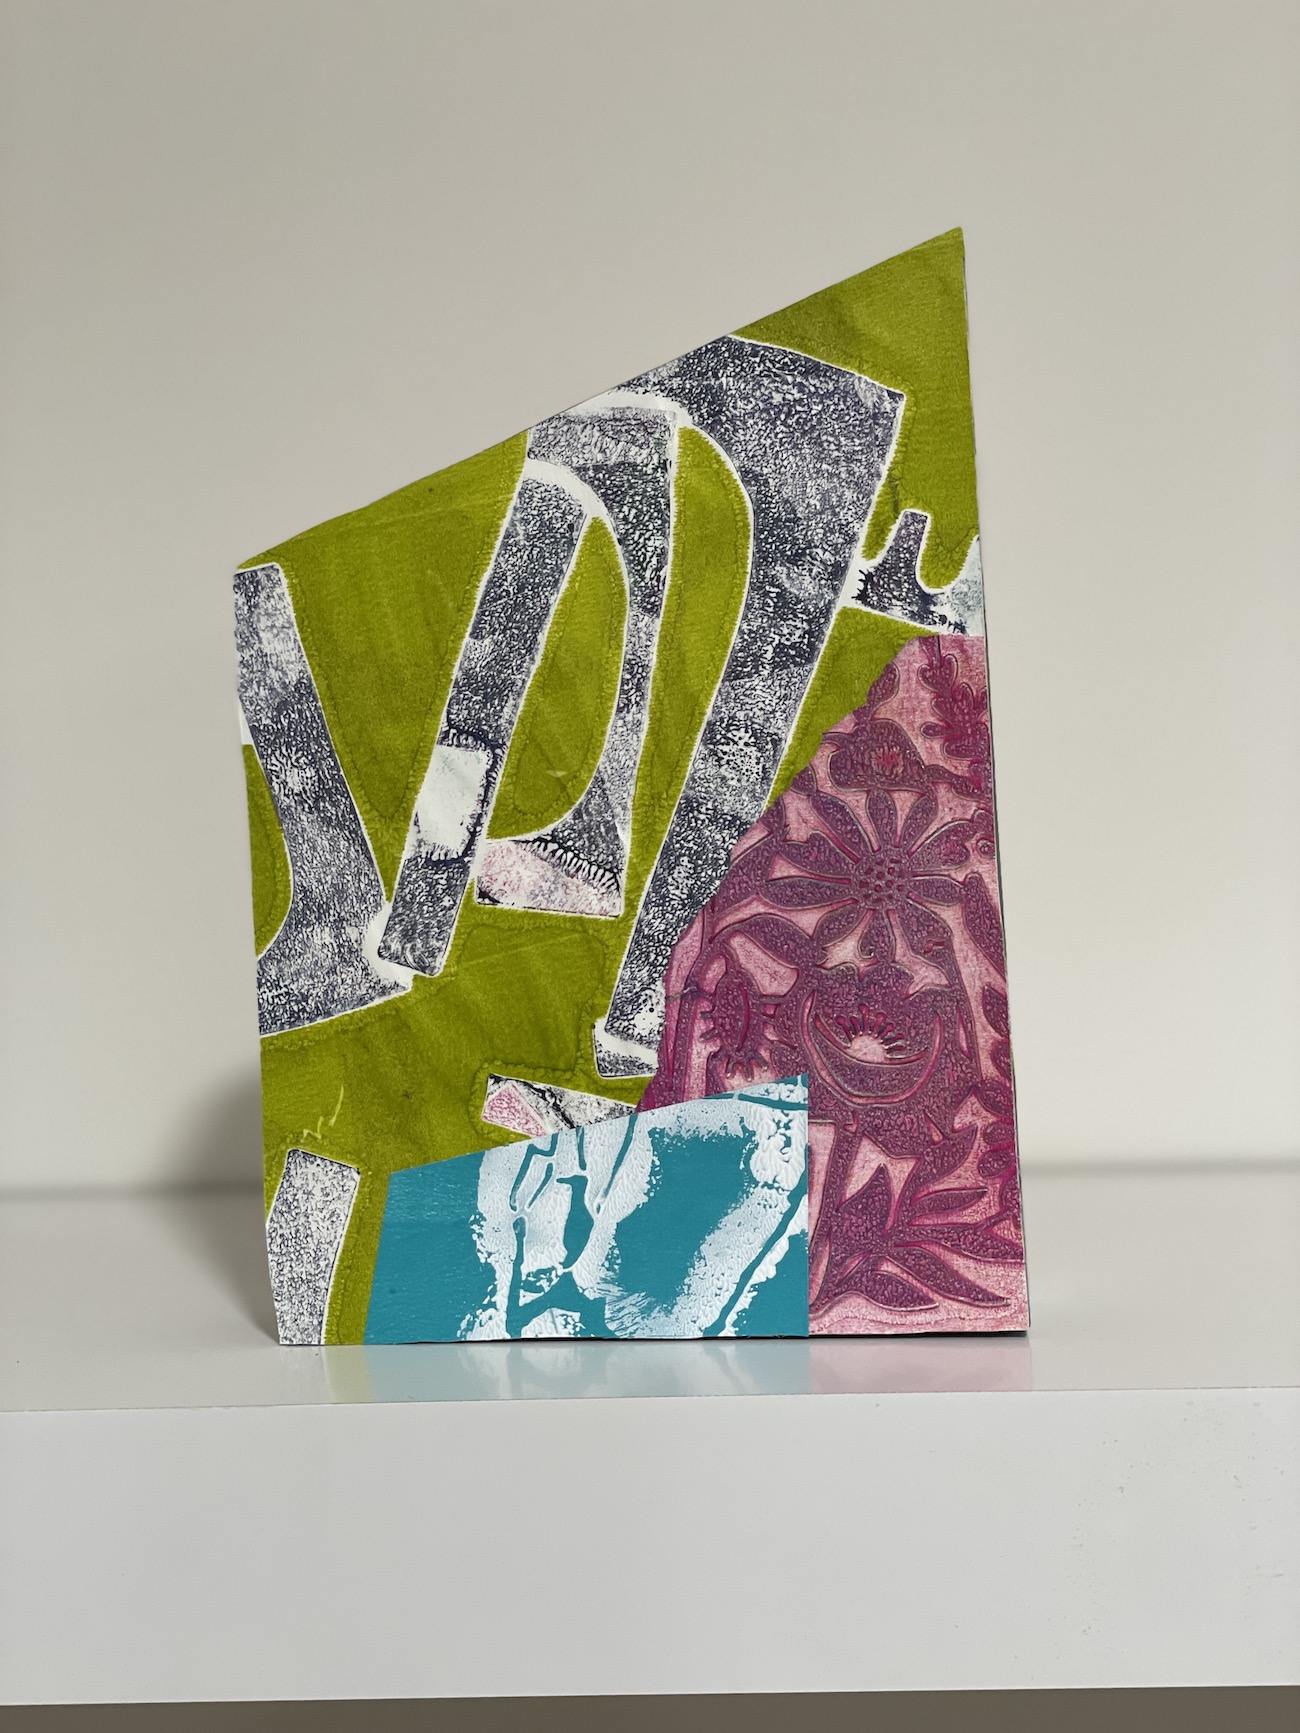
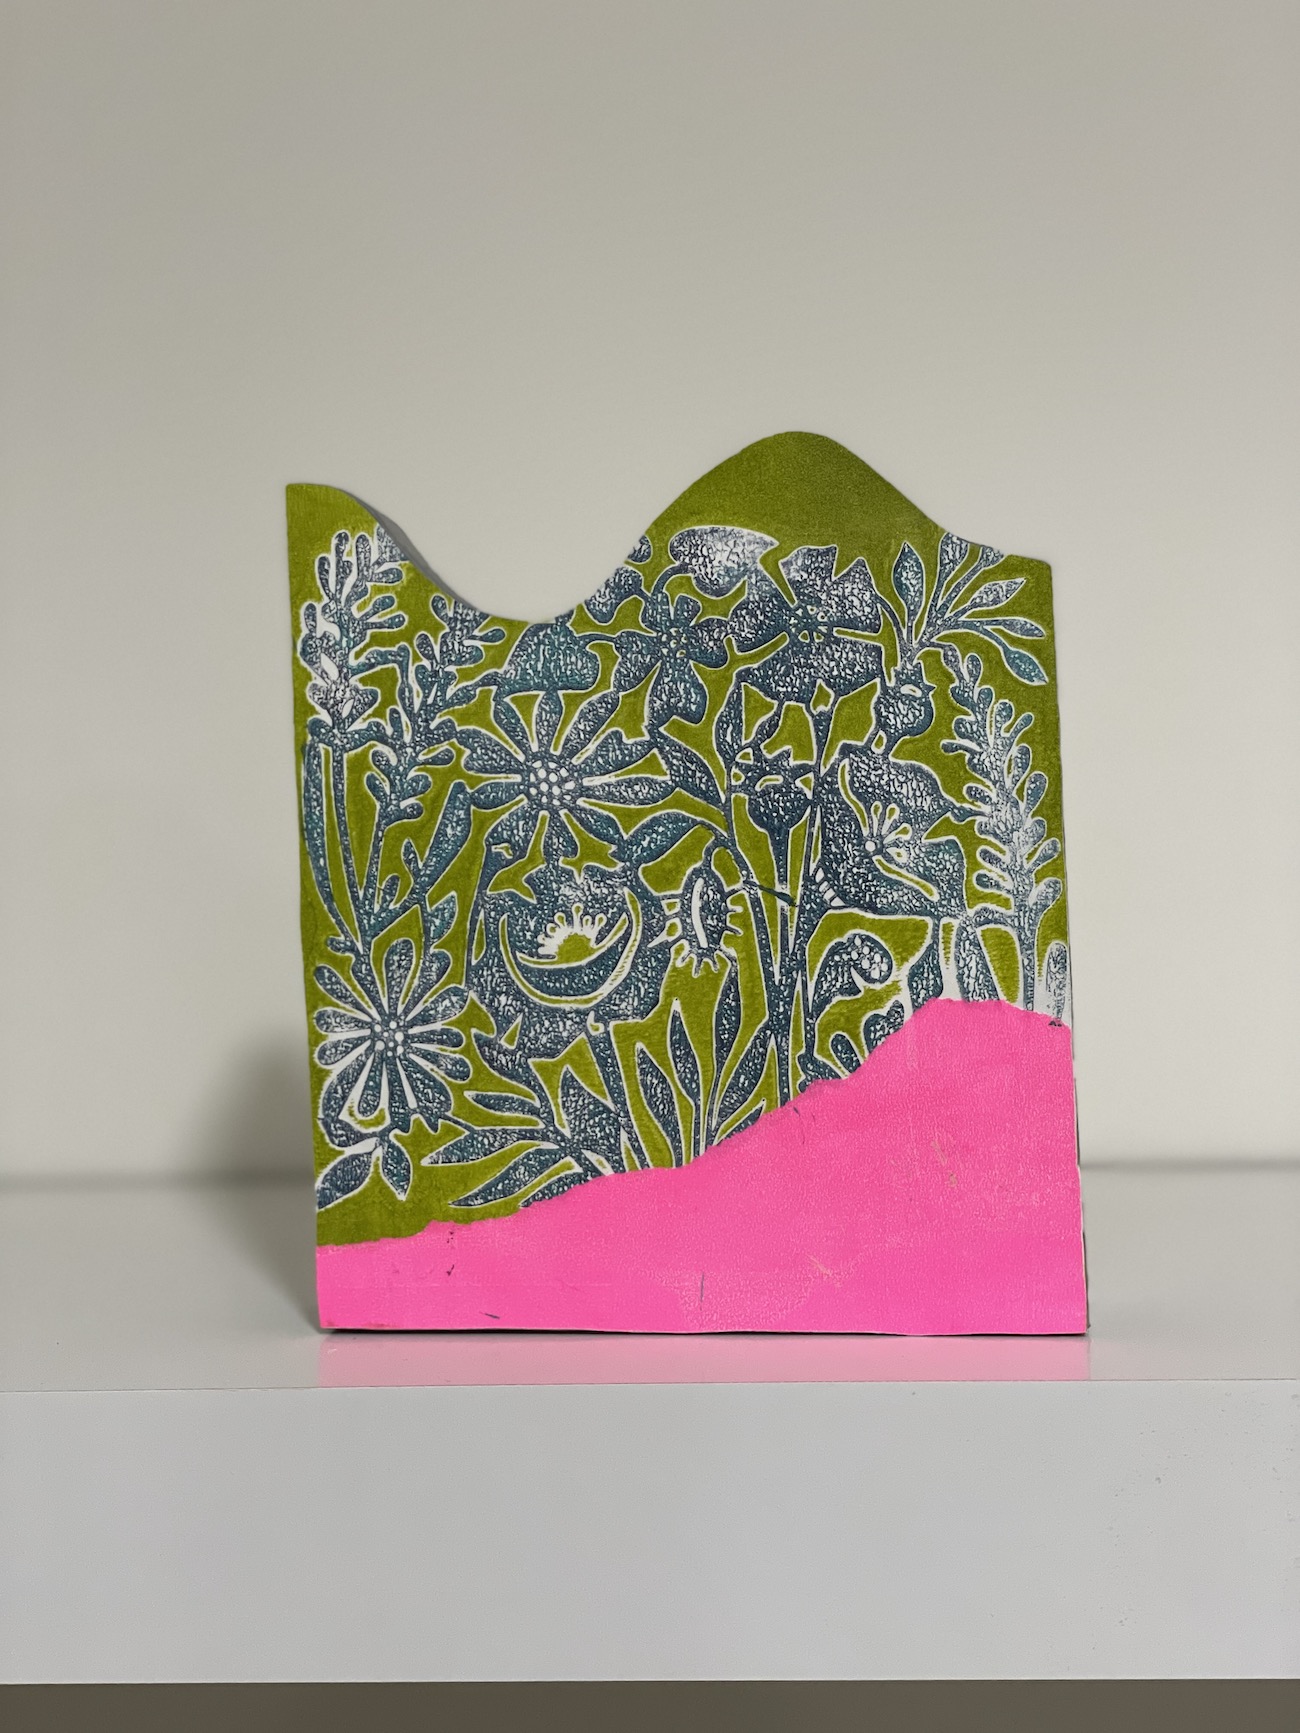
Putting it All Together
In the end, I had pages and pages of fun collage fodder. I set out to create collages for the front and back of each wood shape. Again, I made sure to have a variety of colors, stencils, and techniques so that the collages will each be unique—and yet still be cohesive.
I had a ball creating these collages, and I’m happy with the results! Which one is your favorite? I’d love it if you let me know in the comments!


Now I’m having fun arranging and rearranging my collage blocks. I’ll enjoy watching my studio visitors play with this interactive work of art.


 I
hope you’ve found this post interesting and inspiring.
I
hope you’ve found this post interesting and inspiring.I’m a printmaker and mixed media artist based in Virginia, USA.
Come say hi on Instagram @kathy.cornwell.art or visit me at www.KathyCornwell.com.
HOW FUN Kathy! I love your collage blocks and the way you've arranged the arches and then the pile of them! Brilliant!
ReplyDeleteThanks, Carolyn!
DeleteThis is a great idea! I am thinking smaller; for my grandson and his Pokemon characters, thanks Kathy.
ReplyDeleteThat sounds like a fun idea, Linda!
DeleteLOVE this project, Kathy! So many possibilities.
ReplyDeleteThanks so much, Terry!
DeleteKathy these are awesome! Are we going to be able to buy those blocks for our own projects? Hint!
ReplyDeleteThat hadn't occurred to me, Sandra! Thanks for the idea! Glad you like the project.
Delete