Showing posts with label painting. Show all posts

Wednesday, June 22, 2022

StencilGirl® Guest Designer: Kate Word

Hi everyone! I’m Kate Word, and I’m thrilled to be asked to be a guest designer for StencilGirl® Products today. I use StencilGirl® stencils exclusively and have been a club member for about a year. 


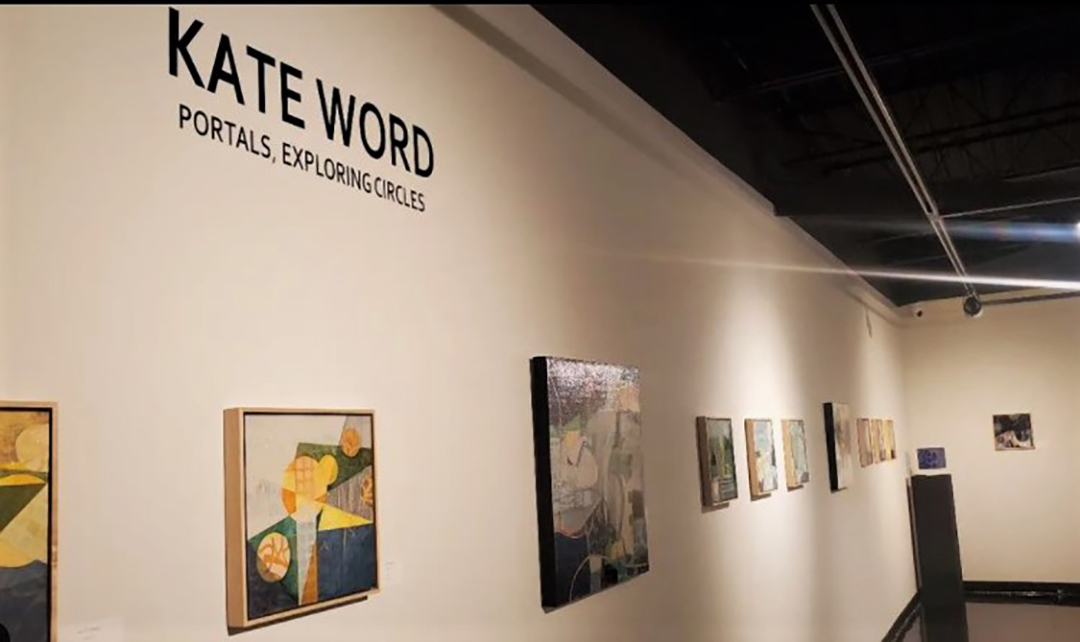
I used many StencilGirl® stencils in my artwork for my solo show in January 2022. The exhibition was part of my Best of Show Membership Award at my local art center in 2021.  
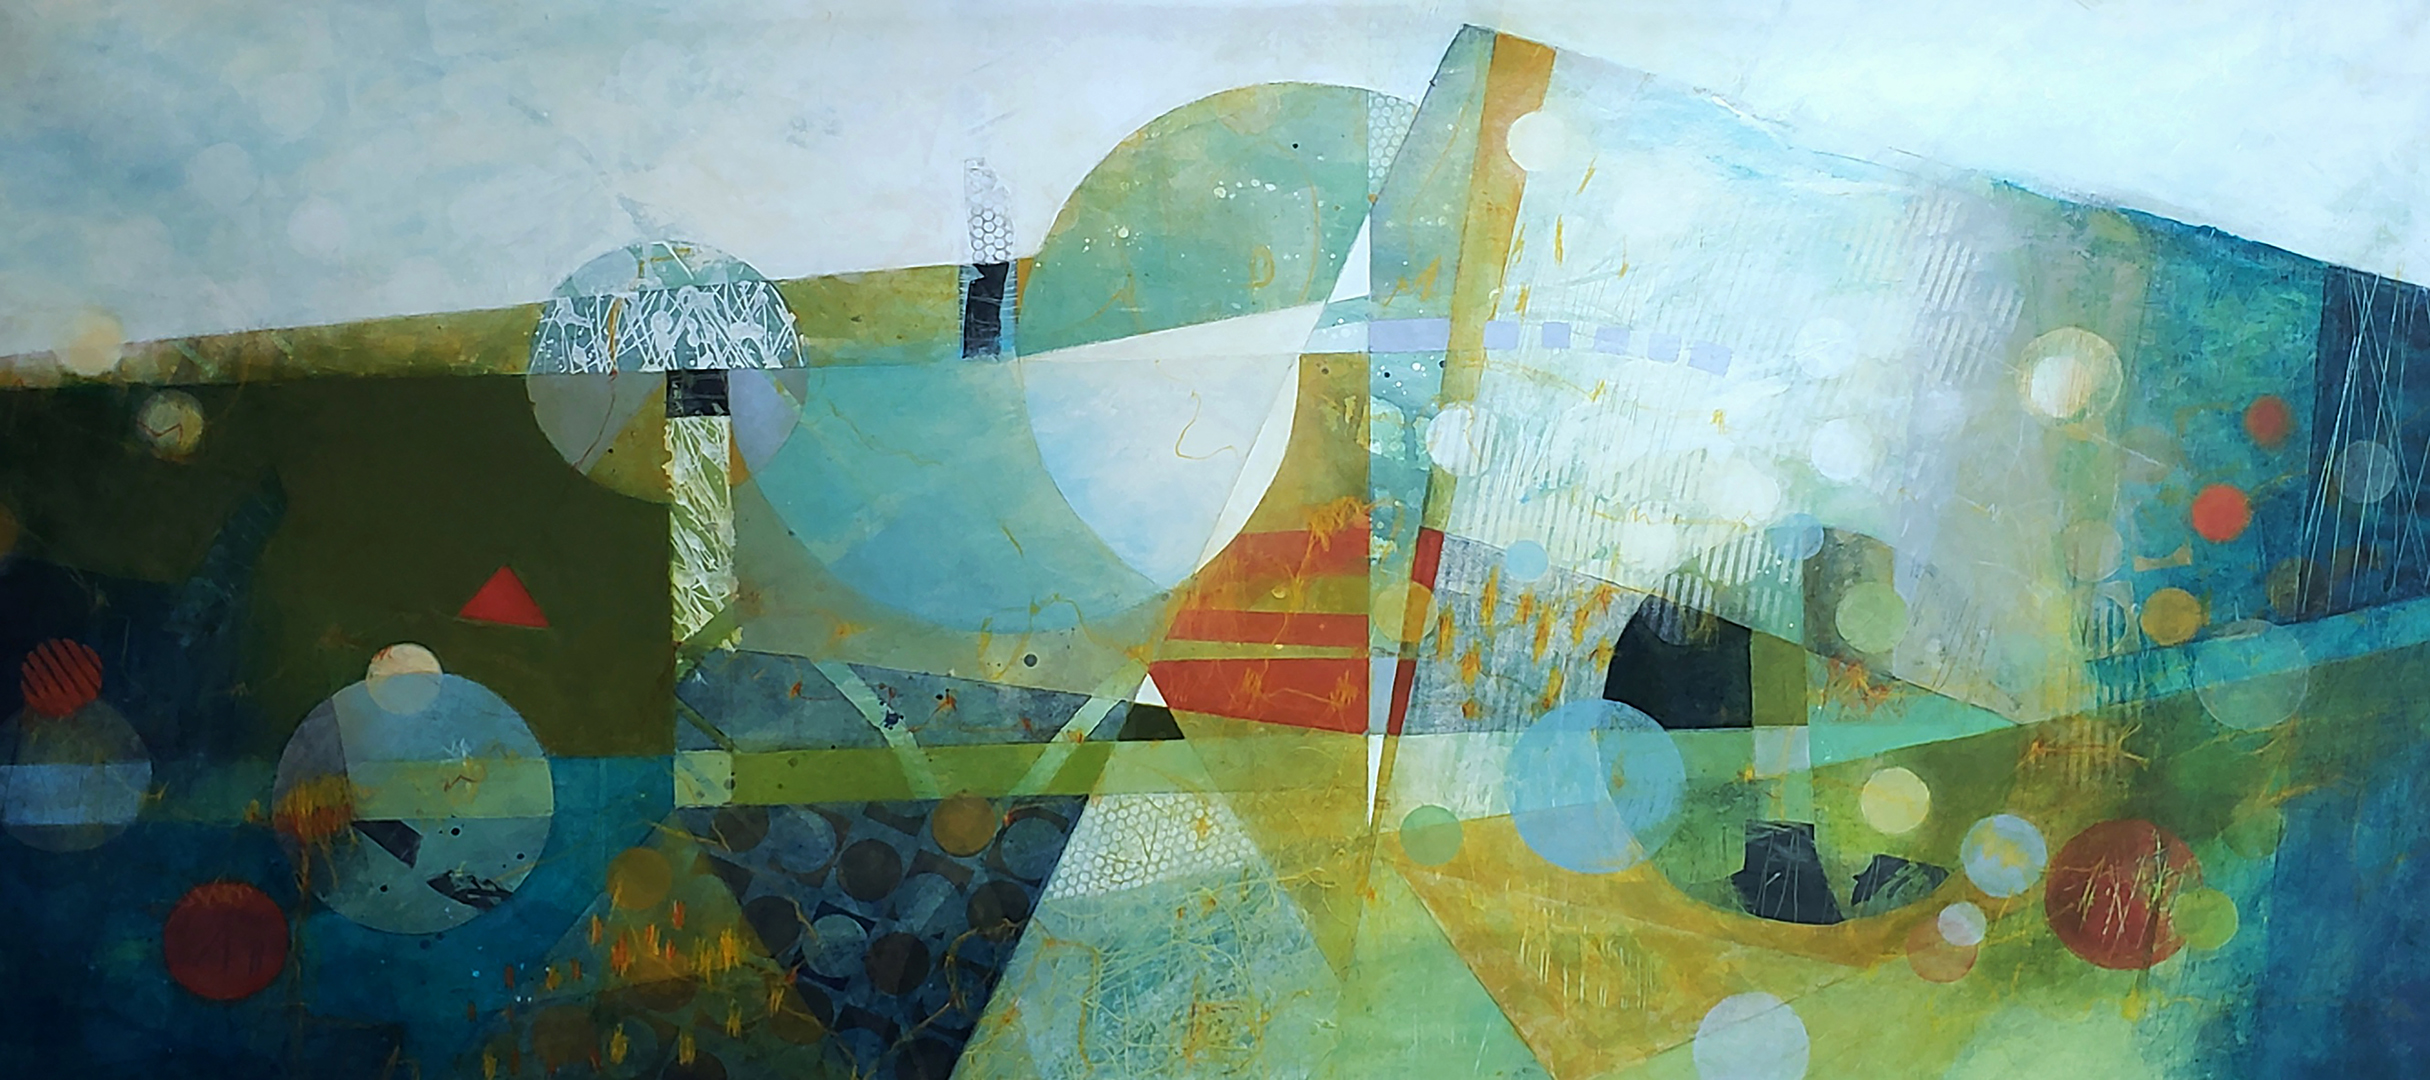
I am an abstract, non-objective painter, and I also create a lot of mixed media collage using my own hand painted/printed papers with my gel plate and stencils, of course. I paint mostly geometric shapes, their intersections, grids, lots of rich surface texture, and pattern. I love circles and have a new fondness for triangles! I describe myself as a woman of contrasts, a country girl living in the city, a mountain lover living by the coast. I find inspiration for balancing contrasts in modern architecture, nature, and textiles, and I intentionally juxtapose organic shapes with geometric lines and grids. Though some methods are calculated, I welcome intuition, spontaneity, and many accidental discoveries along the way. 


I had a year to produce this body of work for my exhibition. As I created these 54 pieces, my theme was “Portals, Exploring Circles,” and it was easy to incorporate my love of circles, emphasizing them with pattern or my favorite calligraphy stencils: StencilClub May 2019, Script Collection by Cecilia Swatton, Abstract Calligraphic Alphabet. Most of my artworks were 12”x 12” flat panels and framed with floater frames, but some were 8”x 8”, 20”x 20” and 24”x 24”. The largest gallery wrapped canvas was 48”x 60”. 


I never considered myself an abstract landscape painter, but inspiration for 12 paintings came from watching the Netflix series, “Moving Art” by Louie Schwartzberg, a world-renowned cinematographer. Three seasons feature episodes with mountains, waterfalls, crevices, plateaus, desert, and patterns in nature. One night while watching, I used a sketchbook to draw my impressions in very graphic ways.  


These images below show favorites from three series, “Summit I-VI” “Brink I-III,” and “Fathom I-III.”  

For continuity, I used the same two stencils in all 12 landscape pieces, contrasting Cecilia’s script stencil with a simple grid stencil, Mary Beth’s Grid set 9. Here’s a YouTube video about my show if you’d like to see.


So, how was it to produce an exhibition, to work on a theme for a full year? It was a learning experience. It took discipline, consistency in my daily studio practice, activating my imagination to see my exhibit finished, a continuity with my color palette, and foremost, having fun with my process. With that fun, came boldness in my decisions, and then, of course, a confidence as I completed each painting and delivered my paintings on January 2.  


A favorite mantra, “Less is more” was important after seeing a previous show in the same gallery that seemed heavy and overwhelming. I couldn’t get out of the gallery fast enough, and I certainly didn’t want my viewers and collectors to feel the same overwhelm! This show after all, was new work for me and I did want my former collectors to love my new direction as much as I do. And they did, 13 RED DOTS! 

What am I working on now after completing the show in January? Of course, I still use StencilGirl® products. I have a passion for layers in my work, paint, collage, stencils, paint, collage, stencils, repeat. Since I have a penchant for circles and triangles, I look for those shapes and patterns in combination with striations and now, botanical elements. Here are larger mixed media paintings I’ve just completed using Longwood Floral Stencil by Cecilia Swatton, Rock Wall by Mary Beth Shaw, Tire Tracks by Terri Stegmiller, Half Ring Squared Small by Andrew Borloz and Circular Patterns for Play by Carolyn Dube:

As you can see, I am still exploring circles and triangles, especially their geometric intersections, but in new and different ways. I think that’s the beauty of stencils. Soooo many possibilities and so little time to explore!  Happy painting! 

### 

About Kate Word:   

Since childhood, Kate Word found art to be a great friend. A native Texan and a product of the 60’s, Kate grew up on a family cotton farm and was influenced by Civil Rights, Women’s Rights, and the Psychedelic Movement. This “flower child” loved color and ALL things beautiful. Grit and faith melded the family history with her future making Kate a woman of many contrasts. 

Kate studied fine arts at Texas Woman’s University, and a backpacking trip to Europe in the 90’s with an art history professor fueled interests in cathedrals, cobblestone patterns, wrought iron gates, and botanical gardens, grand or small. Raising two children, living briefly in North Dakota, painting murals in CA, and operating a weaving studio in Taos, NM have all contributed to her artistic expressions. Kate traveled widely and explored the mountains and high deserts of New Mexico every year until she returned to Texas with her husband, William, who is sight impaired. She intentionally creates large paintings with bold and saturated colors so that he can enjoy her artwork.  

Wednesday, March 16, 2022

How Trish McKinney Brings An Old Painting Back To Life Using Stencils!

How Trish McKinney Brings An Old Painting Back To Life 

Using Her StencilGirl Stencils! 


Hey Everyone! Trish McKinney here today to share with you a fun process using my stencils and ask an important question - Are you like me and have thousands of half-finished, tired, and broken down paintings?! 

One of my favorite things to do is to go when things are slow in the studio, is to go through my stacks of old paintings that for whatever reason are not quite working.  I lovingly refer to this area in my studio as, where these paintings rest, as “the dead zone”! This is where paintings go to die - @ left below.


I love this process of bringing a painting back to life as it causes me to think outside of the box and shake things up! This is because I have no commitment to these old paintings and I am not afraid to risk doing something new - something different- something unexpected - experiment, asking "what if?"! Often, I learn more and discover new techniques from this exercise than taking a 3 day workshop!

One way I like to revamp, rejuvenate, and restore my unfinished paintings is by using my stencils.  And for the painting I selected, I used my newly released StencilGirl stencil designs - Lacey Leaves and Leafy Weaves (gosh, I love those names! :) - and my Branches Giant stencil.  Here is my process...

 Supplies…


-GOLDEN Fluid Acrylics

– Quin Burnt Orange, Permanent Violet Dark, Turquoise Phthalo, & Quin Nickel Azo Gold

-Gesso

-Favorite Mixed Media Brush – I used Talkon Brushes -  1” - Flat & #8 Round

-1” Sponge Rollers – I like to have at least 6-8 on hand in case I need them

- Sponge “Pouncers” – I like to have at least 4 on hand for smaller areas

- StencilGirl Stencils [see links below]

– 9” x 12” Lacey Leaves & Leafy Weaves stencil masks w/bump outs

– 12” x 24” Branch Giant stencil mask

Selecting The Painting...

I began by going through my many stacks of paintings, but because the leaves were probably on my mind, I gravitated towards the many unfinished paintings from my Nature’s Palette Collection.  This is a painting process where I use real leaves, and many other natural, nature-inspired materials to create a painting. So my leaf and branch StencilGirl stencils were a perfect fit!


Assessing The Painting...

Once I settled on a painting, I began the assessment part.  I started by picking out the areas of the painting I loved which leads me to selecting my focal area - the area I want to emphasize. This will help me to not get lost once I begin to stencil.


I began this part of the process, by remembering what my dad always told me - “before you can fix something you first need figure out what is broke!”.  Even though he was talking about cars, it is a profound but simple truth about how to fix a painting!  So I looked for all of the areas that were not working in this painting and why they did not work. I always go down my checklist of principles of design to figure out what is “broke” and usually find many - ie, value, negative spaces, color harmony, line quality, etc... - this gives me a direction and road map that gets me to the next step.

Selecting The Stencils...

Since I already had my newly released leaf stencils on my mind and the painting was nature-inspired, the stencils I used were easy to select. However, I often love to use stencils to fix paintings that are not as literal or predictable.  Like the paintings below.  


Many of my stencils are designed without framed edges for this purpose - to give artists the option to use them either in a more abstract way - creating rhythm and movement through varying line and shapes - or a more literal interpretation. 


Time To Start Stenciling!

I like to get 2 palettes going with sponge rollers to apply the paint.  One palette is for gesso and the other is for dark values these are always colors already in the painting - 2 cool darks – Permanent Violet Dark and Turquoise Phthalo - and 1 warm neutralizer color - Quin. Burnt Orange. I also have Quin Nickel Azo Gold to tint gesso areas once it dries.

Since I had lost some of the edges of the leaves, I begin by using the “bump outs” for the leaf stencils switching between light & dark – ie, light edges against dark backgrounds and dark edges against light backgrounds. Then I use my brush to refine them out even more. I tint the white gesso once it is dry, with thin glazes of warm & cool colors. 


Then I begin to connect the leaf shapes with my Giant Branch stencil – 12” x 24” which will give harmony and added texture.  I move all around the painting, making sure I place the stencil in impact areas leading the eye towards the focal point leaf in the lower right quadrant. This will also give added depth too.


Finishing…

I knew I was finished when all of the “broken” problem areas were fixed and the problems were resolved.  


Here is my final painting alive & restored!  And I am very pleased how it turned out!


Leafy Wonder - 22" x 22" - mixed media on paper

This process is so satisfying to complete and I hope you will be inspired to try it yourself! Solving the problems of an unfinished painting by making it new again, teaches us all so much and you will learn so much about design along the way!  The joy of this project is that you will have no commitment since you are not in love with the painting to begin with – so a perfect atmosphere is set up for bold, wild creativity!  In other words - what have you got to lose?!

I hope you have fun trying this technique!

To learn about Trish McKinney - the paintings she creates and workshops where she teaches these techniques and more - go to her website @ trishmckinney.com

Follow Trish’s shenanigans on FaceBook, Instagram, & her YouTube Channel to be inspired…& sometimes laugh! (find links on her website home page)


Stencil Links...

Stencils Used are designed by Trish McKinney and sold online @ StencilGirlproducts.com

-Lacey Leaves - 9”x12  StencilGirl Stencil Mask with Bump Out

-LeafyWeaves - 9”x12  StencilGirl Stencil Mask with Bump Out

-BranchesGiant - 12” x 24” StencilGirl Stencil Mask