Tuesday, December 5, 2023

Holiday Blooms with Distress Inks by Tracy V.


Hi Everyone!

It's Tracy V. with some festive blooms for you this month. You can make these cards in a pinch and just about anywhere because the supplies are so limited - and no paint! Distress inks are portable and simple to use. They are also fun to use with stencils and they wash off so easily.

Have Fun and Happy Holidays!


SUPPLIES:

  • StencilGirl Stencils. I used Peony Blooms and Cherry Blossoms (and made them look like roses!)
  • Distress Inks and Applicators
  • POSCA markers
  • Gel Pens
  • Mixed Media Paper and Black Card Stock
  • Double-sided and painters tape


PROCESS:

1. Tape your stencil onto mixed media paper with painters tape. Use your applicator to add color where desired. (I used Fired Brick and Mowed Lawn).

TIP: It is best to apply in a circular motion.


2. Outline your design with POSCA markers, filling in the white space left behind by the stencil. I used coordinating colors.


3. Now outline again with your gel pens. I used gold to go along with my Christmas color theme.


4. Add distress ink to background and edges of your design. (I use Brushed Corduroy.)


5. Cut your black card stock slightly larger than your stenciled designs and use double-sided tape to add to the front of the card.


TIP: I like to write my messages in whilte gel pen when using black card stock!


Let's Connect! Find me online:


Monday, December 4, 2023

Guest Designer Frieda Oxenham

A bit of sparkle never goes amiss at this time of year and I love taking a peek in all the lighted windows as I’m passing, admiring the decorations. That was the inspiration for this spread. Here is the tutorial:

1.     In your art journal (I used the large one by Dylusions) brayer white gesso onto a spread.

2.     While the gesso is still wet brayer on small amounts of 3 different colours of acrylic paint (I used blue, red and green) and spread the paint out across the pages.

3.     Remove some of the paint with a baby wipe through stencil L027 Fade Horizontal.

4.     Brayer on more white gesso randomly and take it away with a baby wipe through the same stencil used in step 3

5.     Repeat step 4 but this time using blue acrylic paint.

6.     Repeat step 4 but with green acrylic paint.

7.     Stencil on the page still using the same stencil, green acrylic paint and a cosmetic wedge.

8.     Spray onto the pages through stencil L600 Mosaic Flowers Repeat using gloss spray (mine was by Dina Wakley Media).

9.     Using red acrylic paint and the same stencil as in step 8, stencil flowers onto the spread.

10.  Using blue acrylic paint and the same stencils as in step 3 and step 8, stencil more flowers and small dots on the pages.

11.  Repeat step 10 using green Stencil Butter.

12.  Stencil on green leaves using the same stencil as in step 8.

13.  Using stencil L163 Window Ledger 9 roughly mark out (in pencil) the window shapes on metallic tissue paper with gold dots, cut out the shapes and glue them with matte medium, onto the right hand page using the stencil as a guide.

14.  Stencil onto the right hand page using the same stencil as in step 13 and using dark blue/green acrylic paint , making sure the metallic dot tissue paper appears in the windows.

15.  Stencil on the left hand page using stencil S954 Solitary tree as shown, using the same paint as in step 14. 

16.  Add the text (quotation by Don Shapiro), using your preferred method. I did it with a Dymo Writer using self adhesive tape.

17.  Outline trees, windows and text with a permanent white paint marker and outline the leaves with a sparkly green gel pen.

18.  Stencil on text to the left hand page using white acrylic paint and stencil L318 Wall of Words.

19.  Spray sparkling bronze spray paint onto the windows through the stencil used in step 3.

© Frieda Oxenham 2023

Friday, December 1, 2023

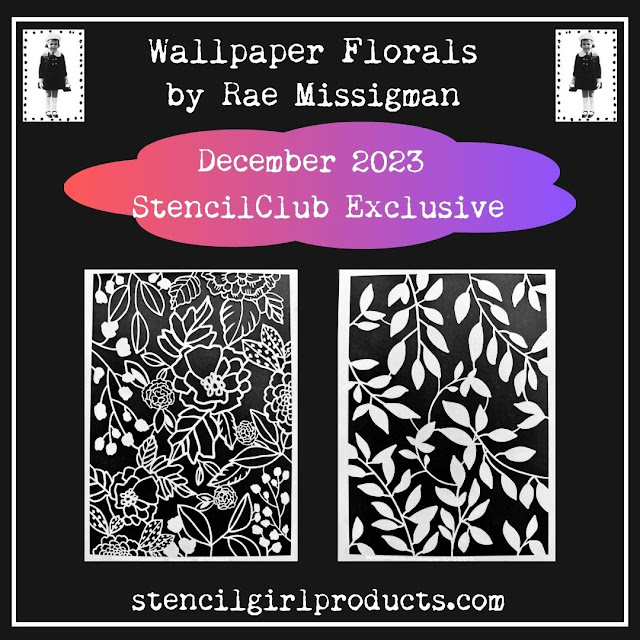
The December 2023 StencilClub Exclusives from Rae Missigman


Joining StencilClub means you have access to the coolest stencils around. 
Artist designs, made especially for club members.  This month Rae Missigman is our designer and she has a gorgeous exclusive project in store for members.  


Thursday, November 30, 2023

Introducing Vintage Gardens from Rae Missigman


As she so often does, Rae was greatly inspired after days of study and sketching in a botanical garden that boasts a rich history of the local flora. Learning that many of the plants and flowers she studied had ancient roots in neighborhood gardens, and drawn to the delicious assortment of shapes and sizes of both the floral and non-flowering beauties, Rae was prompted to create a peek inside the gardens of the past.


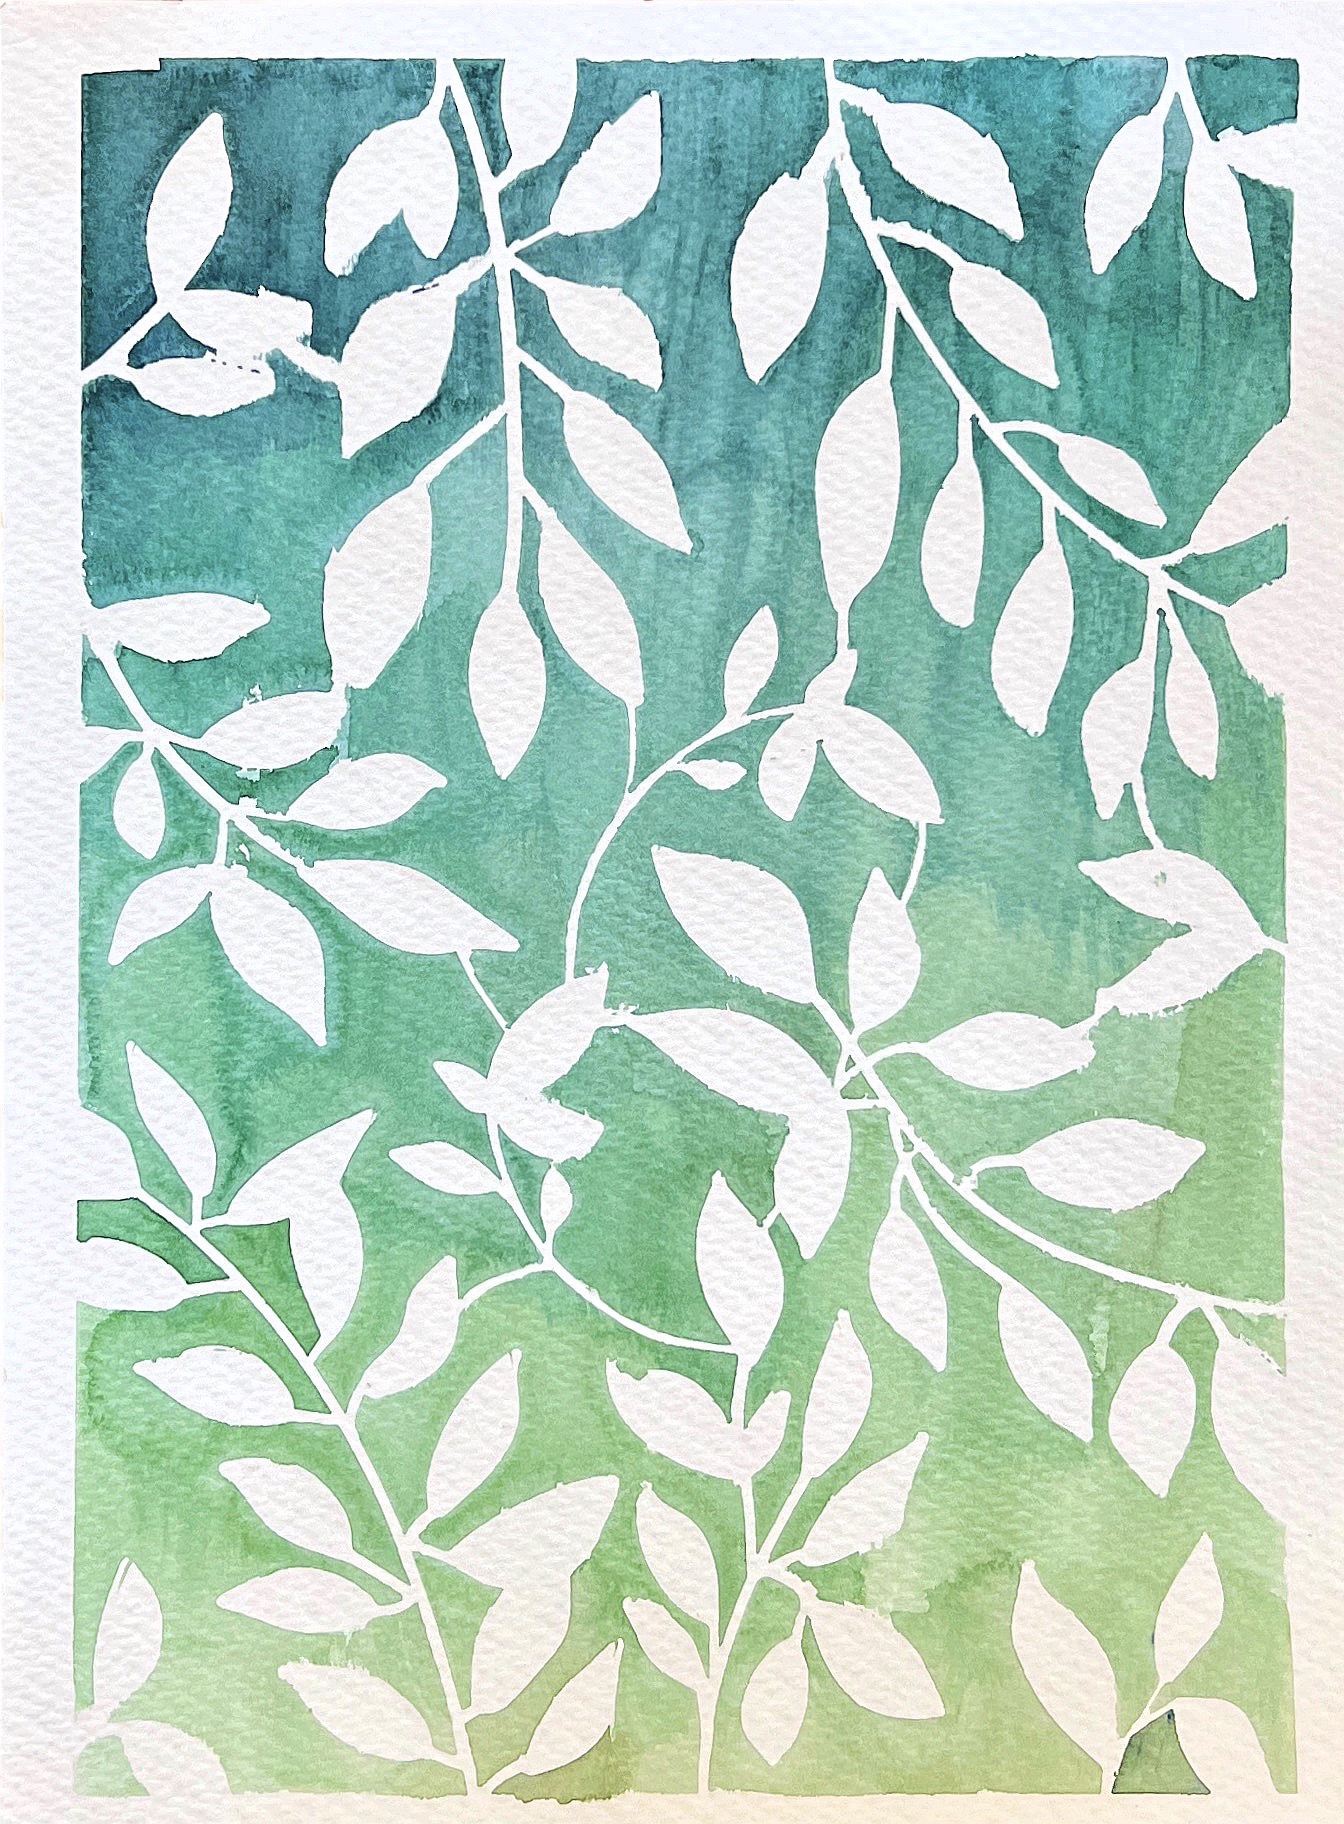
The Leafy Garden Mask was inspired by the abundance of rich green ferns, vines and ornamentals studied at a local botanical garden that Rae Missigman frequently visits near her home in Florida. The gardens enormous collection of non-flowering plants was the seed behind this leafy beauty.

This mask, paired with watercolor, creates lovely and fluid garden backgrounds. It would also be perfect for creating the peek-a-boo layers of a vintage garden. A gel plate and assorted mixed mediums make layering quick and easy. These stencils and masks would also be wonderful for use with inks, which when mixed with masks can create beautiful fluid lines and brilliantly unpredictable results.


The Vintage Camellia stencil and mask was inspired by the layers of ruffled petals, delicate stalk-like stamens and large glossy leaves of this antebellum age flower. Upon closer study, Rae found that each heavy bloom was a festival of intricate shapes that changed into something new with each rotation of the stem. 

This stencil would be wonderful to use with watercolor paint to create soft ethereal florals, while the mask would be perfect for creating the peek-a-boo layers of a vintage garden. A gel plate and assorted mixed mediums make layering quick and easy. These stencils and masks would also be wonderful for use with inks, which when mixed with masks can create beautiful fluid lines and brilliantly unpredictable results.


The Vintage Tickseed stencil and mask was inspired by this delicate blooms jagged edged petals and seed like center. First drawn it’s variegated colors Rae soon learned that up close, this bloom curved it’s florets this way and that begging to be seen. Long sturdy stems supported more curved ball like buds that made the entire cluster of flowers a riot of color and lines.

This stencil would be wonderful to use with watercolor paint to create soft ethereal florals, while the mask would be perfect for creating the peek-a-boo layers of a vintage garden. A gel plate and assorted mixed mediums make layering quick and easy. These stencils and masks would also be wonderful for use with inks, which when mixed with masks can create beautiful fluid lines and brilliantly unpredictable results.


The Vintage Coneflower stencil and mask was inspired by the vibrant drooping petals of this endangered native wildflower. While it’s cascading petals are what attracts most flower lovers, Rae, fascinated by the disk florets at the center of this bloom, gave these bud like centers a special place on this stencil and mask, making it perfect for adding buds to all of your floral stenciling.

This stencil would be wonderful to use with watercolor paint to create soft ethereal florals, while the mask would be perfect for creating the peek-a-boo layers of a vintage garden. A gel plate and assorted mixed mediums make layering quick and easy. These stencils and masks would also be wonderful for use with inks, which when mixed with masks can create beautiful fluid lines and brilliantly unpredictable results.


Rae's stencils are available now at stencilgirlproducts.com