The latest edition of The SketchbookProject came up and I began to consider if I wanted to do another
sketchbook having done 9 previous ones, but while contemplating that, my right
hand had already clicked that button, added digitizing to the sketchbook and
bought my 10th one! I must be keen. When the sketchbook (sized 5” x 7”) arrived,
it came with a page of themes you could choose from. Again I used my intuition
only and grabbed the first one that got my attention: MELANCHOLY.
Like the sketchbooks I did in the last two
years this one too has become a project in my capacity as monthly Guest
Designer for StencilGirl® Talk and this is the step-by-step process:
1. Undo
the staples on the sketchbook, set aside the cover for the moment and you will
be left with 8 spreads. You will only work on one side of each spread and the
first step is to gesso them all.
2. Using
a brayer and a variety of paints brayer over the pages, mixing up the colors.
Be gentle with picking up the paint with the brayer so as not to get too thick
a paint layer on your pages.
3. Using
a variety of Distress Markers, add colours to areas of the pages and with a
baby wipe remove some of it through stencil Ancient Marks.
4. Using
acrylic ink in a variety of colors, brush it onto the pages (or use your
fingers as I usually do) and again remove with baby wipes this time using Letter Mania.
5. Let
some inks drip down the pages.
6. Repeat
step 3, but this time only using Distress Markers in Red, Black and White.
7. Take
some deli papers and spray paint (I used Liquitex) in blue, red and black and
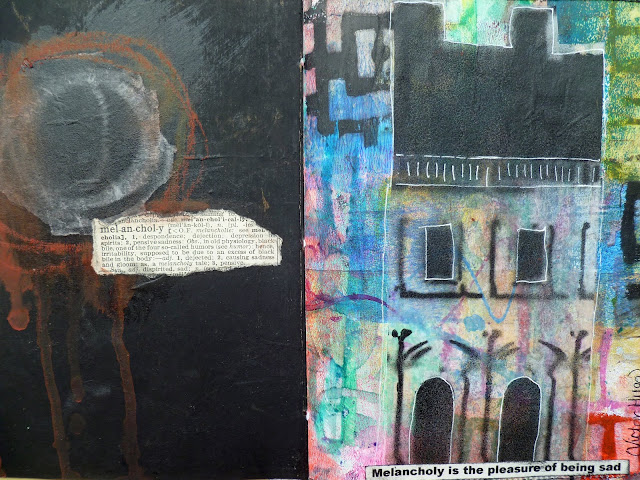
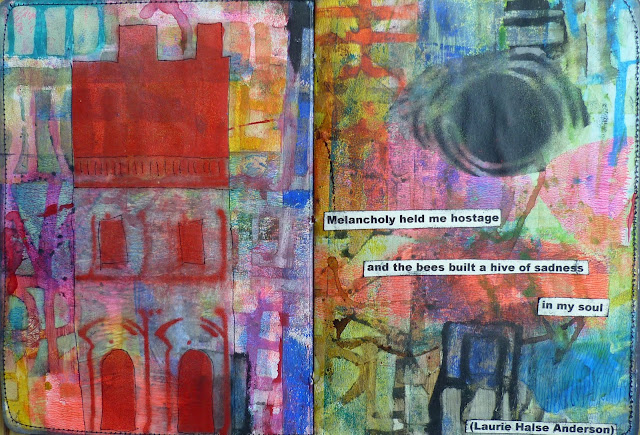
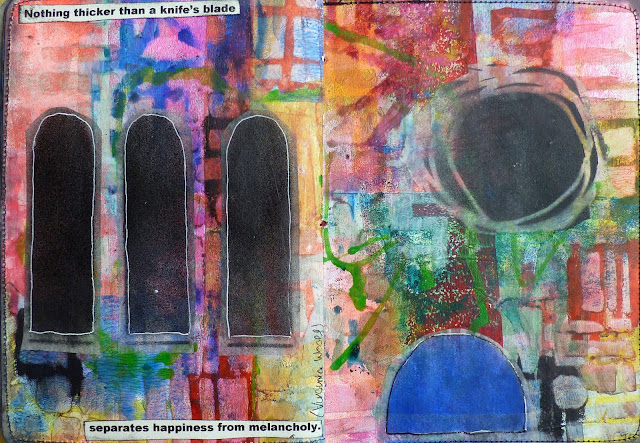
spray the deli papers using stencils Church Windows, 1700s Building, Mix and Match Scalloped Edges, Arched Aqueduct, and Circles Circles. Use black for this last stencil.
8. Cut
out elements of the deli papers you made in step 7 and adhere to the pages
using matte medium. Add a black circle to every spread but make sure you have 4
spreads with the black circle to the right of the spread, and 4 with the circle
to the left.
9. Sew
two sets of pages together, one with the black sun on the right and one with
the sun on the left, with their white sides together. Make sure you have your
pages both facing the right way up. I like to sew, but you could also use
double sided tape or matte medium to adhere the pages together.
10. Grab
your cover and paint it with black gesso.
11. With
red metallic paint and using stencil Church Windows stencil the front cover and then cut out letters
spelling the word MELANCHOLY. Glue these onto the side of the front cover.
Reinforce the spine of the sketchbook with black tape.
12. Take
all sets of pages and arrange them in an order pleasing to you, while making
sure the sun is on the right on one spread, and then on the left on the next
one. The first page has no sun, but I have added a sun to the inside front
cover on the left. The last page has a sun and I then added a building on the
right, on the inside back cover.
13. Print
out quotations about MELANCHOLY and glue them onto the pages.
14. Once
you’re happy, make a template using plain white paper and the height of the
sketchbook. Make 3 holes, one an inch from the top, one an inch from the bottom
and one in the middle. Use this template to make holes (using an awl, or big
needle) in the spreads as well as in the cover. Use a book binding thread (or
cotton floss) threaded through a thick needle, go through all the pages and
cover from the inside center hole, come out, go into the top hole, and go back
inside the book all the way to the bottom hole, go out and back in through the
center hole. Knot off the threads.
15. Do
some outlining around the quotations and the buildings using black and white
permanent markers.


Fantastic!!
ReplyDeleteBeautiful colors and shapes. Wish I could hold the sketchbook in my hands and enjoy each mark and page
ReplyDeleteWow, love it😍! Thanks for sharing!
ReplyDeleteLove it! Always a treat to see your layers build and come together Frieda!
ReplyDeleteI LOVE this project, Frieda! Beautiful and inspiring work!
ReplyDelete