Showing posts with label sketchbook. Show all posts

Monday, May 22, 2023

Sketchbook Play- by Kate Yetter


Hi Everyone, it's Kate here with you today.


Lately, I have been inspired by sketchbook tours to make my sketchbook more of a practice place. If you are like me, you want every page in your sketchbook to be as pretty as the flip-throughs on Youtube, but in order to make the pretty stuff, you need to practice and experiment. Gouache is one of those mediums I haven't yet tried and I thought this would be the perfect place to give it a go.


I started off by stenciling my image onto a page of my sketchbook.


Not knowing what I was doing, I started with gouache on the leaves in several different colors.


I chose a palette that I thought would go together and started painting.


At this point, I wanted to fill in all the white space, so I added some foliage and a background.


And I added some more. At this point, I was unhappy with the flowers. I worked them and re-worked them. Even though this is my first time working with gouache, I love that it allows you to paint layer upon layer until you are happy.


I love the look of ink so I added black outlines but not to everything.


I finally got the flowers the way I like them.


I love the way it turned out. I would have used more stencils but my page wouldn't allow due to size. Now I am thinking about all the possibilities with my other flower stencils.


If you haven't used stencils and Gouache, give it a try. You can cover up all your tracing lines with paint and work it until you are happy. So pull put those stencils and your sketchbook and have fun!

Until Next Time,
Kate


Tuesday, May 17, 2022

Creanouk (Anouk) - Sketches and Mixed Media


Hello you beautiful artist,

I don’t know about you, but after a while less creating I always feel a bit rusty when it comes to my art journaling practise. Right now, while I’m writing this blogpost, I’m 28 weeks pregnant. And for the past six months my head has been filled with… babies! Now that the end is near and we are all set for our baby boy to arrive, I finally feel more space in my head to create again. 

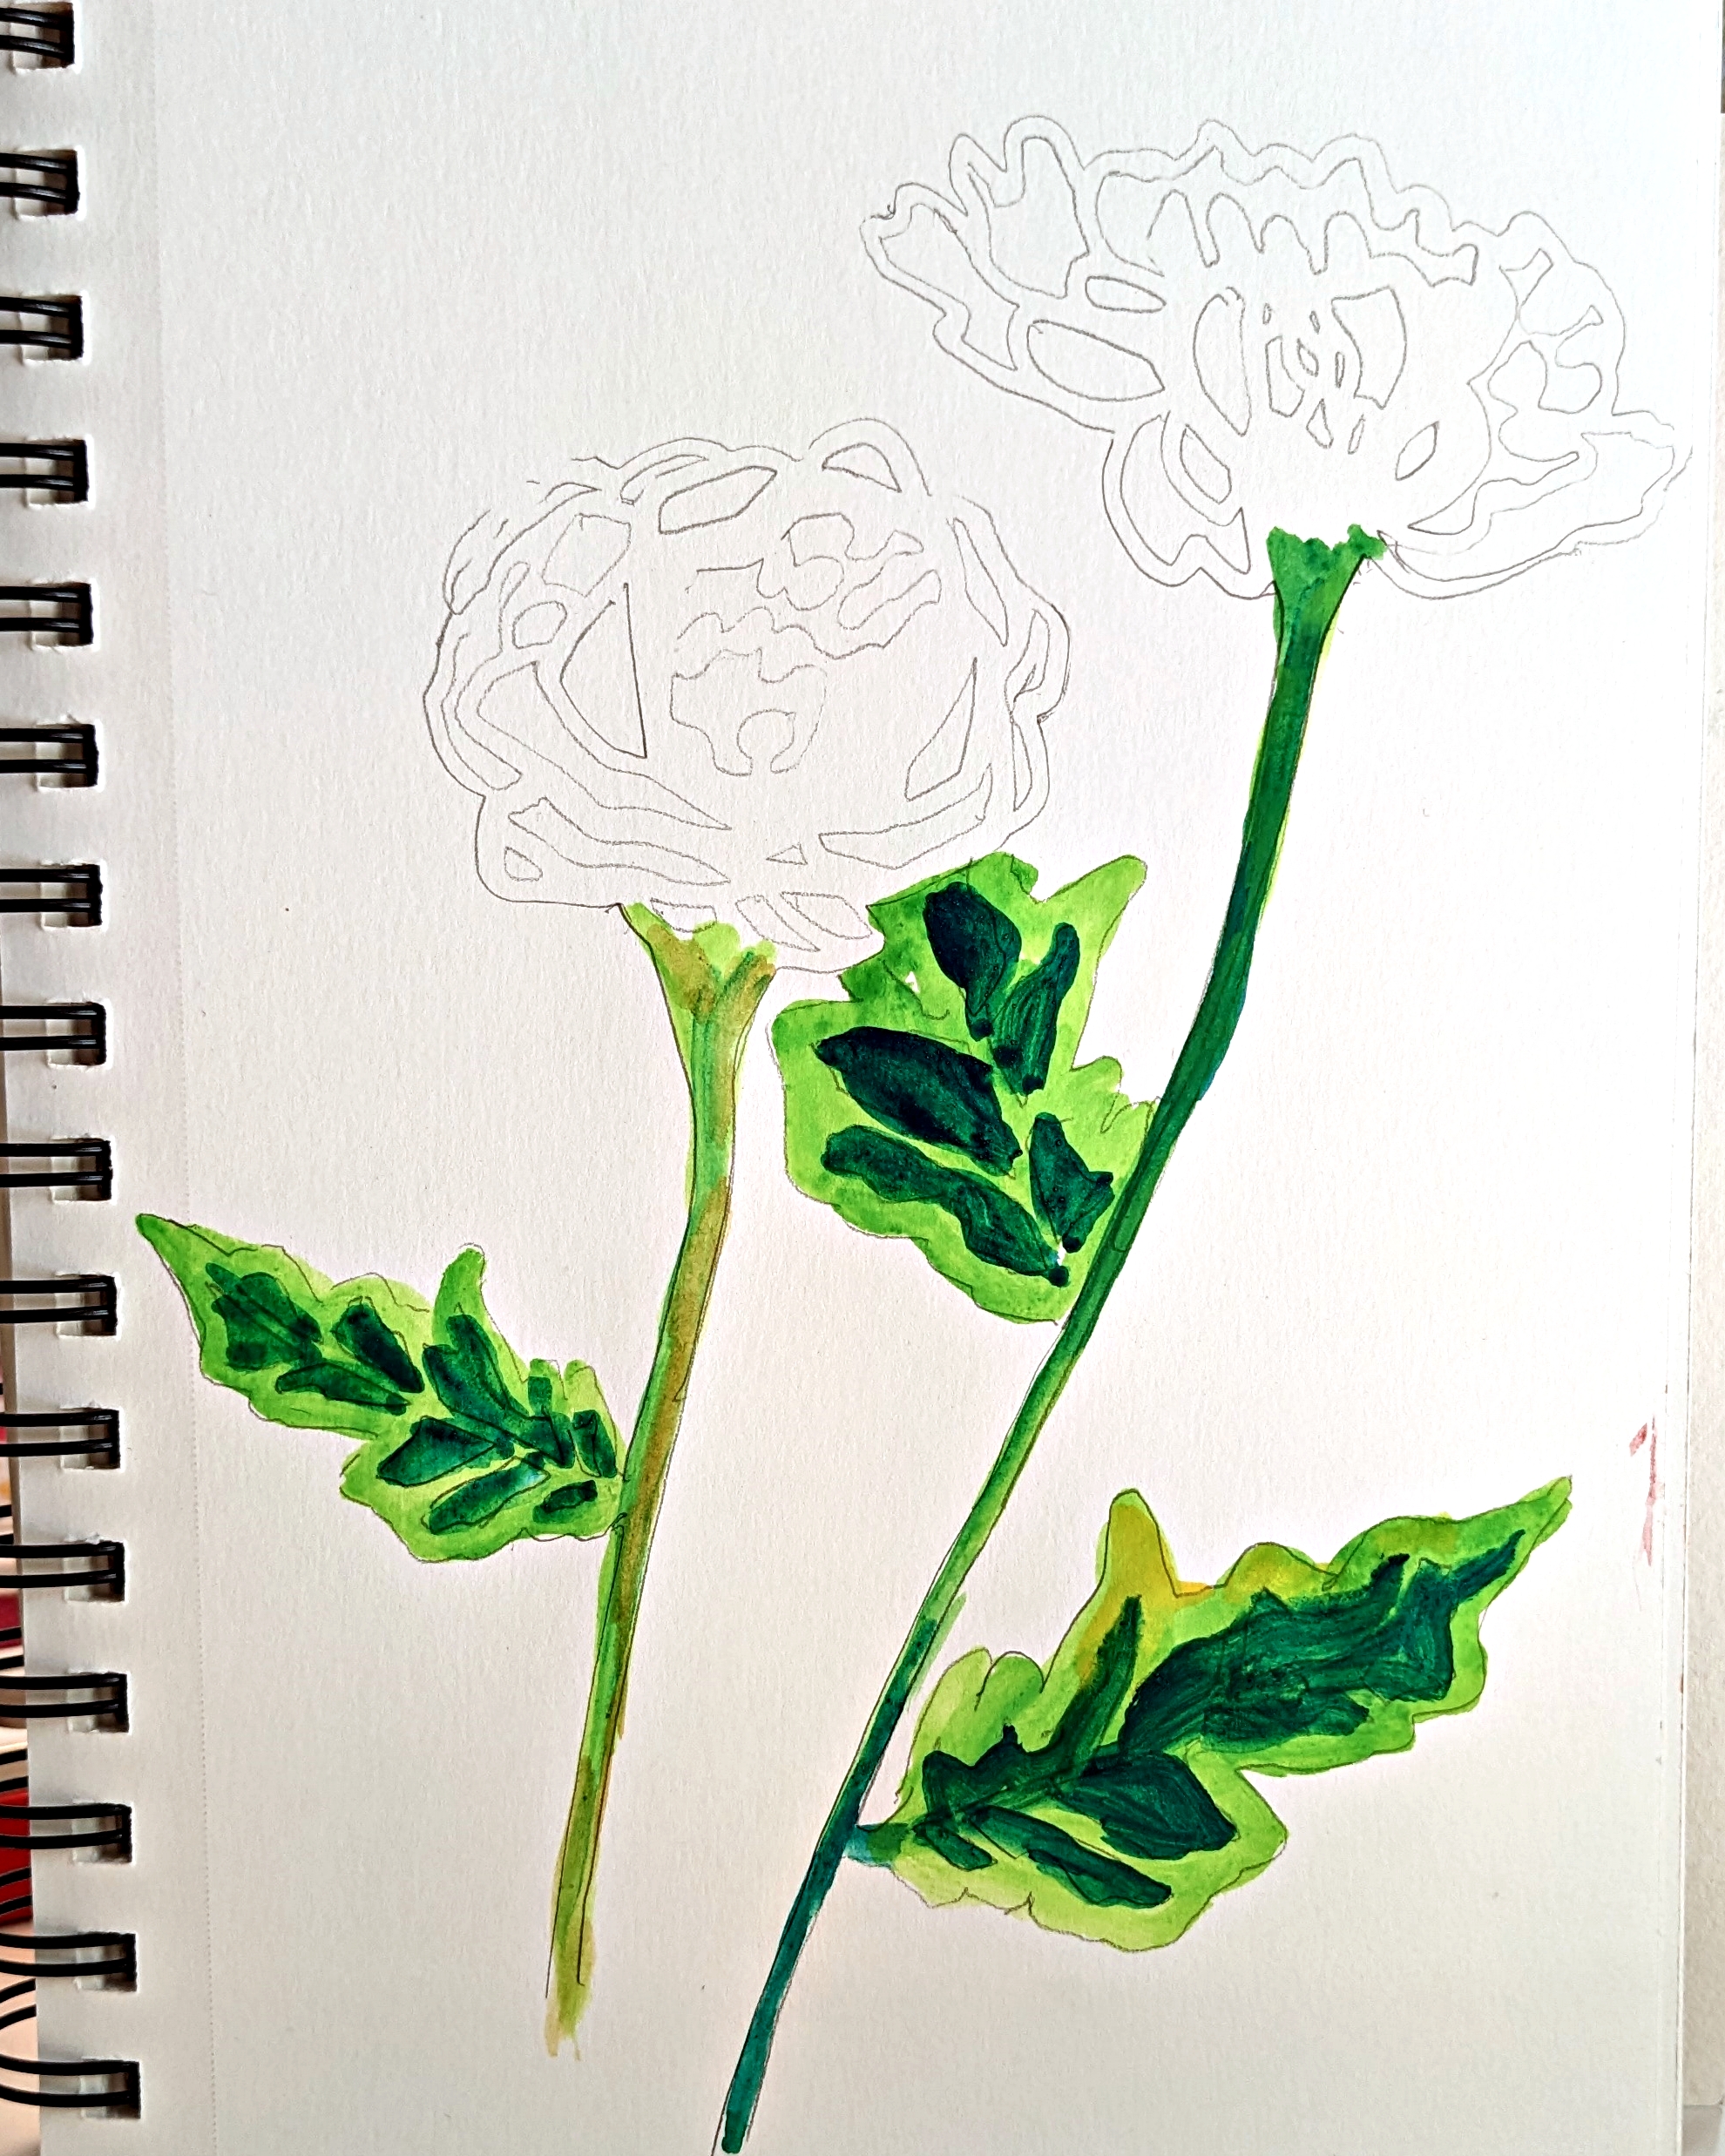
To prevent the fear of the blank page I grabbed a journal from my shelf of unfinished journals that has a mix of floral drawings with mixed media in it. I came across a floral drawing that I sketched in my first trimester and I decided to use it as my starting point.

My drawing is inspired by the book: How to draw modern flowers by Alli Koch. I like to draw my flowers with a waterproof fineliner by Strathmore, but you can always sketch it out with pencil first. The paper in this journal isn’t the best quality, so I applied a thin layer of Amsterdam Clear Gesso on top of the drawing so that I work on it with wet mediums later on.


The journal that I’m working in has a specific theme going on. I used it last summer to sketch flowers while I was outside or resting on the couch. Another thing that occur to me while I was flipping through the pages, was that I used a lot of messy collages next to a stenciled book page. So I grabbed Dripping Spanish Moss and my beloved Amsterdam Modeling paste and stenciled it on an old book page.

I usually have a few of these papers ready to go in my stash. I hate waiting for modeling paste to dry, so having a few papers of these lying around always saves a lot of time.

At this stage I wasn’t sure if I wanted to colour my flowers in. So I used a small brush and some Amsterdam Sky Blue Light mixed with a tiny bit of white to colour outside the lines of my drawing and to create a base for the right and messy side of my page. I only painted a small part of the page, because I knew I wanted to collage and use the stenciled book paper that I just made.

Once everything was dry I glued down the book paper and the rest of the collage pieces with Mod Podge Matt. I always find collaging with tiny scraps super satisfying and relaxing! I think this tiny piece took me half an hour just because I was listening to some lo-fi beats and enjoyed the moment with my art journal.

To make my collage ready for my ‘messy’ stage I used a little bit of white gesso and applied it randomly with a pallet knife. If you feel like you’ve applied too much gesso, you can always use a baby wipe to soften it up.

Next I used Tangled Beach Grass with Amsterdam Titan Buff Dark on top of my collage and blue background to make it blend in with each other a little more.

I’m absolutely in LOVE with this stencil! I saw it on Laura Horn's Instagram and I’ve been in love with it ever since! The whole range of Trish MicKinney stencils are just absolutely beautiful I highly recommend checking them out.

It’s time to get messy! If you’ve been following my blogposts you know that I love using ecoline when I want to make an intuitive and messy spread. To be honest I was a little bit nervous using it at first. It has been awhile since I got so messy and I was afraid to literally mess it up. But I’ve learned that it can’t go wrong if you have a baby wipe and a cup of water beside you!

My initial thoughts were to combine the Prussian Blue ecoline with Burned Sienna, but in the end I thought it would be a bit too much. Thankfully instant coffee is always there to help! I sprinkled some directly on to the page and then sprayed it with a little bit of water.

At this point I decided to leave my drawing just as it is. I just love the look of the messy and colourful side combined with the more minimal black and white sketch. 

I always like to fancy up my pages by gluing or stapling down pieces of fabric. I think it’s just that piece of extra that can make your page really good!

Okay, so I hear you thinking! No modeling paste as the final layer?

Let me introduce you to a new product that I’ve been using. It’s called Stencil Butter and it literally feels like butter! And it’s gold! Okay, I need to contain my excitement and not use it on every single page that I make. I used this utterly gold piece of medium with the Lacy Spanish Moss stencil placing it randomly across the page.

As always I finished off the page with some ink splatters and a cheesy quote sticker from my Tim Holtz sticker book because I didn’t feel like journaling on my own. Sometimes the process of making a page is enough. 

And just like that there’s a page that’s the perfect mix of mixed media art journaling and a minimalistic flower drawing! What I like the most about this combination is that you can use your sketches in your art journal without drawing them on separate paper. You can just take your journal with you, sketch whenever you want to and take it back to your desk whenever you want to play!


Product List:
Handmade Journal
Amsterdam - Modeling Paste Matt
Vintage Music and Book Paper
Dried Tea Bags and Fabrics
Mod Podge - Matt
Amsterdam - White Gesso
Amsterdam - Clear Gesso
Amsterdam - Sky Blue Light
Amsterdam - Titan Buff Dark
Amsterdam - Ecoline Prussian Blue
Instant Coffee
Ranger - Spray Ink White
Faber Castell - Art Grip Aquarelle
Strathmore - Waterproof Fineliners
TCW - Stencil Butter Champagne Gold
TIm Holtz - Sticker Book

Stencils:


Thank you so much for reading my blog post. I hope that I have inspired you to create today! My name is Anouk or Creanouk on social media, and I'm an all-round creative from the Netherlands. I love art journaling because I can put my heart and soul into it. You can find my work on Instagram and Youtube.
 

Monday, September 3, 2018

The Sketchbook Project with StencilGirl® Stencils by Frieda Oxenham

The Sketchbook Project with StencilGirl® Stencils by Frieda Oxenham
The latest edition of The SketchbookProject came up and I began to consider if I wanted to do another sketchbook having done 9 previous ones, but while contemplating that, my right hand had already clicked that button, added digitizing to the sketchbook and bought my 10th one! I must be keen. When the sketchbook (sized 5” x 7”) arrived, it came with a page of themes you could choose from. Again I used my intuition only and grabbed the first one that got my attention: MELANCHOLY.

Like the sketchbooks I did in the last two years this one too has become a project in my capacity as monthly Guest Designer for StencilGirl® Talk and this is the step-by-step process:

1.      Undo the staples on the sketchbook, set aside the cover for the moment and you will be left with 8 spreads. You will only work on one side of each spread and the first step is to gesso them all.

2.      Using a brayer and a variety of paints brayer over the pages, mixing up the colors. Be gentle with picking up the paint with the brayer so as not to get too thick a paint layer on your pages.
The Sketchbook Project with StencilGirl® Stencils by Frieda Oxenham
3.      Using a variety of Distress Markers, add colours to areas of the pages and with a baby wipe remove some of it through stencil Ancient Marks.
The Sketchbook Project with StencilGirl® Stencils by Frieda Oxenham
4.      Using acrylic ink in a variety of colors, brush it onto the pages (or use your fingers as I usually do) and again remove with baby wipes this time using Letter Mania.

5.      Let some inks drip down the pages.
The Sketchbook Project with StencilGirl® Stencils by Frieda Oxenham
6.      Repeat step 3, but this time only using Distress Markers in Red, Black and White.
The Sketchbook Project with StencilGirl® Stencils by Frieda Oxenham
7.      Take some deli papers and spray paint (I used Liquitex) in blue, red and black and spray the deli papers using stencils Church Windows, 1700s Building, Mix and Match Scalloped Edges, Arched Aqueduct, and Circles Circles. Use black for this last stencil.
The Sketchbook Project with StencilGirl® Stencils by Frieda Oxenham
8.      Cut out elements of the deli papers you made in step 7 and adhere to the pages using matte medium. Add a black circle to every spread but make sure you have 4 spreads with the black circle to the right of the spread, and 4 with the circle to the left.
The Sketchbook Project with StencilGirl® Stencils by Frieda Oxenham
9.      Sew two sets of pages together, one with the black sun on the right and one with the sun on the left, with their white sides together. Make sure you have your pages both facing the right way up. I like to sew, but you could also use double sided tape or matte medium to adhere the pages together.
The Sketchbook Project with StencilGirl® Stencils by Frieda Oxenham
10.  Grab your cover and paint it with black gesso.

11.  With red metallic paint and using stencil Church Windows stencil the front cover and then cut out letters spelling the word MELANCHOLY. Glue these onto the side of the front cover. Reinforce the spine of the sketchbook with black tape.
The Sketchbook Project with StencilGirl® Stencils by Frieda Oxenham
12.  Take all sets of pages and arrange them in an order pleasing to you, while making sure the sun is on the right on one spread, and then on the left on the next one. The first page has no sun, but I have added a sun to the inside front cover on the left. The last page has a sun and I then added a building on the right, on the inside back cover.

13.  Print out quotations about MELANCHOLY and glue them onto the pages.

14.  Once you’re happy, make a template using plain white paper and the height of the sketchbook. Make 3 holes, one an inch from the top, one an inch from the bottom and one in the middle. Use this template to make holes (using an awl, or big needle) in the spreads as well as in the cover. Use a book binding thread (or cotton floss) threaded through a thick needle, go through all the pages and cover from the inside center hole, come out, go into the top hole, and go back inside the book all the way to the bottom hole, go out and back in through the center hole. Knot off the threads.
The Sketchbook Project with StencilGirl® Stencils by Frieda Oxenham
15.  Do some outlining around the quotations and the buildings using black and white permanent markers. 
The Sketchbook Project with StencilGirl® Stencils by Frieda Oxenham

© Frieda Oxenham 2018. To see more of Frieda's work, please visit her BLOG.

Wednesday, November 29, 2017

Frieda Oxenham: StencilGirl Products & The Sketchbook Project

I have been participating in the Sketchbook Project for quite some years now and shared my sketchbook as a project here on StencilGirl Talk last year. So I thought I would do it again this year. If you want to take part in this fun project you can find all the information here: https://www.brooklynartlibrary.com/sbp. There is an option to digitize your sketchbook (at an extra cost).

You can also go and borrow sketchbooks from the Brooklyn Art Library in New York (should you be lucky enough to live nearby) and the sketchbooks go on tour too. You can see my past sketchbooks by searching for them by my name.

I choose to use one of the set themes this year which was: Texture.
Here is my tutorial for my Touch to Texture sketchbook:

1.      Undo the staples from your sketchbook and take out the pages (8 in total). Using a brayer and a selection of paints (I used the Impasto ones by Art Alchemy) roll out colour over the pages. You only have to paint one side of each paper.

2.      Using an 8 x 10 Gelli plate and Crazy Quilts Bold & Beautiful, Crazy Quilts Calm and Frenzy, and Crazy Quilts Crosses and Rounds add pattern to the pages in a contrasting color using the same paints as in step 1.
In the process use copy and deli paper to clean off your Gelli plate when changing colour and keep these pages for later use.

3.      Repeat step 2 but using only black and white paint and a different one of the 3 stencils than you used for step 2 on each page.
Again clean the plate with the copy and deli papers from step 2.
4.      Layer each page with a non-woven, adhesive on one side, interfacing. The glue works by heat so layer the page, the interfacing on top of the back of the page and a piece of baking parchment on top of that. Iron on top of the parchment with a fairly warm but not too hot iron (remember paint doesn’t like such heat). Your interfacing should adhere to the back of your page just enough to start work stitching the pages. I used a collection of embroidery floss and perle cottons, with a sharp embroidery needle, to embellish the patterns. Only a straight stitch is used (I did smuggle in some French knots but you don’t have to!) To start and finish your thread use masking tape on the back of the interfacing. The interfacing will stop your page from tearing.

5.      When all the pages are stitched layer them up in pairs and stitch them together with the wrong sides facing each other on your sewing machine (you can also do this step by hand if you like). I used a red thread both on top and in the bobbin. You will end up with 4 double sided pages.  Decide in what order you want to use them in your sketchbook and reinforce the fold line with a bone folder or by pressing hard with your finger.

6.      Select one of the copy papers you made in step 3A for your cover. I adhered it with double sided tape and made sure not to cover up the barcode (which is used for the Sketchbook Project admin). If you are using your own sketchbook you can simply cover the entire cover with your paper.  Stitch some of the pattern (without interfacing this time, the cover is thick enough already) and add the title. I used a Dymo writer for this. Reinforce the fold with binding tape (black and white circles in my case).
7.      Do the same for the inside cover with another one of your pages from step 3A, and double sided tape. Then stitch around the perimeter of the cover with your sewing machine as in step 5. Also add some zigzag stitching along the sides of the binding tape.

8.      Take a piece of scrap paper the same height as your sketchbook, fold it in half, and make a hole 1” from both the top and the bottom of the strip. Also make a hole at the half way point. Use this to make holes in all your pages as well as the cover.
9.      Using a 3 time as long as the height of your sketchbook piece of perle or floss cotton (I used red) and a sharp needle go through the center hole from the inside of your center page, through all the pages and out through the cover, go up to the top hole and back inside through the cover and all the pages, go back out through the bottom hole likewise and then back inside through the center hole. Make sure the ends of your thread are on opposite sides of the long line of thread and your pages are tightly bound together. Then knot off your threads securely.

And voila, your sketchbook is done! Enjoy looking at it before sending it off to the Brooklyn Art Library. I freely admit that I find this stage of the process a bit of a wrench but it’s great to know my sketchbooks are in such a great place.

(C) Frieda Oxenham 2017. To see more of Frieda's work, please visit her BLOG.