Lately, I have been inspired by sketchbook tours to make my sketchbook more of a practice place. If you are like me, you want every page in your sketchbook to be as pretty as the flip-throughs on Youtube, but in order to make the pretty stuff, you need to practice and experiment. Gouache is one of those mediums I haven't yet tried and I thought this would be the perfect place to give it a go.
I started off by stenciling my image onto a page of my sketchbook.
Not knowing what I was doing, I started with gouache on the leaves in several different colors.
I chose a palette that I thought would go together and started painting.
At this point, I wanted to fill in all the white space, so I added some foliage and a background.
And I added some more. At this point, I was unhappy with the flowers. I worked them and re-worked them. Even though this is my first time working with gouache, I love that it allows you to paint layer upon layer until you are happy.
I love the look of ink so I added black outlines but not to everything.
I finally got the flowers the way I like them.
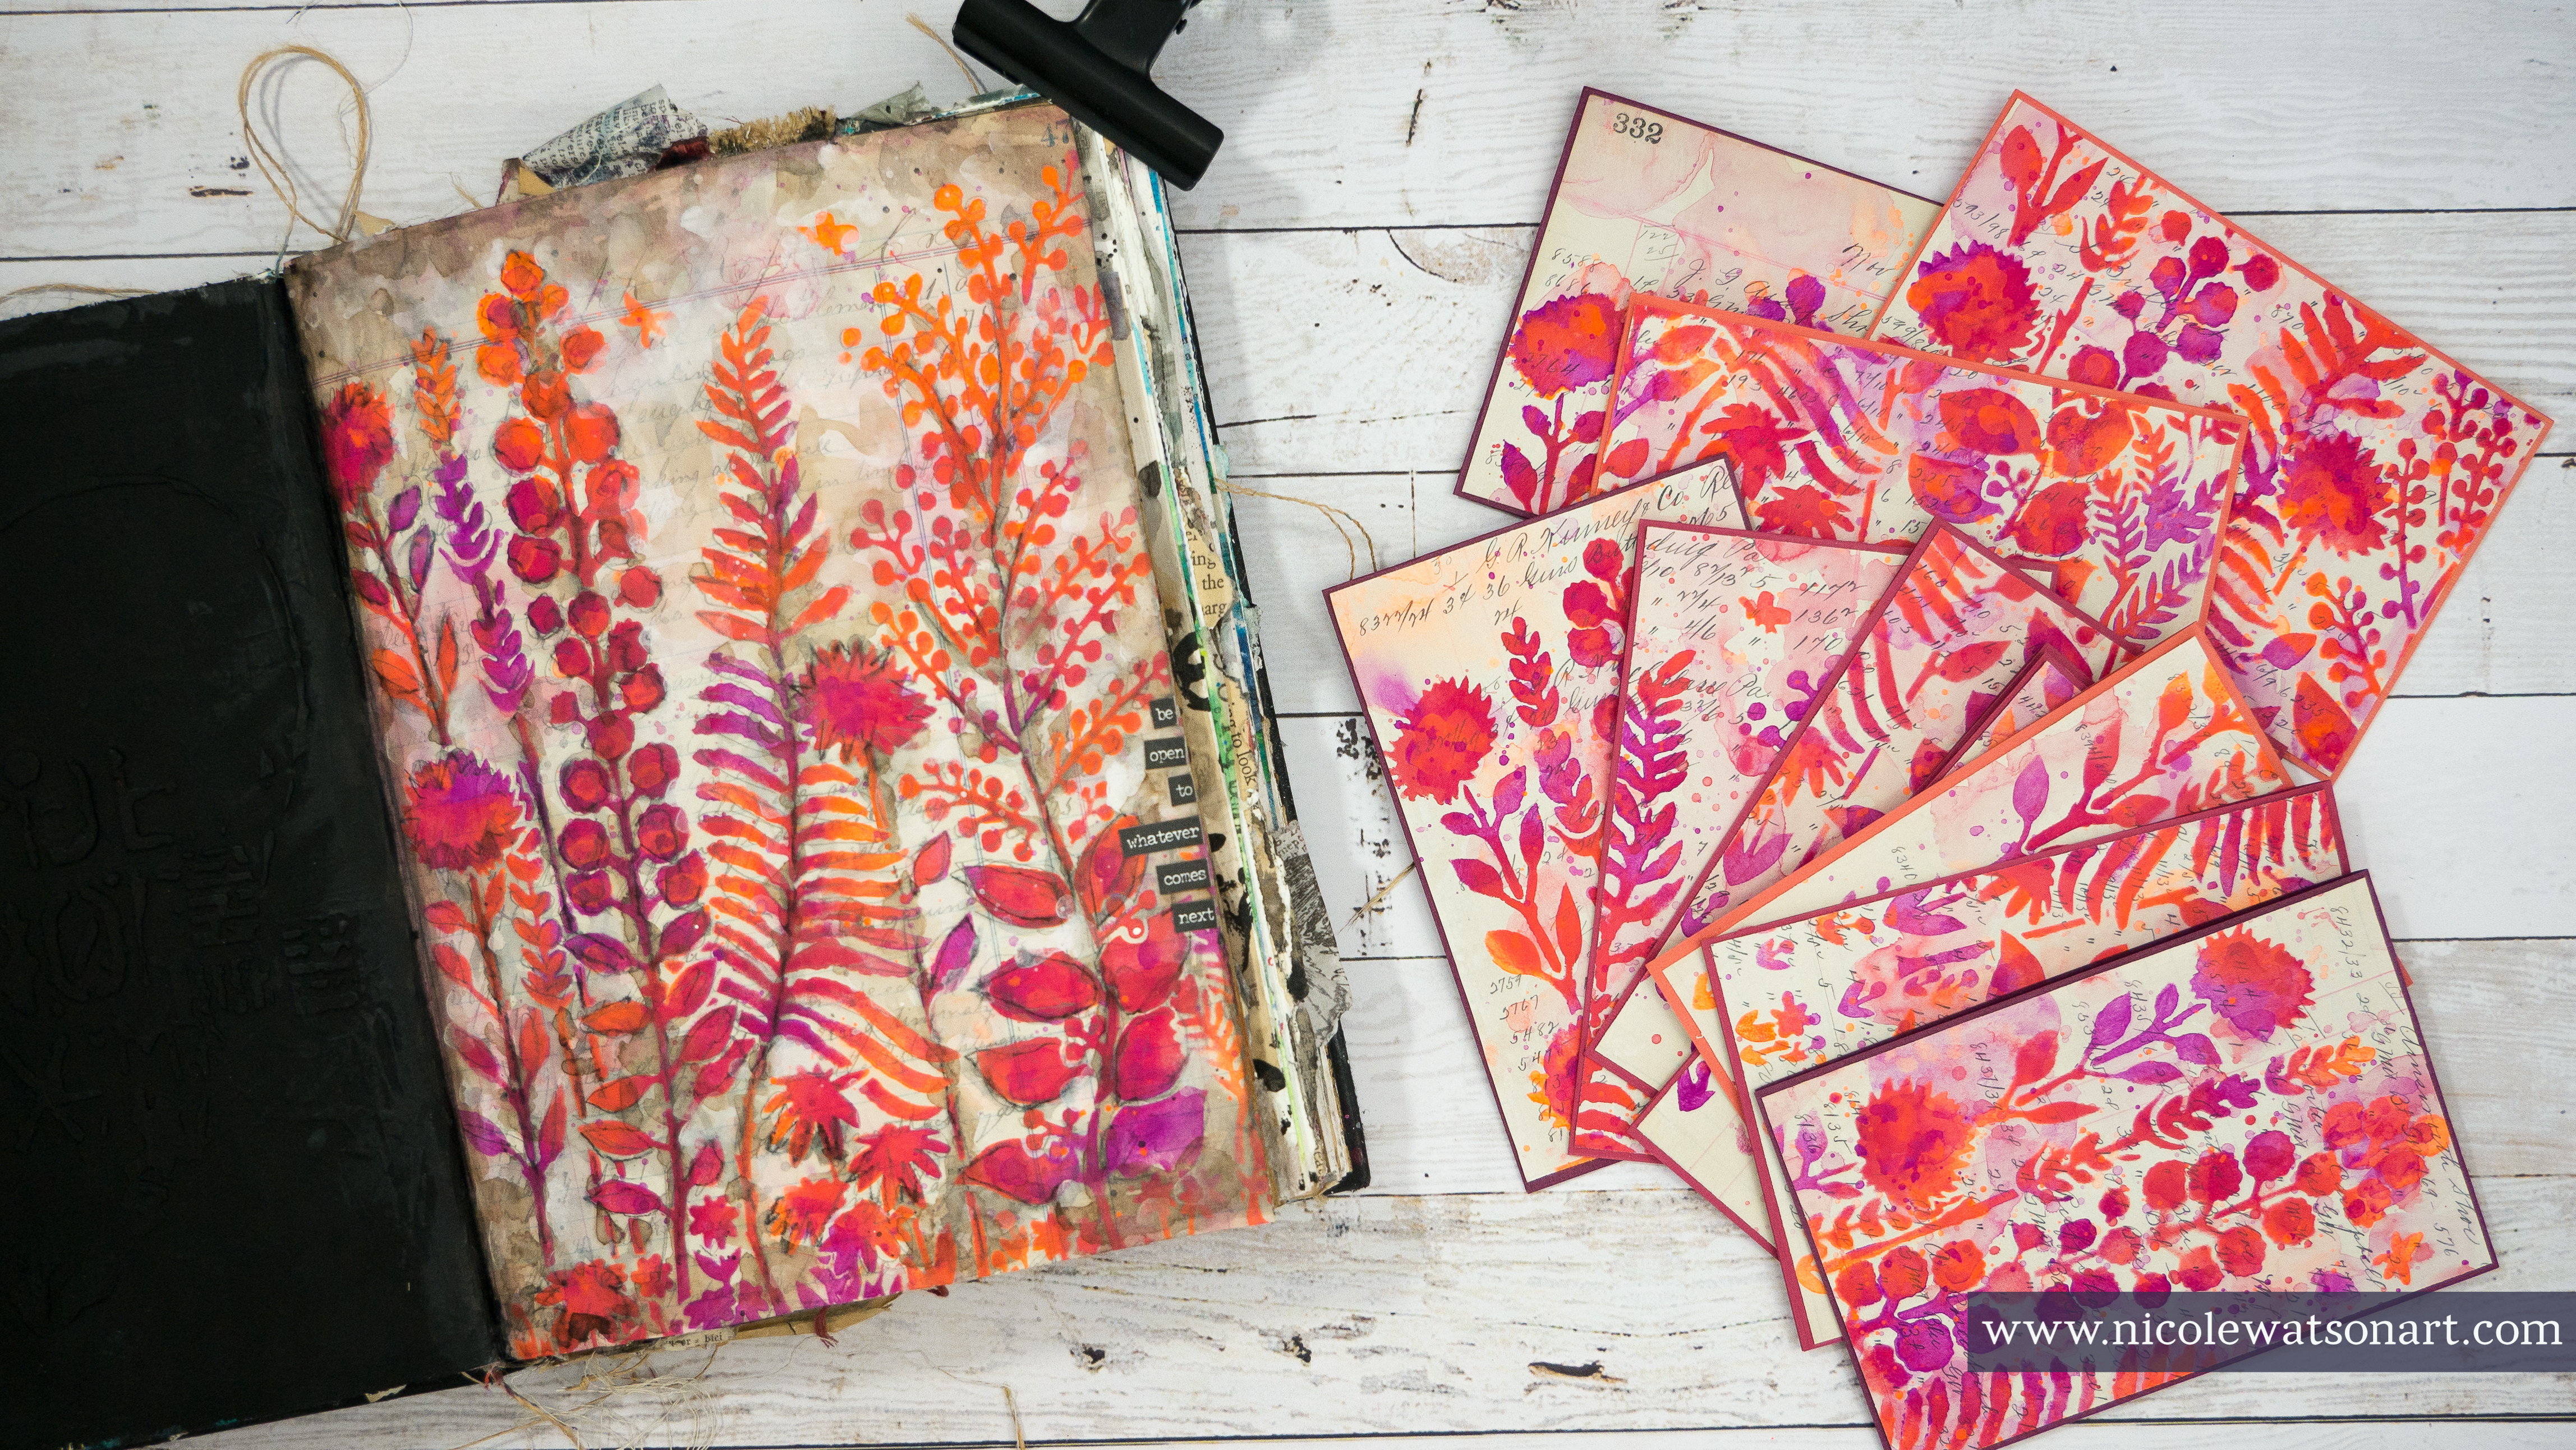
I love the way it turned out. I would have used more stencils but my page wouldn't allow due to size. Now I am thinking about all the possibilities with my other flower stencils.
If you haven't used stencils and Gouache, give it a try. You can cover up all your tracing lines with paint and work it until you are happy. So pull put those stencils and your sketchbook and have fun!
This week we have 2 great collection releases for you! Take the Scenic Route with Nancy Curry's latest designs and join Tina Walker for All Things Rolodex!
Nancy says, "Our travels have taken us to places on our bucket list that have astounded, but the ones that play out in my memory are the quiet, introspective moments that allow the natural world to show off its beauty, endurance, and stillness. Those interludes of absolute peace and wonder are the moments that get me through the hard days. During the latter part of the pandemic, they became the basis for my series of watercolor landscapes that I call The Floral Carpet series. Transforming my paintings into stencils in this ongoing collection is another way of unleashing my imagination to the world. "
"I love stencils that can be used in different ways. Although they are seemingly complete compositions, they can be used in their entirety, or they break down into parts as shown in the samples. They can be the main event in your pieces or play an supporting role. My samples are very saturated or high contrast, but they would be beautifully serene parts done in pastel-colored acrylics to create a subtle background. I used varied mediums to create my samples, so let your imagination go wild. Watercolor, alcohol ink, acrylic and gouache all worked well on mixed media paper, cardstock, prepped metal and mylar."
"I spent a day in New Zealand on a sheep farm. The sheep were the show of the day until I looked over and saw the most spectacular vista of rolling hills, wildflowers and stately trees. Five years later, I painted Kiwi Idyll, my inspiration for this stencil. It’s design size lends itself to a variety of uses: art journal, home décor, smaller works featuring just flowers or tree-focused among others. In your art practice, you may see something else. That’s the beauty of art. Pro Tip: I use different mats to decide what areas I want to use to create a different composition. You can achieve the same effect by cutting copy paper into what size viewfinder you want."
"In 2021 I had knee surgery and was not allowed to walk much for 8 weeks. That meant I didn’t have chores to do so I painted everyday from a recliner on a tiny table that was only 12’ wide. One day I did a series of four watercolor in a square 4” format and Gratitude is a piece from that day. It inspired the Sojourn stencil in a slightly larger format. At 6” square this stencil is fantastic for small format pieces. I had a great time using different parts of it for an ATC series. Pro Tip: Masking tape is great to cover areas you don’t want to have as part of the composition. "
"This is the second of four tree-themed watercolor pieces from 2021. The original art, Solitary, was a fun exploration of scale and the modern phrase, size matters. I do love a strong focal point and have enjoyed paring that with different background styles. Pro Tip: Experiment with different background styles that you wouldn’t normally use. My favorite was Citra Solv paper. Want to know more about that? Check our StencilGirl Studio. I have a class on there. While you’re at it, check out all the classes from all the artists. Brilliance abounds."
These stencils were designed with All Things Rolodex in mind. Rolodex art is super chic and cool, so why not take your rolodex art up a notch with stencils. These make your standard sized rolodex cards super special, plus give you non-traditional rolodex shapes to work with. The graphics for each rolodex card are iconic and can be used with various mediums (paints, watercolors, pencils) and can be used in traditional journals.
Hello! Nicole here, and I’m really finding myself in a major creative slump after some time away from my studio. I had the perfect plan for this month’s blog post, and nothing worked!
After a few days of troubleshooting the project that didn’t happen, I sat creatively challenged and staring at my messy desk. Not only did I have to figure out a new plan, I had to clean up the old plan. Ugh.
Avoiding the mess, I flipped through my pile of StencilGirl® stencils and the Tall Flowers one caught my eye. I brainstormed some ideas while cleaning and remembered that I needed to make some spring cards with graduations, Mother’s Day, weddings, showers, and other spring events around the corner.
I often replenish my card stash seasonally. In fact, I made some similar cards last fall with a leaf stencil. I began making cards when I was first married and realized that my family size nearly tripled. My style has changed, and now I really enjoy sending a little piece of my art in the mail.
This process isn’t much different than my previous post, however we’re using spring colors, a different stencil, and it’s even easier.
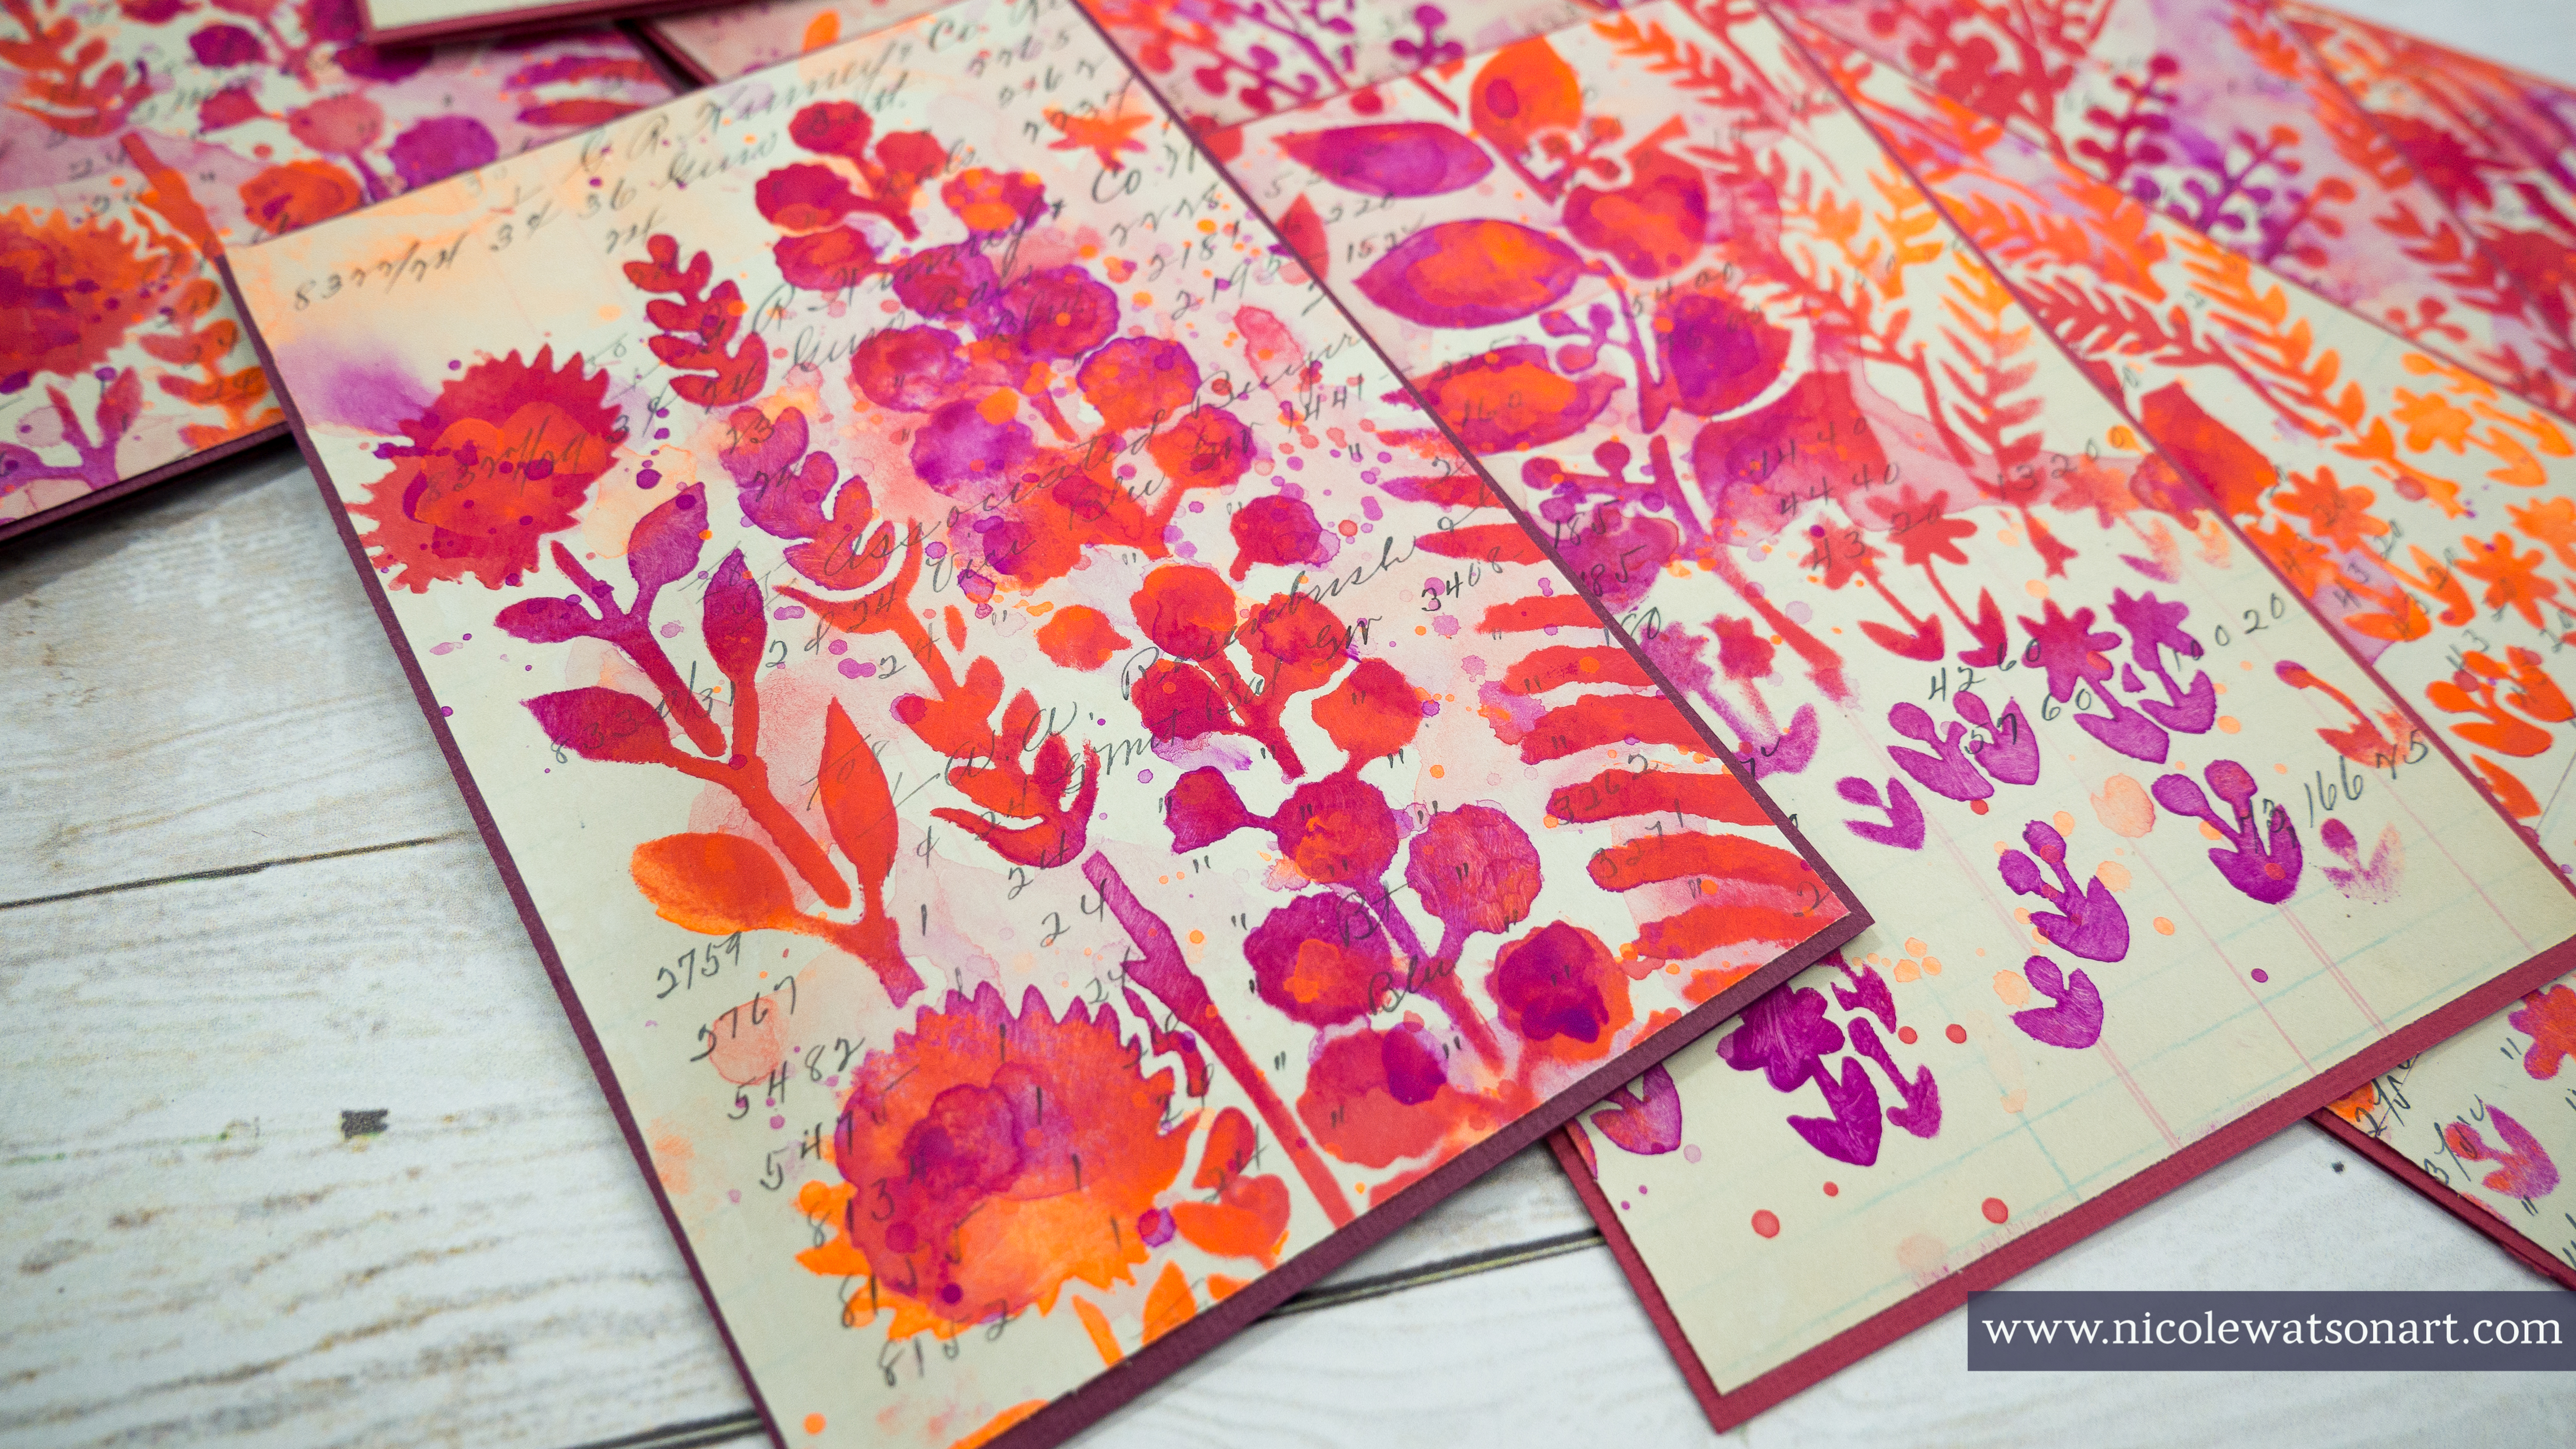
I began by lightly gessoing some ledger pages that I found loose in my paper stash. I have no idea where they came from (Thanks if you’re the one who sent them to me!), but they were the perfect size to get two card fronts across the top. I also gessoed one page to add to my art journal.
If you check my last card post, there’s a photo showing the difference between the gessoed and non-gessoed pages. It’s just a very light coating to protect the page as I add paint and water.
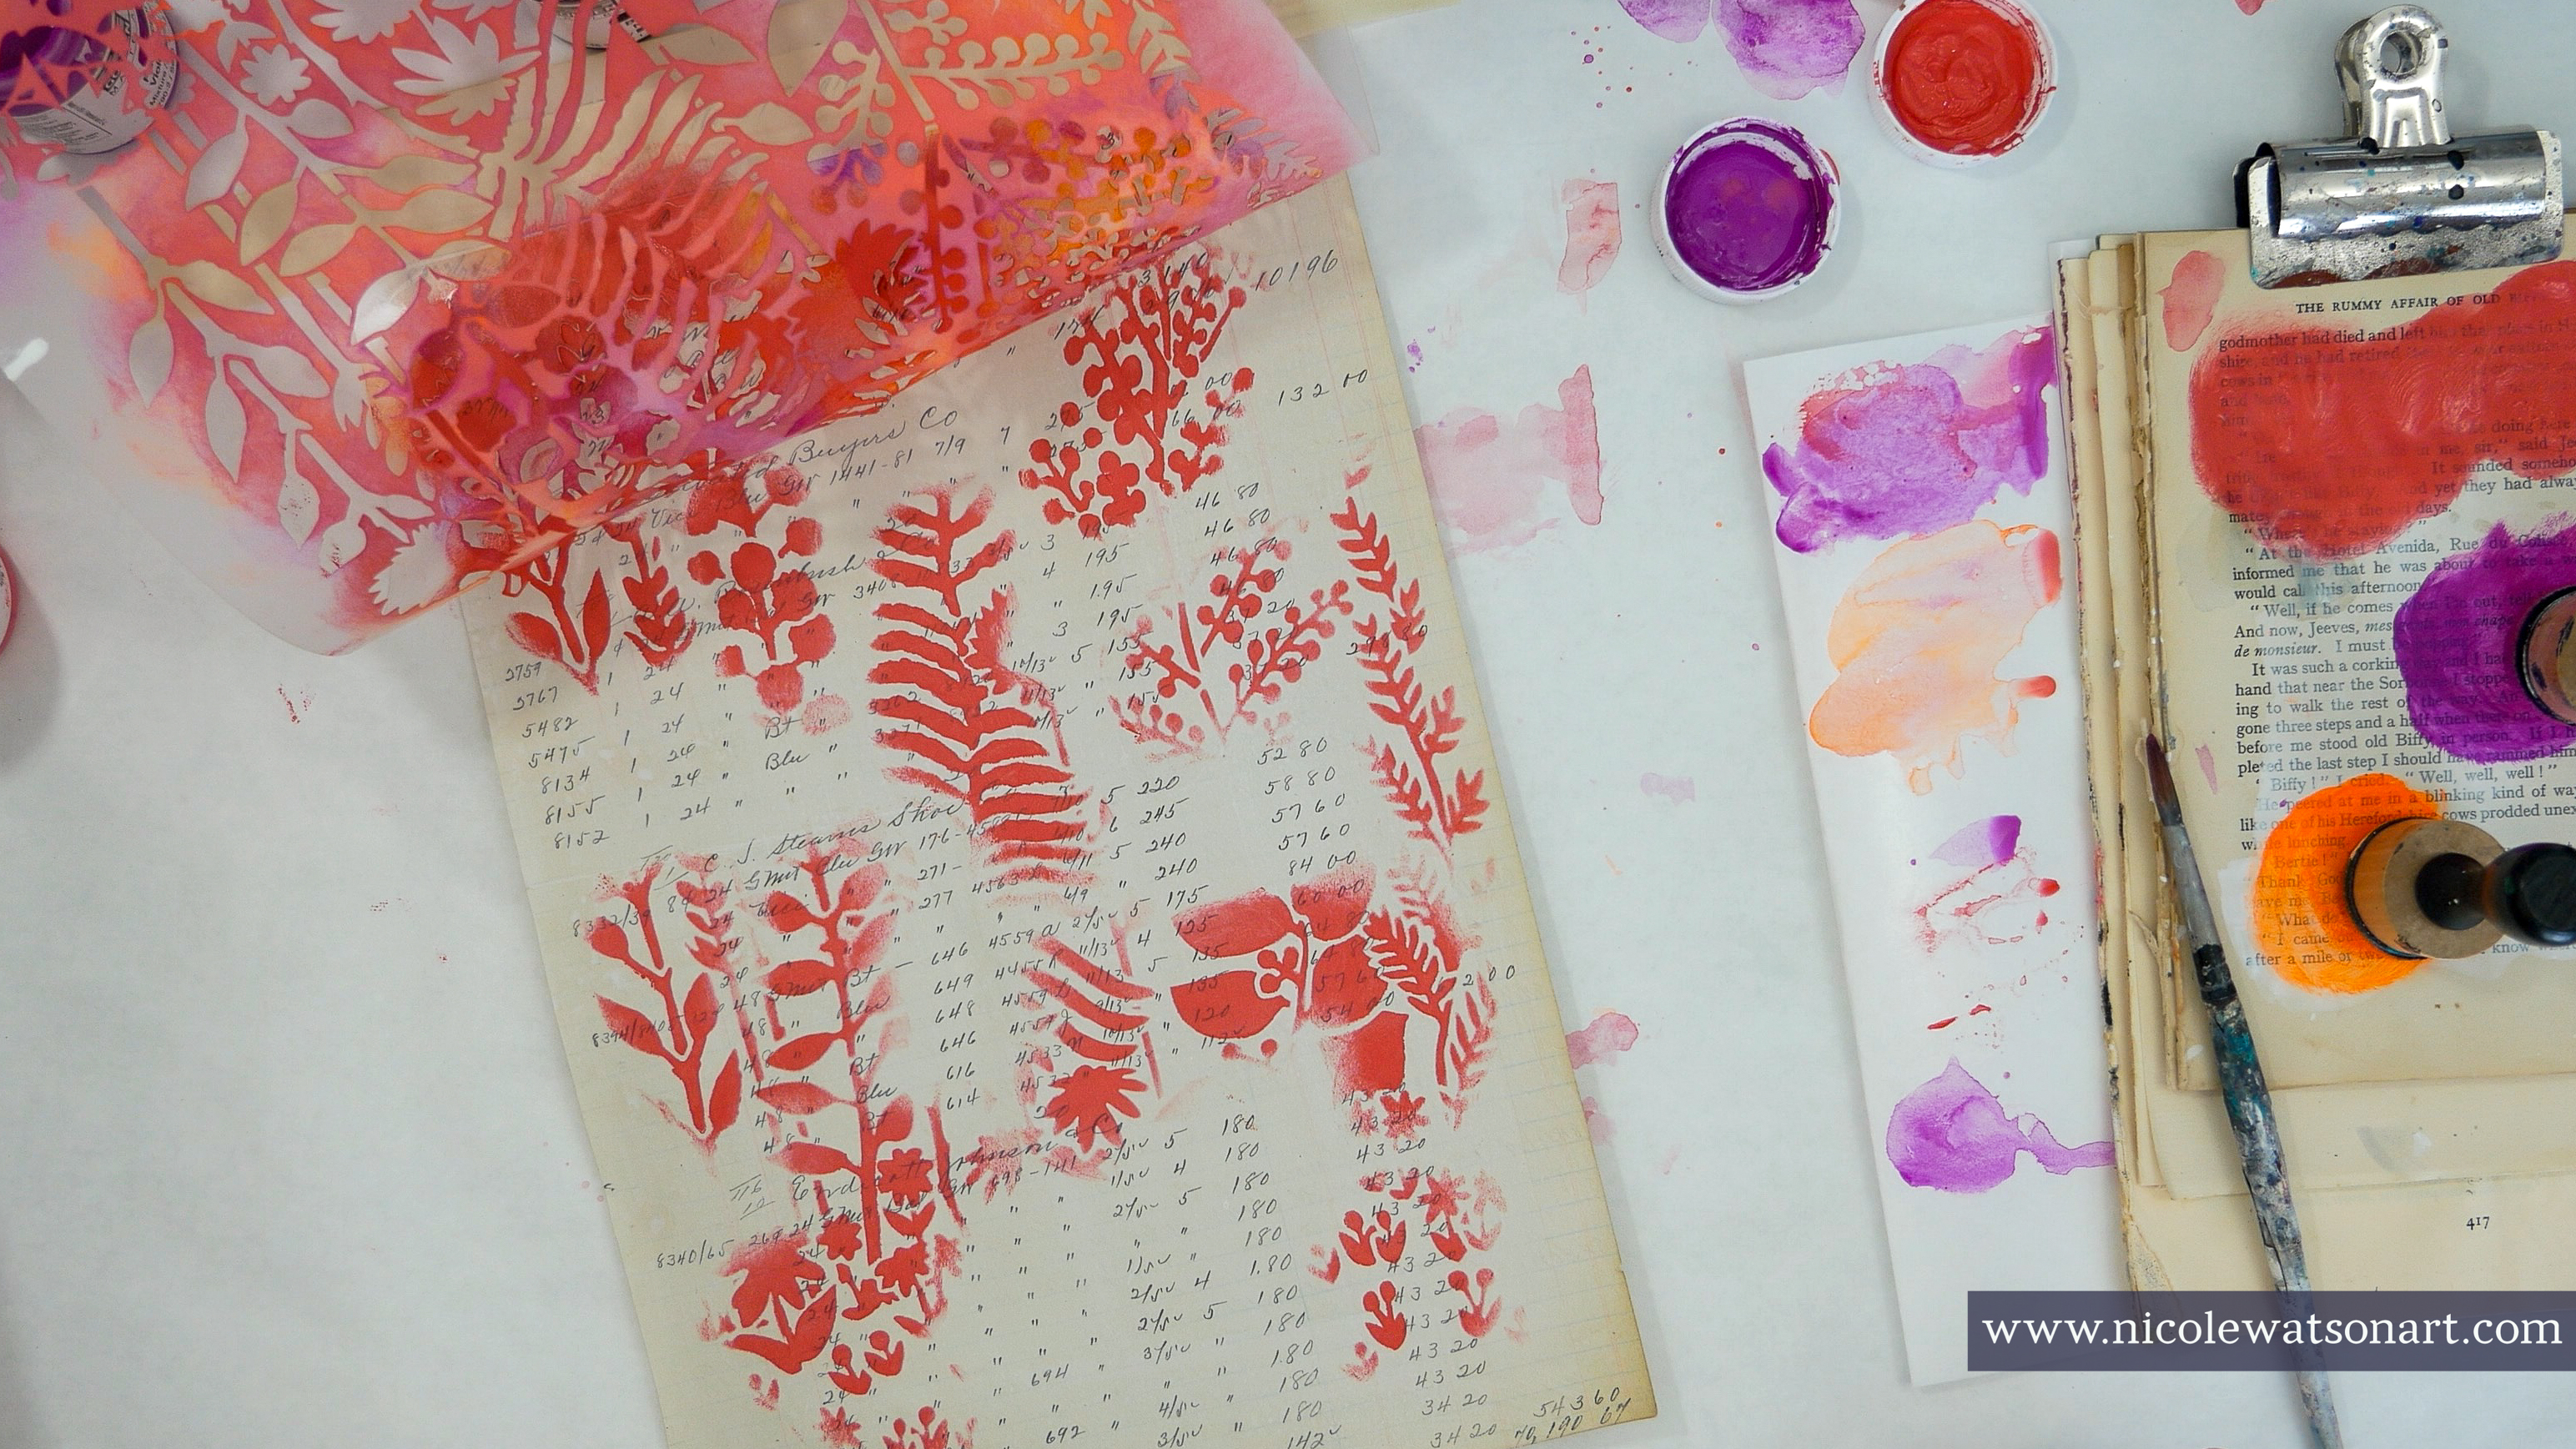
Once the pages were dry, I began to stencil. Since this stencil is a little more detailed, I taped it down to the ledger sheet and my table. I grabbed three colors that I knew would blend well together and used a sponge applicator tool for each one.
First, I stenciled with the Naphthol Pink, lifting the stencil a couple times to check my work.
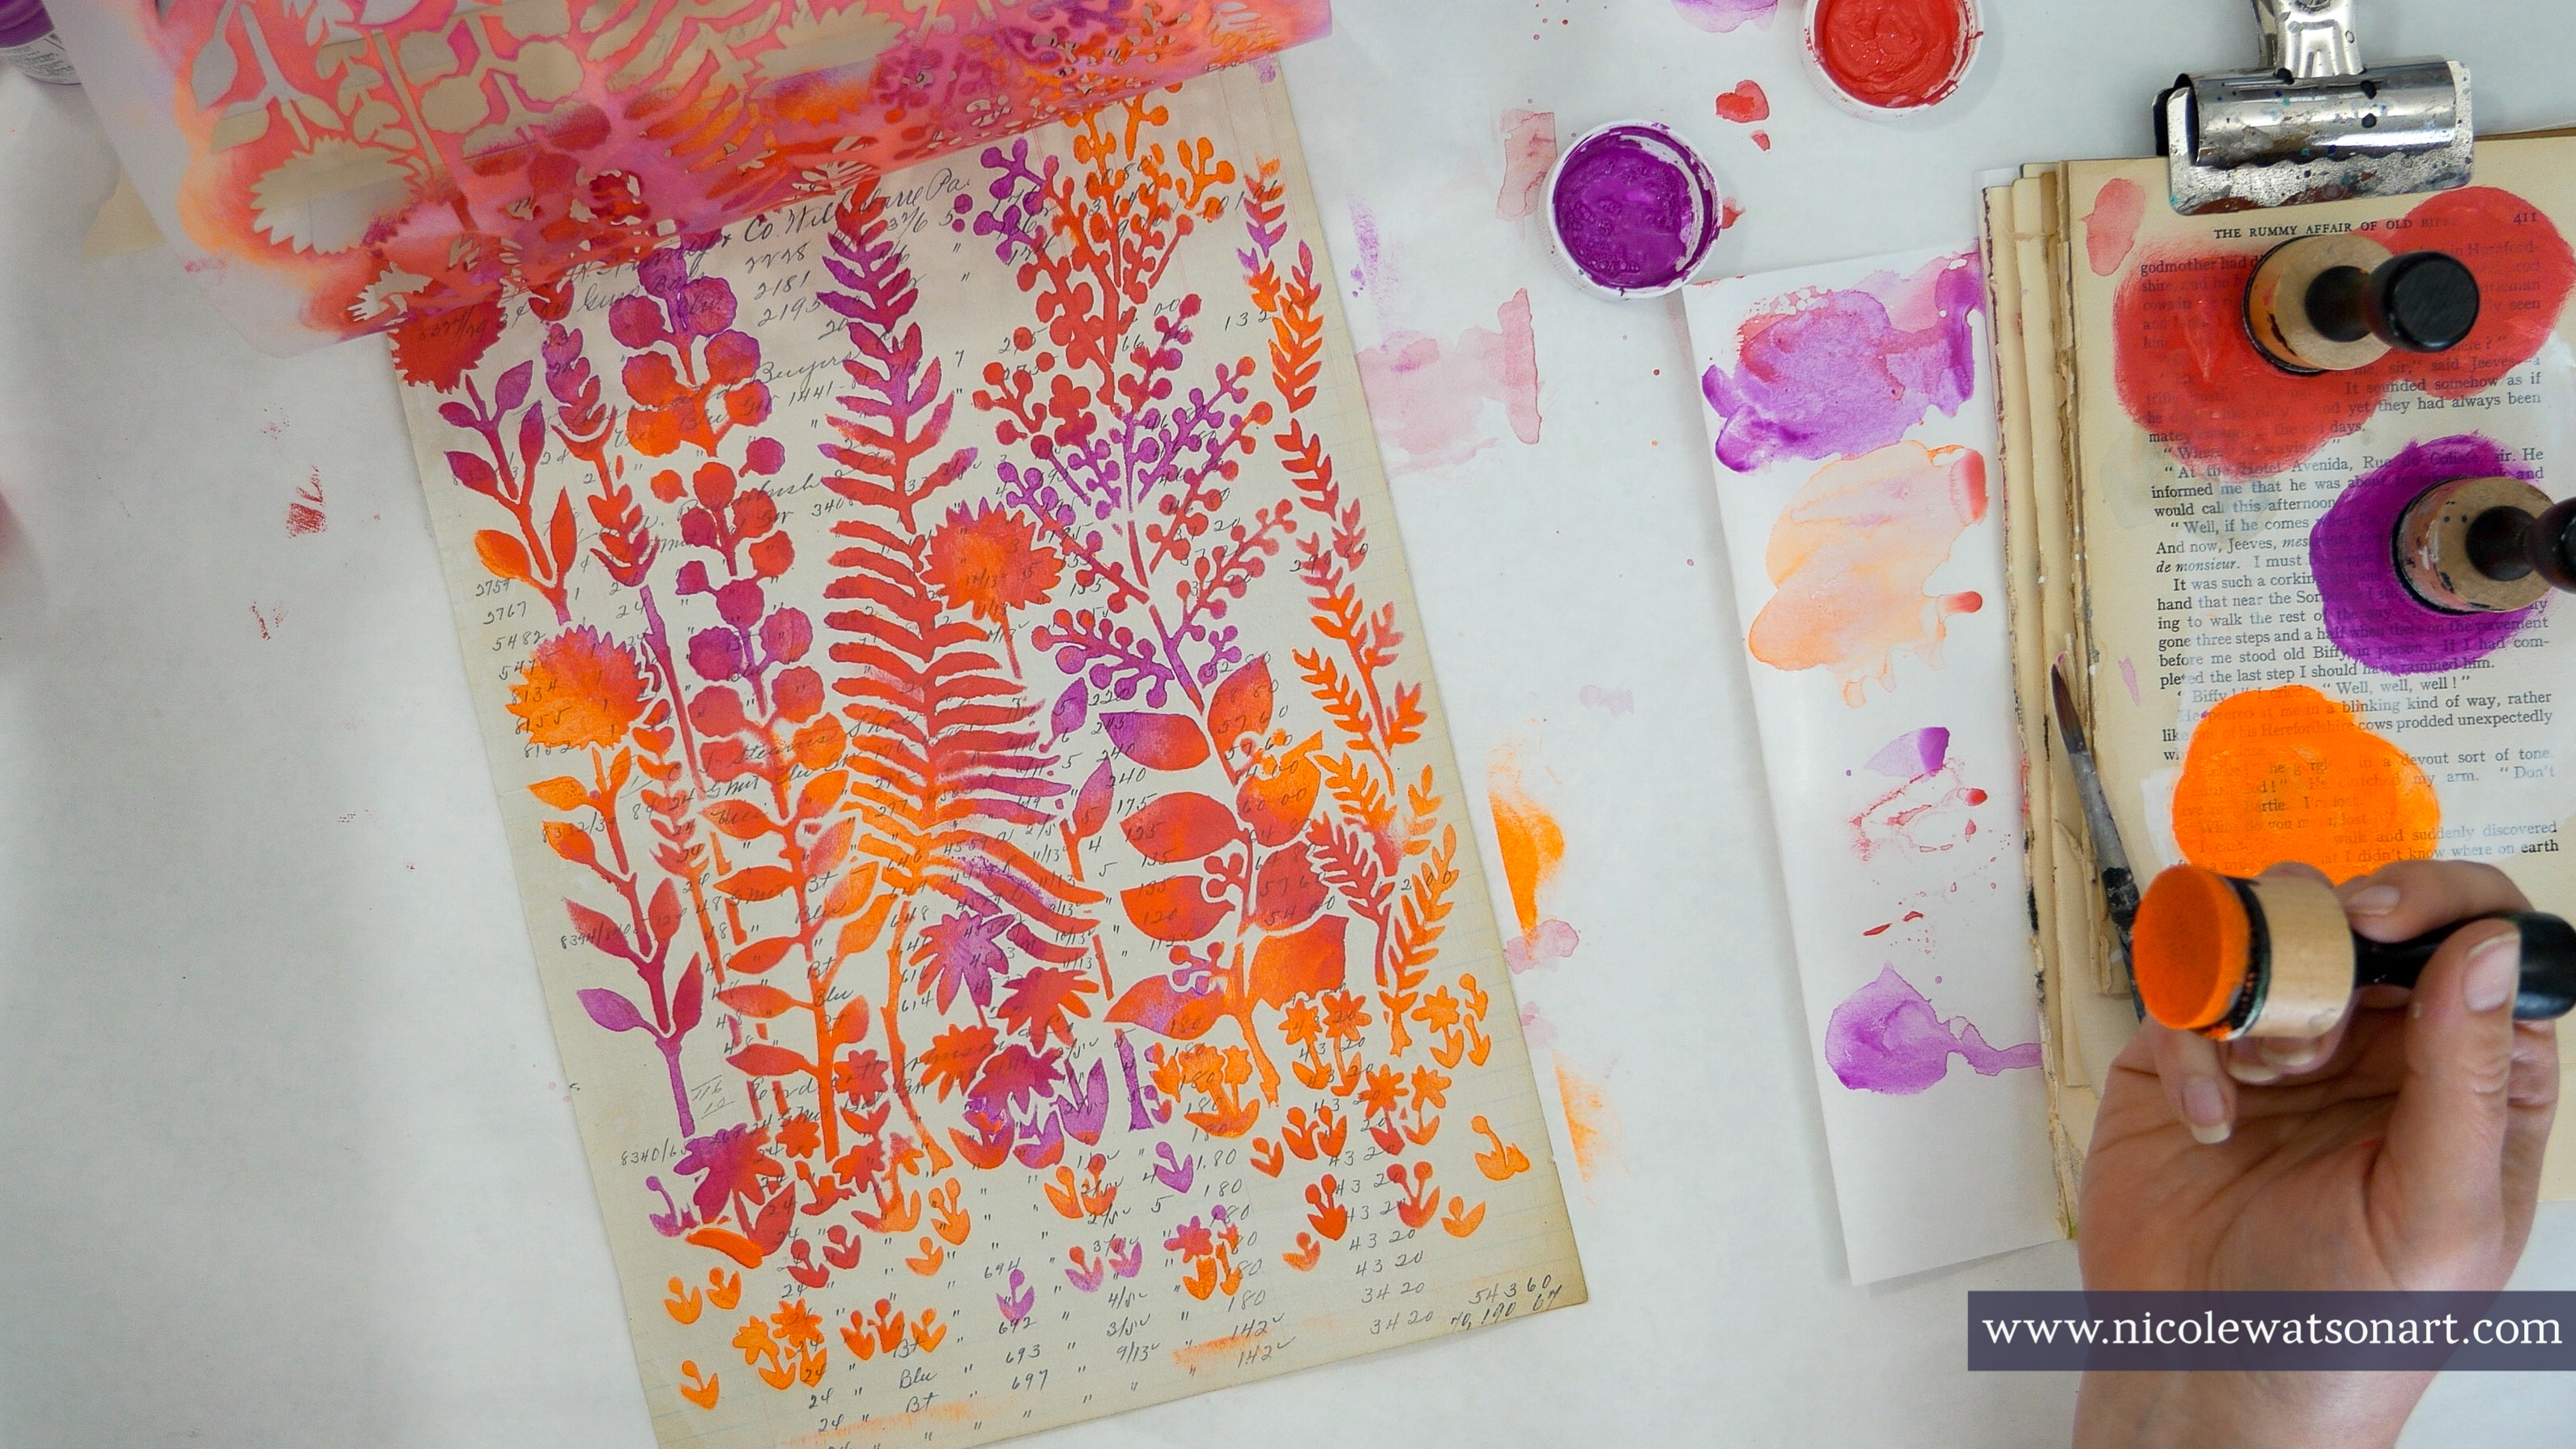
Then, I added the Fluorescent Violet, again checking the progress.
Last, I topped the stencil off with some Fluorescent Orange.
After all the stenciling was finished, I removed the tape and added some watered-down color plus some splattering. I like how this adds some of my style and personality to the stenciled image, and I’ll add even more later.
I repeated this process three more times for a total of three papers for cards and one for my art journal.
Once all that watery paint and spatters were dry, I lined up the papers and added a few more details. For example, on some of the darker violet flowers I added some of the fluorescent orange to give dimension and make them pop a bit.
Since the flower pattern is pretty detailed, I decided to keep the cards themselves pretty simple and didn’t add anything else. I cut 12x12 cardstock into 3 card bases (4x12") and then cut the ledger pages into my card fronts. They are just shy of 4x6", allowing for a small colored boarder of the cardstock around them.
For the final step, I folded the cardstock and adhered my stenciled images to the front.
Since the stencil is so detailed, use your hand to hold it down as you stencil through it. Your hand will get pretty messy, so wear a glove if that bothers you.
Chose colors that blend well together. If you aren’t sure, test them out first.
If you don’t have a ledger page, use a stamp with archival (waterproof ink) for some background texture. You could also use book pages or music sheets.
Further enhance your stenciled images and cards with ribbons, stamps, stickers, or even trace and draw or doodle in the flowers.
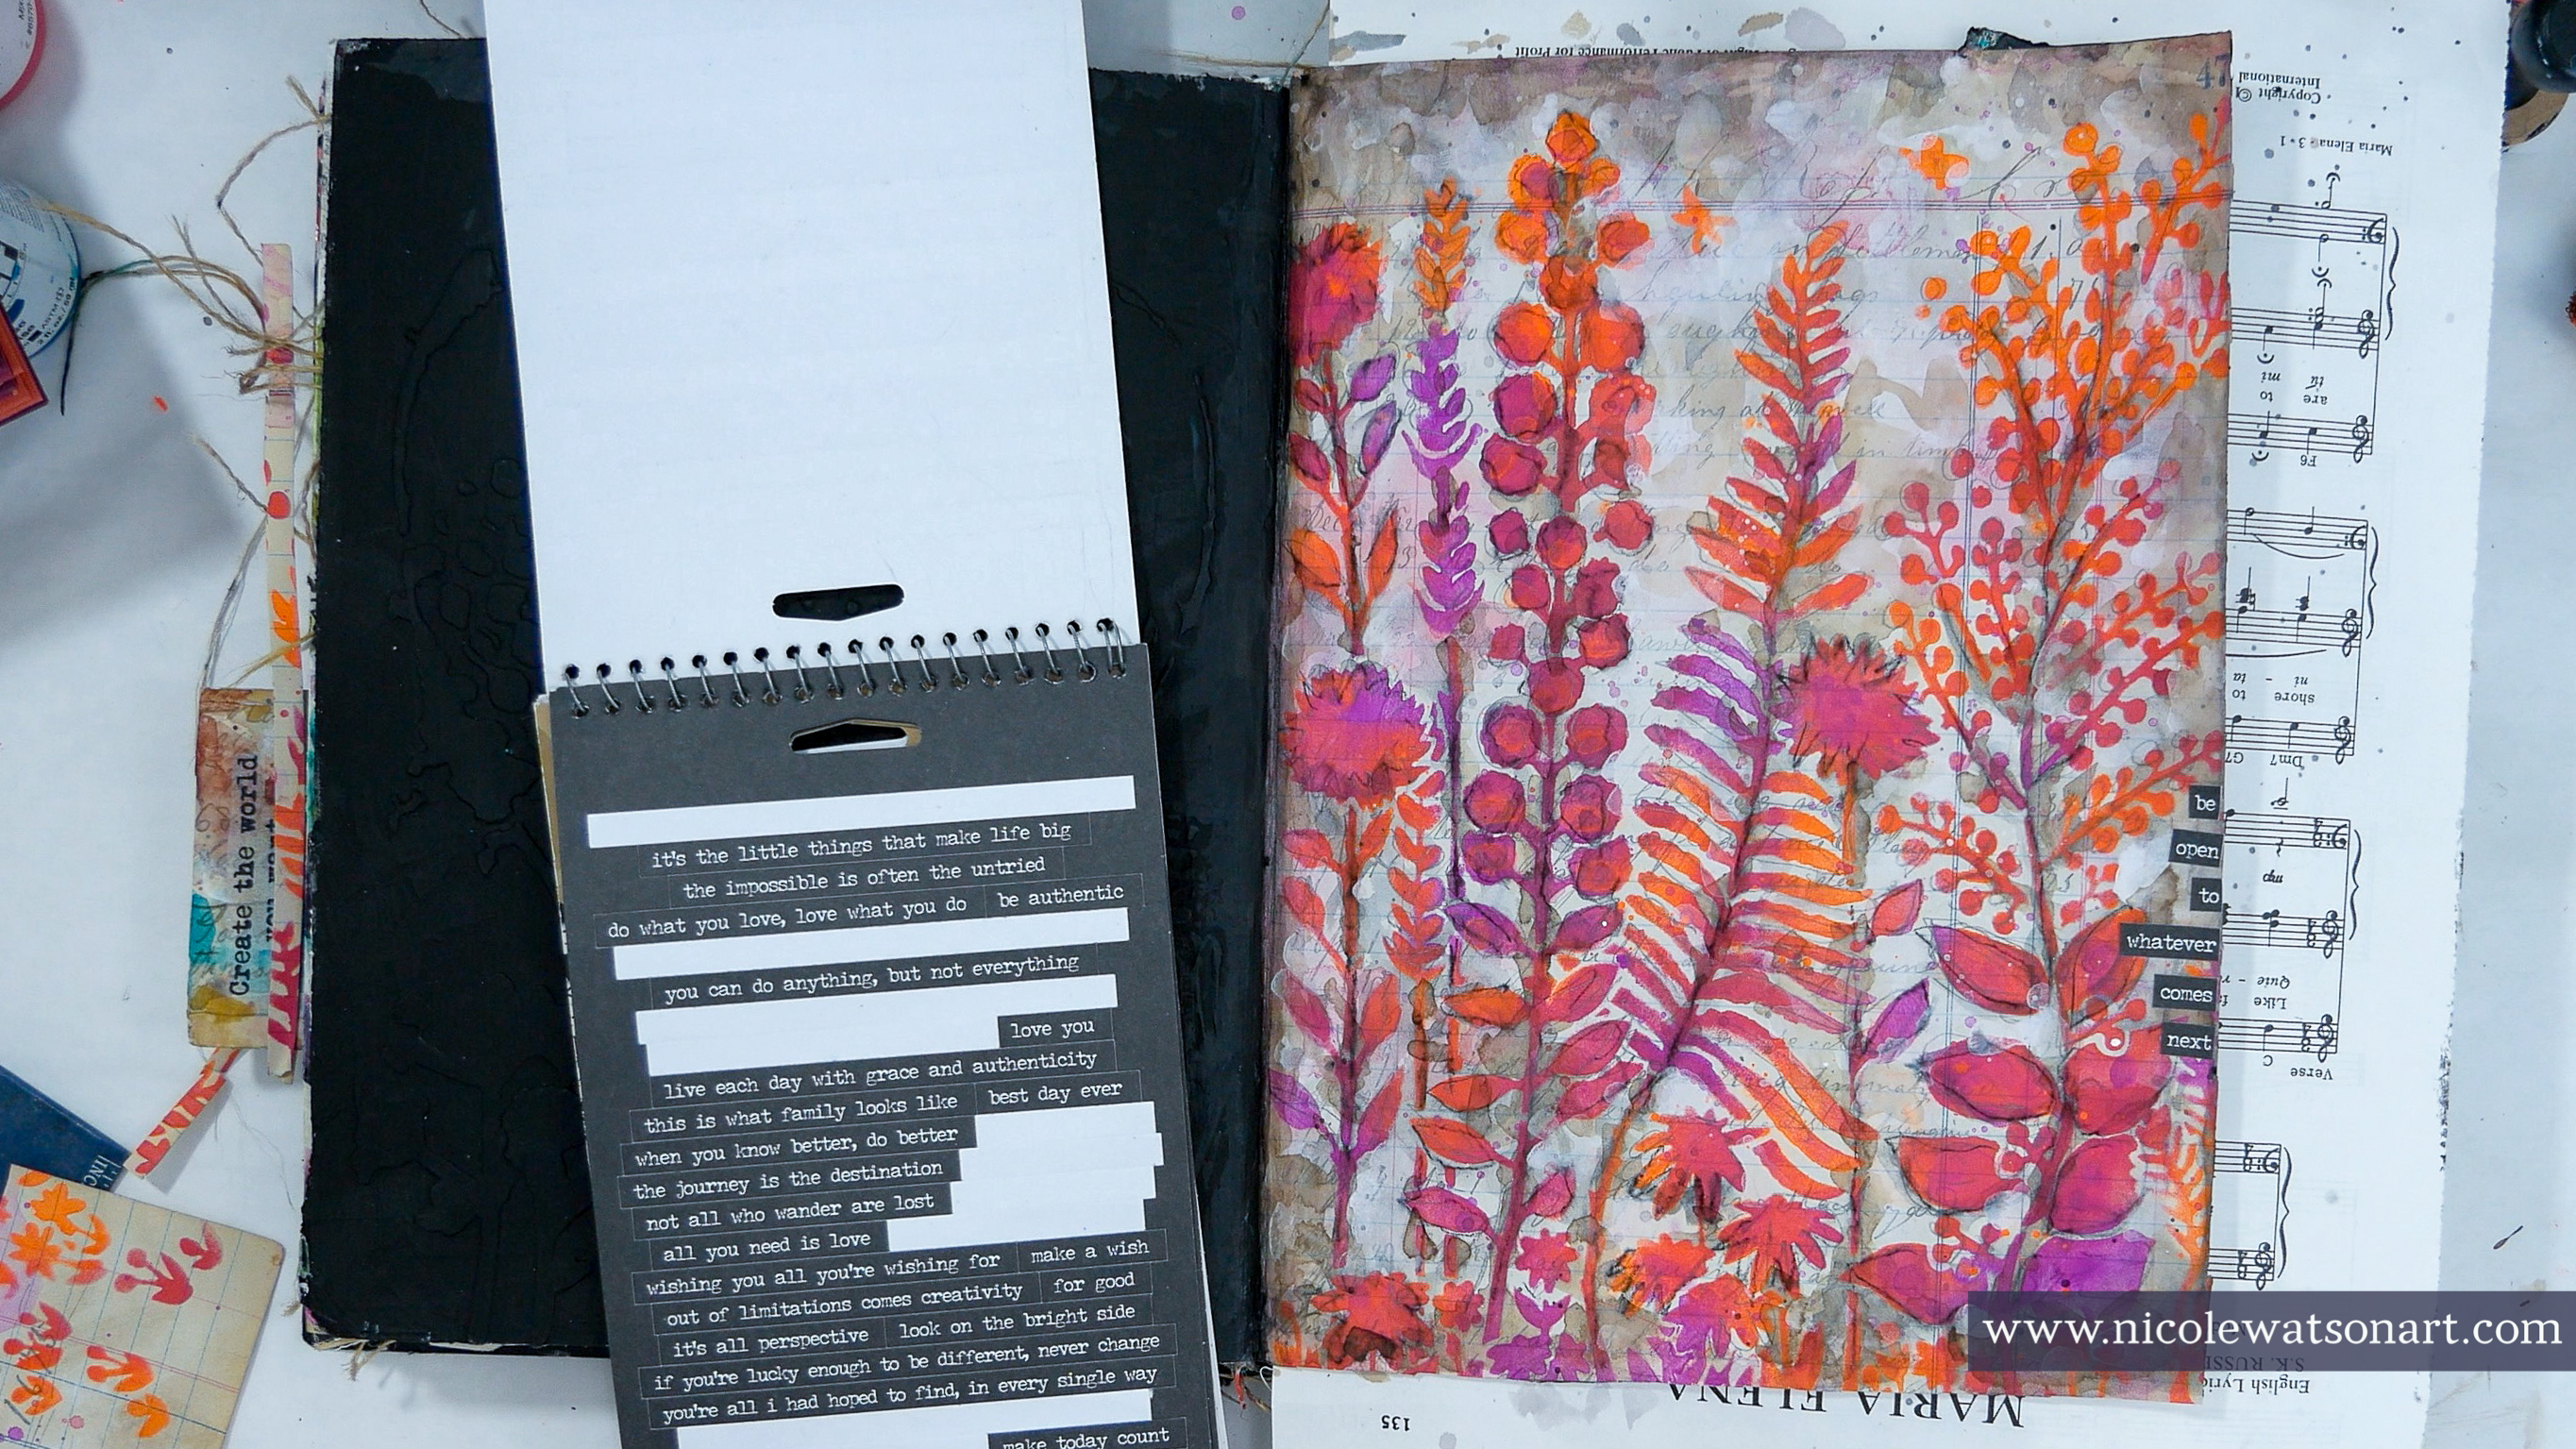
Since I liked the stenciled image so much, I wanted to also include a page in my art journal.
After adhering the stenciled page with matte medium, I enhanced the image a bit with stabilo all (black and graphite), gesso, and walnut ink to add some grunge, shadows and shading. Then, I topped it off with a little sticker quote. These are all ideas you could also add to your card fronts.
I remember flying kites with my grandfather when I was a little girl. The kites were made out of paper, I think -- the ripstop kind -- and we sometimes decorated them with markers and crayons. We would tie a ribbon and torn fabric to the tails. If we were lucky and the spring winds cooperated, we would have one really sail, way up high! Then we would tie the string to a metal stake in the ground and let it dance in the sky while we worked on launching a second kite.
I hope you feel a childlike fancy when using the kites stencil. Let your imagination soar with colors, patterns, and embellishments.
I consider a Cosmo like a mashup of a daisy and a zinnia. (They're actually in the aster family.) I'm amazed at how different they can look -- and it's no wonder since there are 30 species of Cosmos. From vibrant pinks and oranges to delicate whites with a magenta fringe, these beauties are fun to paint.
Who can resist a bouquet that has hydrangea in it? Their globe of blooms can be a single star, but they also work well with a supporting cast, like in this stencil design. Artists can experiment with a wide range of colors in their bouquets. For example, let the brights and primary colors come out to play. Or, keep everything understated with muted hues. When you need a little accent on a tag, stencil just one of the flowers (or the hydrangea with its leaves).
The exotic fuchsia is native to Central and South America, Australia, and Tahiti. Push the drama using this stencil with fluorescent pinks and showy purples, and let your art supplies transport you to another place in the world.
Columbine grows in different colors, such as purple, pink, and blue. The blue version is also the state flower of Colorado (Rocky Mountain Columbine, representing the sky, snow in the mountains, and mining for gold). The Latin root, 'columba' means dove. Columbine symbolizes endurance, fortune, faith, and peace. (Fun fact: it's also called "Granny's bonnet"). There's fascinating mythology and meaning surrounding this flower. However you stencil this perennial, they are a sign of spring and early summer woodland meadows.