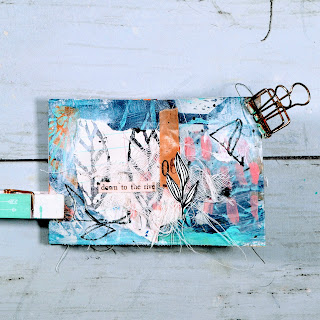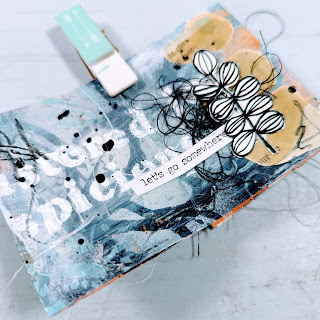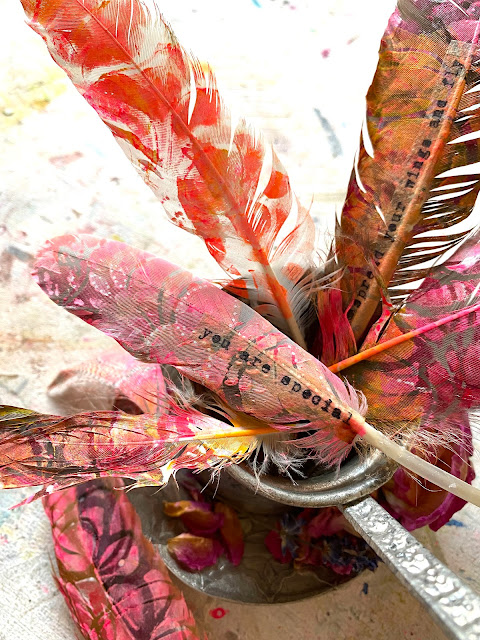
Let go of perfection. Create beautiful feather treasures with this fun, simple and easy project! Sweet artsy statement feathers with pizzazz.
List of Supplies
- Feathers
- Gesso
- Acrylic paints of your choice - I’m using Amsterdam reflex rose (384) & azo yellow deep (270)
- Make-up sponge
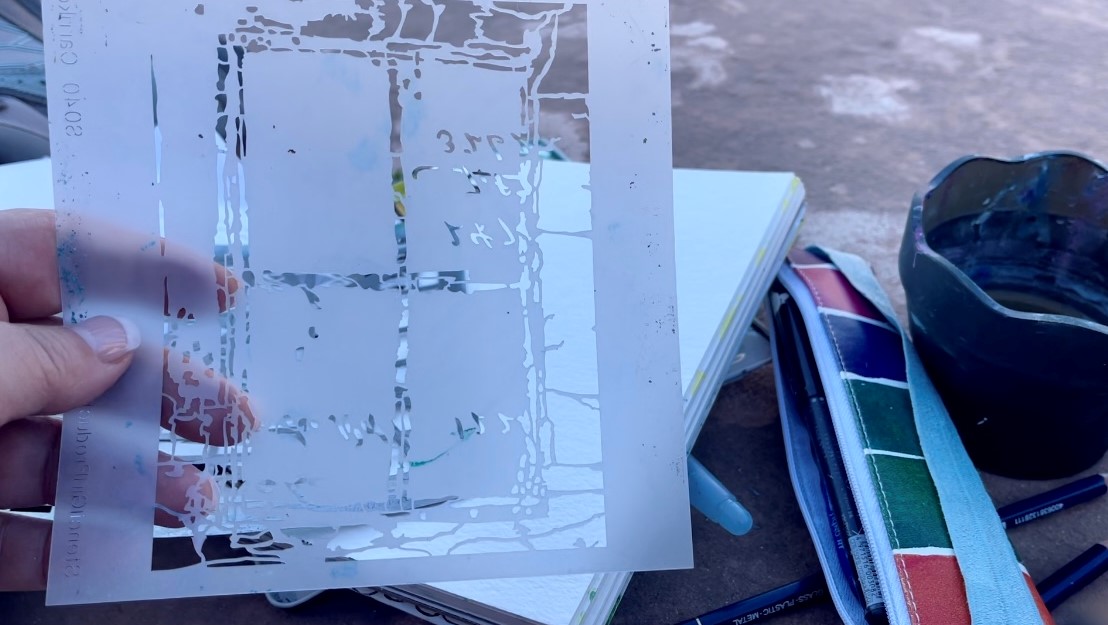
- StencilGirl® Stencils used - Puddles & Deconstructed Zinnia
- Acrylic marker
- Masking Tape
- You might also want to type on used & empty tea bags* - then you'll need used tea bags, a typewriter, matte medium and a brush

Technique:
- Start by taping your feathers down { this makes it much
easier to work on them }
- Hold your stencil in place and gently pat down your acrylic
paint onto the feather {don’t worry if it’s not perfect… that’s the fun
part about it!}
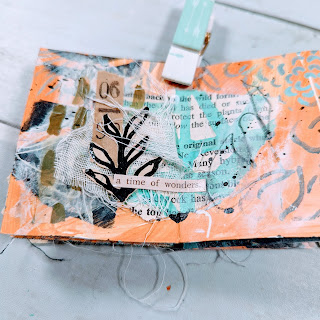
- Let
your feathers dry and then go over them with another layer.
- If you feel the need to add more layers or color, well then
go for it!
- After
they are thoroughly dry you might want to add some small marks with an
acrylic marker.
- A
wonderful and fun way to add words - type on tea bags* and then adhere
them to your feather with matte medium
* Preparing tea bags: https://www.instagram.com/p/B_7U3VsAsWD/
The typed word on a tea bag: https://www.instagram.com/p/CBarllDArEY/


Michelle is the artist behind RaspberryBlueSky.
She resides in the south of Germany with her husband, near Lake Ammersee.
If
you would like to see more of what creative mischief Michelle is up to, feel
free to check her out on:
The web: www.RaspberryBlueSky.com
Instagram: @RaspberryBlueSky
YouTube: RaspberryBlueSky