Showing posts with label Nathalie Kalbach. Show all posts

Wednesday, January 11, 2023

StencilGirl® Pamphlet Book by Frieda Oxenham

Most of us like surprises and the season for them has just gone, but that’s no reason not to continue with them a bit longer. I sometimes like to surprise myself too, and this project provides a perfect opportunity. To start off, you work on one sheet and play around with it. Then you make it into a one sheet booklet, and you’ll be surprised what ends up on every page. You have the choice to leave it as is or to add more to the pages as I’ve done.

Here is the tutorial:

1.     Take a large sheet of A3 300grm watercolour pager (size 11.69 x 16.54”). I used a sheet by Crawford & Black. Use a 9 x 12” gelli plate and add acrylic paints to the plate. I used Fresco paint by PaperArtsy. Make marks into the paint with a comb or any other mark making tool. Take prints from the plate onto your sheet till all the paint is gone.

2.     Step 1 turned out to be a bit brighter than I wanted so I put some Titan Buff acrylic paint on my gelli plate and pulled it off on my sheet.

3.     Using a variety of coloured inkpads stencil on circles using stencil Fade Horizontal. 

4.     Back to the gelli plate and brayer red acrylic paint all over it and put stencil Art Deco Wallpaper on top of the paint. Take prints on random areas of the sheet. Make sure you have some extra pagers on standby to clean up your plate. 

5.     Repeat step 4 but use teal acrylic paint with stencil Art Deco Summit.

6.     Use glimmer spray paint and spray through Art Deco Wallpaper onto the page.

7.     Use Titanium white paint and stencil Art Deco Summit add more random pattern to the page.
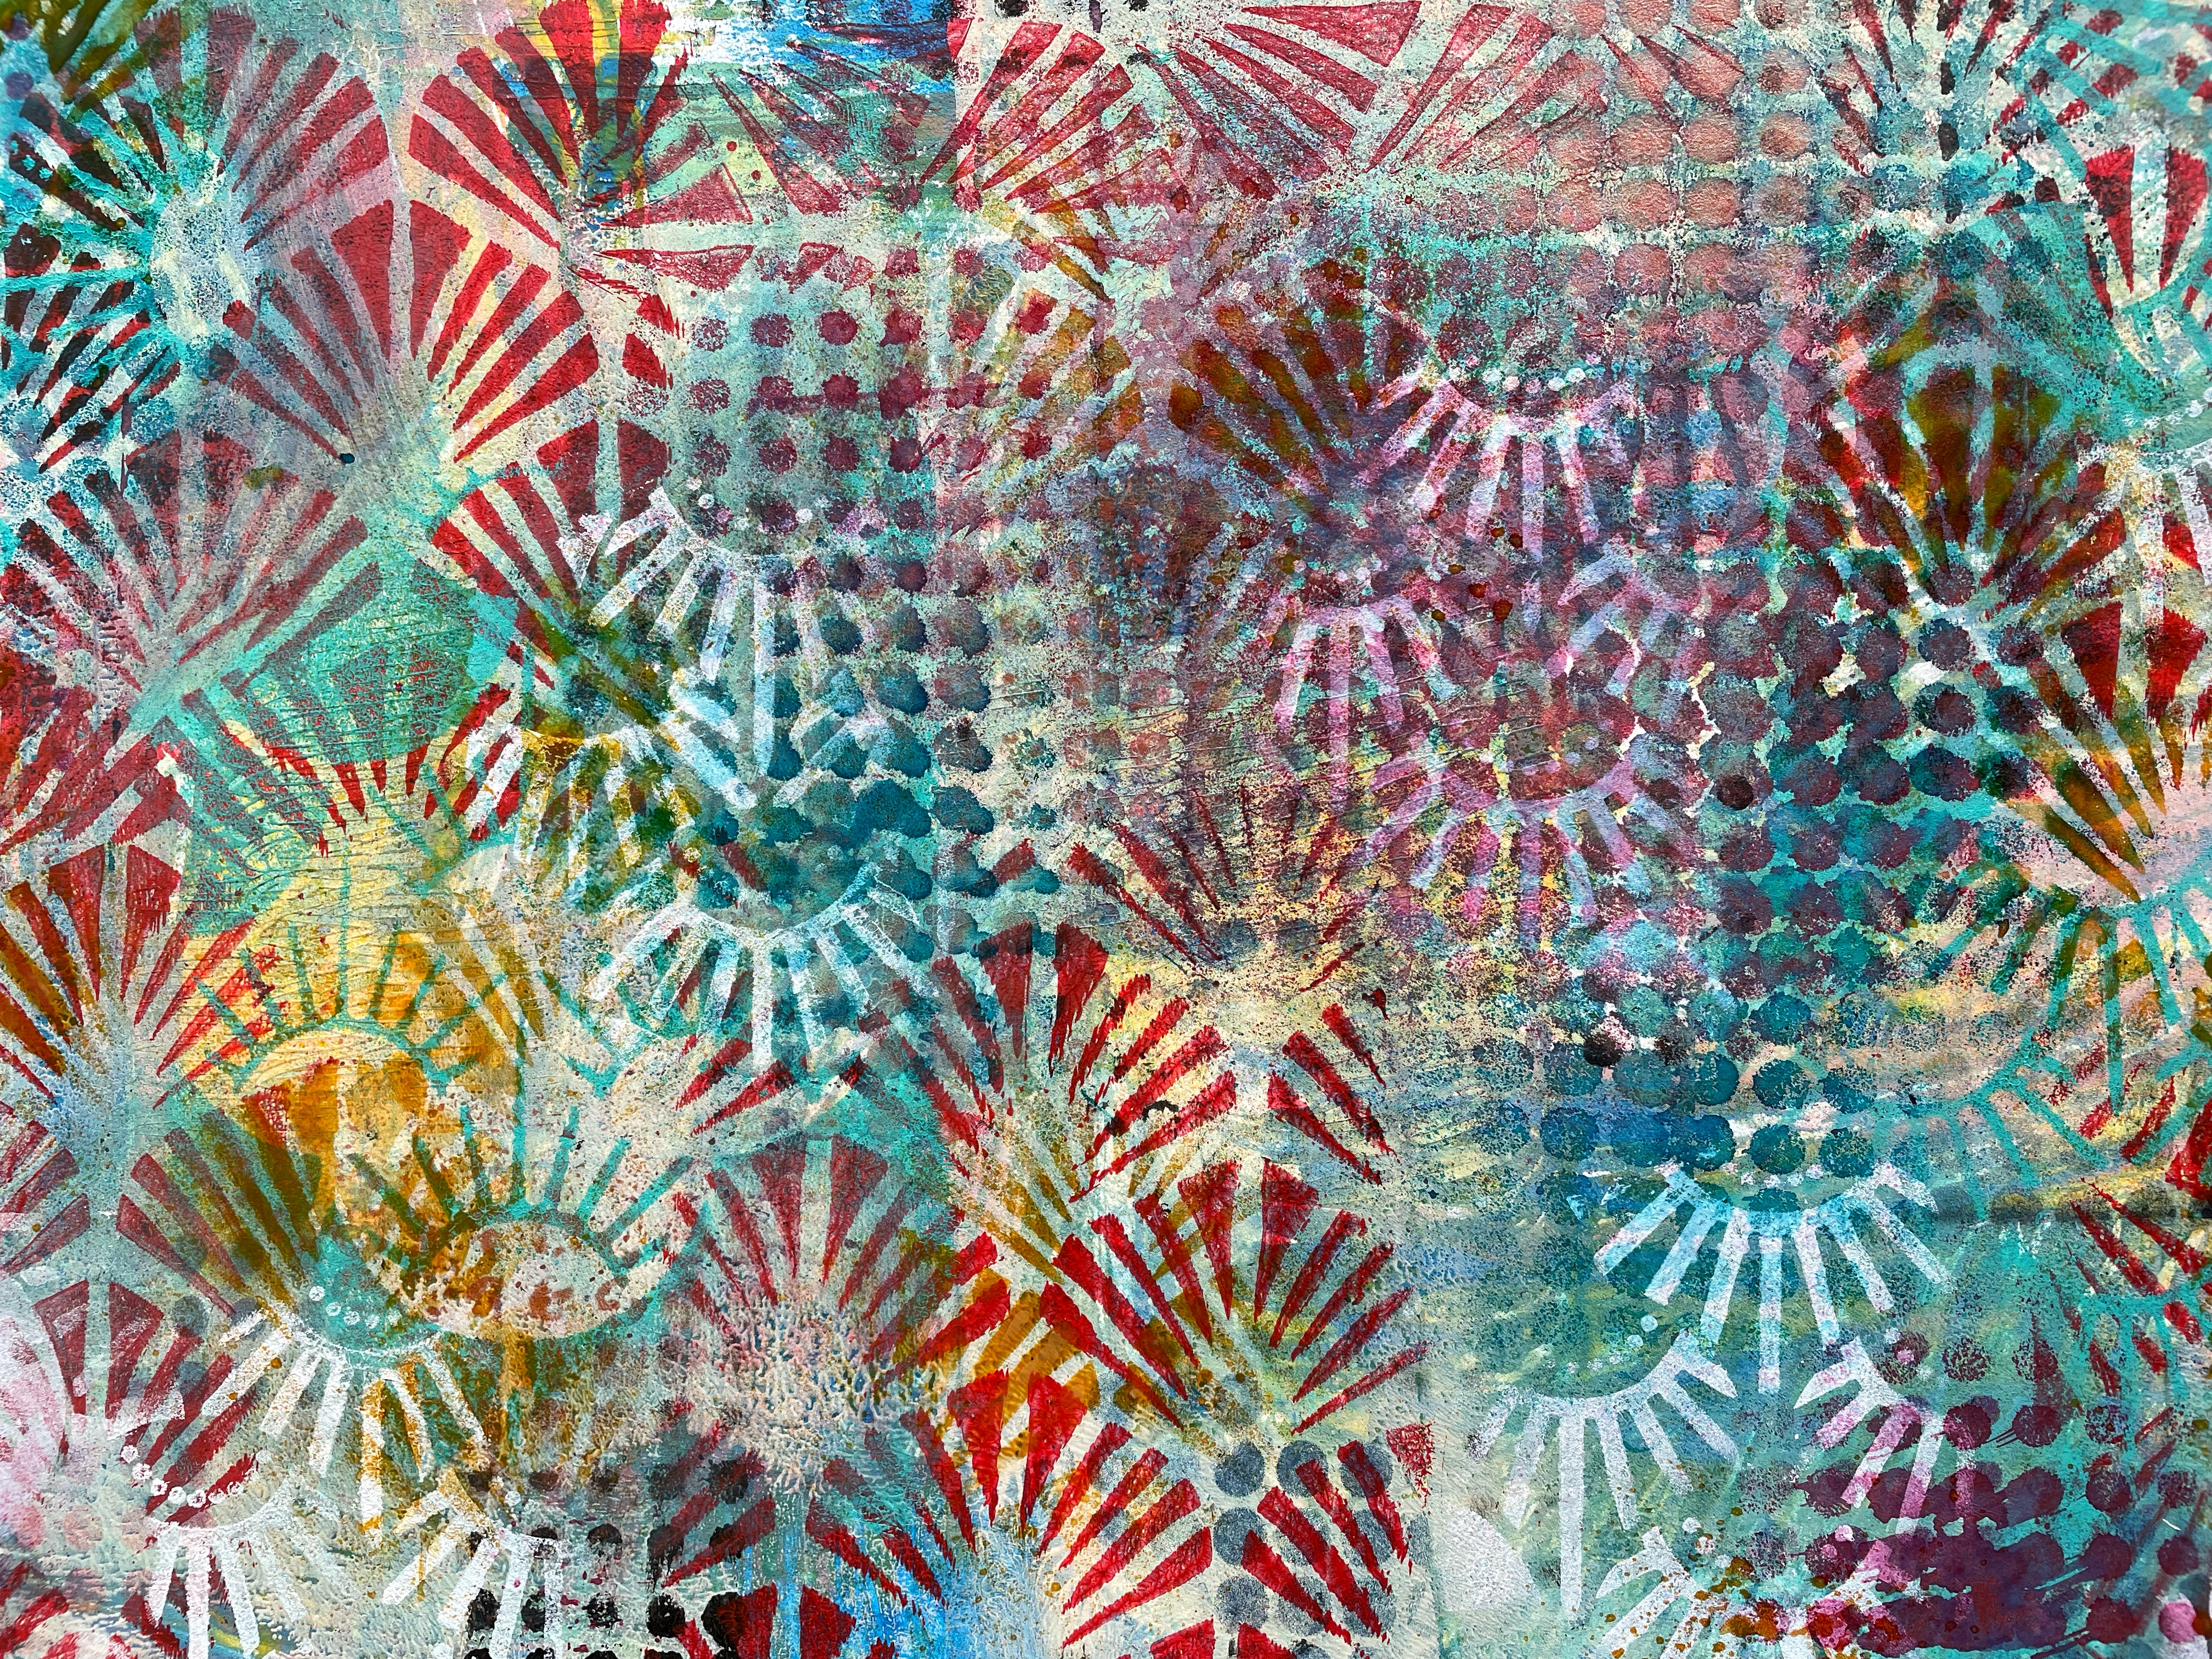
·       Once you’re happy with your page and it’s dry, we’re going to make it into a booklet. To do this first fold the page in half length wise. Open it up and now fold it width wise. Keep it folded and gold one edge of the paper to the previous fold and do the same on the other edge. Then keeping the sheet folded width wise, cut with scissors on the lengthwise fold as far as the next fold you encounter. Open up the sheet which now has a slit and fold to the lengthwise original fold and pull the cut sections away from each other. You will see the booklet emerging. It’s easier to look up a YouTube video than reading it in this description so search YouTube for how to make a one sheet booklet.

8.     Add doors and windows to the pages of the booklet with black acrylic paint and a cosmetic wedge, using stencils Doors and Windows and the small stencil from the December 2018 StencilClub and outline with a white paint marker.

9.     Add colour to the windows on all the pages with metallic water-soluble pencils (used Derwent ones).

10.  Add on the text from the stencil in step 9 using a permanent black marker

11.  Spray on some sparkle to the pages (I used some of Lindy’s Starburst Sprays.

12.  Add some sparkly stars to the pages using gold acrylic paint and the medium stencil from the December 2018 StencilClub.

13.  Outline the pages with a gold marker

14.  Wind a gold ribbon around the booklet as a closure.

© Frieda Oxenham 2023

Monday, February 14, 2022

Colour-coordinated Gel Printing with StencilGirl® Masks

Hi there! It's Marsha Valk here today with a new column!

For the past 11 years, I've started the new year creatively, spending time watching the Creative JumpStart videos and creating alongside them.

If you're reading this, you're probably familiar with Nat Kalbach's Creative JumpStart, and perhaps you've even seen me mention it before.

However, if you don't know what CJS is: it's an annual monthlong online mixed media art event meant to inspire and motivate you to get creative.

It's like an advent calendar with a new video every day in January (this time it went into February) by outstanding teachers like Mary Beth Shaw, Kristin Williams, Martice Smith, Rae Missigman, Carolyn Dube, Gwen Lafleur, Jane LaFazio, Kae Pea, Nancy Curry, Seth Apter and Tina Walker.


So on January 1st, I grabbed a new art journal and started to follow along and/or create inspired by what each teacher shared in their video.

And this year, I really took stock of what supplies I enjoyed working with, which techniques made me want to dive right in, what I liked and did not like doing and what aesthetic I liked and did not like.

I tried to create one page after watching each lesson; however, I did allow myself to skip a few. Creative JumpStart isn't a challenge, and I did not want to make it into one either.

Besides, I was in the middle of (another) studio reorganisation, which did not allow me to pull out every supply needed.


Anyway, the lessons I enjoyed most were the ones that involved painting with acrylics. You know, the kind you do with a brush and perhaps a palette knife. Which surprised me, and it's something that I could potentially explore more.

The second realisation was that I love colour (no surprise there); however, it turns out that some colours fail to make my heart sing, no matter how hard I try.

Watching the other teachers and participants use colour palettes outside my comfort zone somehow convinced me to experiment with different colours. And… it didn't work. They don't feel like 'me', and I struggle with making them look good.


So… just for my enjoyment, I decided to take cues from a vintage magazine I found while decluttering. These colour combos excite me, inspire me and make me sooo happy!


Watch me gel print with a limited 70s colour palette and StencilGirl® masks by Mary Beth Shaw and Martice Smith!


Until next time!

Marsha Valk

Featured masks and stencils: 

Graphic Mod Mask 1: 70s Play by Martice Smith


Paint colours used: Deep Turquoise, Mixing White, Phthalo Green (Yellow Shade), Process Magenta and Titanium White.


Monday, February 7, 2022

Frieda Oxenham: Artwork with StencilGirl® Stencils

February is a month with very low light levels and after getting through January I always dread going through another winter month. At least it’s shorter by some days! One way I use to cheer myself up is to use as much colour as possible whenever I can, and this project (or rather projects) grew out of that desire.

Here is the tutorial:

1.      Using copy paper and an 8 x 10” (or larger) gelli plate, brayer on a variety of acrylic paint colours and take prints. Keep in mind that these pages will become elements of a collage so will be torn up. Just go made with your favourite colours and enjoy yourself. Make a good selection. I ended up with about 20 pages in total.

2.      Again using the gelli plate, add one or two colours of acrylic paint to the plate, put a stencil on top and take a print on the pages produced in step 1. Also remove the stencil and take prints from the negative image left behind on the plate. I used the following stencils:  the large stencil from the August 2020 StencilClub, Batik stencil, Circles Circles, the large stencil from the March 2014 StencilClub.

3.      Using the same stencils as in step 2 but using some additional colours take more prints on your pages to add another layer.

4.      Using different colours (including white) and 2 different stencils add yet another layer to some of your pages. You might like some of your pages as they are already, so leave them be, but remember we are going to collage with all the pages so don’t get too attached to them. I used 2 different stencils for this step: the large stencil from the February 2012 StencilClub and Spirit Wind Mask.

5.      Using an 8.5 square art journal with black pages or any journal of your choice, start tearing the papers using a ruler (I used the Tim Holtz one) and start laying the pieces out on the pages. Also add vintage images, text and music to the mix. Glue it all on with a glue stick.

6.      Once you’re happy with the arrangement, cover the pages with matte medium and let dry.

7.      Add dark blue circular images to the pages using stencil Ripples Small and Inky Circles

8.      Rub some colour over the vintage papers with acrylic paint.

9.      Glue some more text or music over the top of the pages.

10.  Outline the circles added in step 7 with a permanent black inkpad.

11.  Edge the pages with a black permanent inkpad

12.  After I had finished the pages in my black art journal, I thought it would be interesting to scale it up on a larger sheet of black paper so I ordered some from Arteza. However I did not read the description properly and ending up with sheets that were pre-scored to be folded into a frame sized 7 x 8.6”

13.  As I had so much collage material left, I used 3 of these sheets to make 3 frames following the steps mentioned above. To finish them I added a flower postage stamp to each and edged the frames with a permanent black inkpad.

I really enjoyed working on the black frames so in the end I received what I didn’t know I wanted!

© Frieda Oxenham 2022. To see more of Frieda's work, please visit her BLOG.

Wednesday, December 22, 2021

Stenciled Wisdom Doll by Linda Edkins Wyatt

Hi! Linda Edkins Wyatt here, with my first EVER rag doll! The doll-making bug bit me exactly 10 years ago—but for two-dimensional paper dolls—I was a little intimidated by the stitched and stuffed three-dimensional dolls.

But, after 10 years, I decided it was time to kick my doll-making up a notch and try my hand at creating a stuffed doll. I had a vision in my head of what she would look like…sort of a soft, young, fairy-type rag doll…but she had a will of her own and morphed into more of a kind, gentle, wise-woman.

To start, I pulled out a bunch of StencilGirl® stencils that I thought would be useful for making the face, body, and clothes. I also referred to a childhood treasure—my Mexican folk-art doll—for design inspiration.

I began by stenciling one of Jennifer Evans’s Faces in the Crowd images on some scraps of rusted cloth. I made two, using one for the front and one for the back, pinned it, stitched, turned it, and stuffed with polyfil.

My original idea was to use Judy Wise’s Judy Judy stencil for the legs, and arms, and dress.  I did use the Judy Judy legs, but the arms weren’t quite the right size, so I designed my own. I cut a simple rectangle for the body, stuffed it, and cinched it in the middle.

Next, it was time for hair. I wanted her to be magical, and I thought rainbow hair would work well. I used dyed wool roving, hand needle felted it to a piece of wool fabric, then stitched the felted fabric “hair” to the top of my doll’s head.

The stenciled face needed some details, and some “foundation” to cover up the rusty spots. I mixed up some flesh-tone acrylic paint and dabbed it on. She went through an ugly phase until I toned down the look with some soft pinks. Still, she didn’t look like a young, carefree fairy…she looked like an old lady. I decided to embrace the mature look and create a doll that reflected the wisdom of an older woman.

I was saddened to see that once I had stitched and stuffed the doll, the JudyJudy dress didn’t fit! So, I set about stenciling on fabric to design another dress. I experimented with my own Lemurian Garden stencils on both white and colored fabrics. While they looked good, the scale was too large for my doll. After much thought and many test prints, I hit on the idea of using a regal, wine-colored cloth with gold Lumiere paint, and utilized smaller-scale stencils. The color combination looked very magical, making me think of medieval castles, royalty, and Merlin the Magician.

For her long, dirndl skirt, I used two of Laurie Mika’s ATC Mix-Up Sacred Hearts.

To coordinating with the skirt fabric, I set about printing more wine and gold designs. I loved the look of Nathalie Kalbach’s New Orleans 4, which I carefully repeated until I had printed a 6” square.

I draped the wine and gold fabrics around my wise woman to see which ones would work best with the skirt for a top and sash. Once I made my selection, I carefully cut and stitched those pieces.

The New Orleans 4 blouse needed a collar, so I cut a section from stenciled fabric done with Laurie Mika’s Pilgrimage to Mexico. That small detail was a perfect finishing touch on the blouse. For a sash, I used a favorite stencil: Leafy Doodle Verge by Valerie Sjodin.

My wise woman was almost done, but her hair needed tweaking. The rainbow hair was not quite right with the gold and wine colors of her ensemble. By adding a few strands of a red/gold/orange fuzzy yarn in the front and sides, the hair’s color scheme worked better. The final touch was painting her feet gold to suggest little magical boots.

Now I’ve really got the doll-making bug. Be on the lookout for a whole collection of my stenciled rag dolls!

Thursday, December 9, 2021

1 ATC Stencil + 3 Masks = Fun for You

Striking ATC-sized designs and three stylish masks are new today for you from two super artists, Cat Kerr and Nathalie Kalbach.

First up is Nathalie Kalbach's ATC Mix-Up Stencil. It is based on her Hamilton, Star Struck, Valley Road, Amsterdam, Beacon, Downtown, Art Deco Empire, Central Ave, and Art Nouveau Wallpaper stencils. 


Elements of the original designs have been resized and as you can see, are wonderful used as ATCs or art journal backgrounds.


Cat Kerr's new masks!


Sidetracked, Connection, and Twister are the fun and fabulous new masks from Cat Kerr.

The first two were inspired by microscope slides. 


Twister is Cat's play on numbers. "I love including numbers in my art, especially when they are random and discreet," she says.


Check out her monoprinted papers, art journal, and shadow box. There is a video tutorial for the latter.


VIDEO


Check out all of the latest stencils for your art-making pleasure at StencilGirlProducts.com!