Showing posts with label Niamh Baly. Show all posts

Friday, January 3, 2025

Over Stenciling: quick trick to up your colouring game!

Hi All,
Hope you had a restful holiday season. The sun has been shining (mostly) in Tassie and I am enjoying my long school holidays!!! So much so, that I have actually been able to head into the studio and create instead of marking books!
This journal page was created by stencilling the focal image twice. It is something I do often when I find it difficult to paint or colour a stencilled or stamped image (though stencilling is so much easier!!!). The two stencils I chose to use in this journal page were: 
Words to live by L209 and Sweet girl Large L838
Firstly I created my background by painting the page with paines grey and letting it dry completely. I then painted the page with a mix of blue acrylic paints and while the paint was still damp, removed the paint from the overlayed word stencil with a wet wipe. This gives you a subtle background with a positive version of the stencilled image. 

Next I stencilled the large focal image, the portrait on top of my background in black. While I love this image, the whole page was quite dark, so I wanted to add some metallic highlights. I painted the hair and dress with metallic pastes and let them dry. I also added white over the eyes. You can see with the image I have here - I have completely painted over all the detail in the stencilled image - this is the beauty of this technique. You don't have to stay within the lines, or work out what colour goes where - just paint. A second layer of the original stencil over the top will fix everything, sharpen up the lines and add in any missing details you painted over!!! Simple. 
Finally, add in any extra details you fancy to finish your page. I added foam word stamps and some leaves, plus some paint pen highlights on the clothing and eyes. Make it as simple or as complex as you want. Hope you give this technique a go. Till next time - happy creating.
Niamh
@niamhbaly (YouTube/Instagram)
@niamh'sartjournal (Facebook)


Friday, November 8, 2024

Stencilling on a baseball cap

Hi All, 
It's starting to get sunny in Australia, and my hats always go missing (I blame my children). So when I saw a blank cap for $6, so many possibilities ran through my head. First I started by painting the cap with clear gesso. This seals the surface and means that you don't have to use as much acrylic paint to cover the surface. Then I painted on watered down acrylics all over the surface. I found stuffing the inside of the hat with plastic bags helped keep the shape and made it a little easier. 

To blend the colours together, I used a stencil CM 2019 with a sponge and white gesso. The surface was still damp when I did this (because I am impatient) so waiting until it is dry will give you a crisper image. However, stencilling on fabric when damp allows the colours to blend into each other a little, giving an overall softer impression. 

Finally I used gel medium to glue these beautiful birds collage papers over the surface of the hat. If you go slow, and tear the paper so that it lies mostly flat, you get a good result. This collage paper is like rice paper, and you could substitute napkin images instead. I added a quote to finish the piece. 
I can't wait to wear this unique piece in public, and I think they would make fabulous gifts for Christmas!!! 

Happy creating,
Niamh


Friday, September 13, 2024

Simple stencilled backgrounds


Hi all,
Niamh here from very wet and windy Tasmania! We are just coming out of winter in the Southern Hemisphere and I am desperately looking for some vibrant colours to brighten up my days. This super simple background made me so happy and very much looking towards Spring! 

I started in my large dylusions journal with laying down scribble sticks in patches all over the page. Any water soluble crayons would work for this (in fact - any bright mediums - I just used scribble sticks). I then water activated the crayons by spritzing over water and (because it's me) blending the colours with my fingers. What you end up with is an almost patchwork background. 
As I am not a fan of very blocky backgrounds, my secret trick is to use a large stencil (in this case: Magic Garden Mask) over the whole surface. This has two benefits, first you have a unifying image over the surface, and secondly, by using white, you can calm down some very crazy backgrounds very quickly. Another reason I used the water-soluble media is because by using white gesso over the top, you end up with patches of pure white, and patches of pastel colours where the pigment mixes with the gesso. This gives you a much softer and more interesting effect.
After I finished stencilling with paint, I added some mark making stamps over the top of the page - while the stencil was still in place. This gives you the effect of just stamping onto the stencilled parts of the image - and creates a bit of a visual brain teaser working out how it was done!

After creating my background - I decided to finish off my page with crazy collage and a quote. It just made me happy, which is one of the benefits of journalling to begin with!

Hope you have a go at doing something similar. It's a blast, plus you can use any stencil you like and you will change to overall effect. Win, win!!! Here is a video of me putting the whole piece together: 


Stencil Used: Magic Garden Mask

Happy Creating,
Niamh
@niamhbaly (IG/YouTube)
@niamhsartjournal (FB)

Friday, July 19, 2024

Stenciling on mini magnetic canvases - simple gift idea

Hi All,
Niamh here from down under! It's been incredibly cold down here for the last week or two, and our heater has broken, so working in my studio was not possible. However - to thank the people who came to fix the heater (who were fascinated by the different art in my studio where they had to fix the heater) I made this set of magnets for their office. 


The base was some canvas magnets I picked up cheap at my local K-Mart, but you could easily cover an old advertising magnet with canvas tape to get the same results. I painted my favourite colour combo for the background, mixing pinks, yellows and oranges to get a warm overall colour. 
To add texture to the background I used Random circles stencil  and Kelp Forest stencils in the same warm colours over the top. This added subtle patterning to the background and softened the harsher lines where the colours meet. 
Next I stencilled a strong contrasting colour to pop against the background, in this case turquoise. I used the circle line mask. This helped to make the background really quirky, so much so, I changed my orginal idea to add collage instead. 
To finish off the magnets I added these quirky collage images from Collage Soup and some snarky sayings from Natalie May. I'm a sucker for big eyes and crazy animals with hats!!! You could seal over the top with a gel medium or varnish, but I just left these as is and they have been pretty sturdy. And they were very well received by the recipients. Plus - more importantly, I got heat again!!!!

Hope you try making your own cute collaged magnets - so much fun, and such an easy way to display your art.
Happy Creating
Niamh
@niamhbaly (IG/Youtube)
@Niamhs Art Journal (Facebook)


Friday, May 24, 2024

Decorate your own art supplies case with stencils

Hi All,
It's getting to the time of year where I have a few short stay trips to complete. I always travel with my art supplies, but can never find a pencil case that I like - so why not make one!!! I was lucky enough to come by these canvas blank cases in spotlight (an Australian craft store), those of you cleverer than me can probably sew one yourself thought. With a bit of paint and some cools stencils - magic happened!!!

First of all, I gessoed the canvas blank pencil case. This makes it easier to stencil and add paints onto the surface without having to use loads of paint up. I chose to use white gesso - but any would work - you just need to seal the canvas. I would recommend leaving this to dry fully, but I'm impatient and I worked the background warm colours (mustard, blushing, raspberry, tangelo acrylic paint from Dina Wakley) into the damp gesso. This gave a soft look and blended the colours together as well. 

Next I grabbed out a load of mark making stencils (ATC #1 Mixup Missigman Art MarksKelp ForestRandom Circles, Circle line stencil mask )and went to town. I stencilled with the colours I used in the background, but as they were going over dry paint rather than damp white gesso, I got a brighter colour contrast. I also used malachite and sapphire paint to contrast the warm colours on the pouch. 

Finally I added some extra marks with posca paint pens and wrote my quote on the front. I used a cool grey alcohol marker to help push the lettering out with a drop shadow and added a white highlight as well. 

Here is a close up of the different patterns stencilled on the pouch and the lettering I added, as well as the stencils I used: 


Have fun creating your own bags, pencil cases, clothing and more!!!
Happy Creating,
Niamh
@niamhbaly (IG/YouTube)
@niamhsartjournal (Facebook)


Friday, March 29, 2024

Using stencils as drawing tools

Hi All,
Niamh here in Australia - sweltering in a heatwave! What a way to start Autumn. As you can see, the firey summer colours are echoed in the palette I chose for this art journal page. 


Stencils are such a versatile tool to have in your tool box, and they are my go to items when creating pages in my journal. For this page, I wanted to clear my mind, and the best way I find to do that is too doodle my worries away. When I do that though, I don't have the bandwidth to draw freehand, so I used stencils to use as a base for my doodling. These two mini stencils were perfect for the job!
First I painted my background with a warm colour palette, then I used the Carnival stencil as a border and drew through it with a white paint pen. With a black paint pen, I coloured in the negative space, then doodled over the empty spaces with simple lines and dots using a white pen. 
Next I repeated the same process using the shape stencil to overlap and fill in the background space. Finally, I filled in the spaces between the stencilled shapes with black circles in varying sizes. 


This was such a relaxing page to make, and I was so happy that it turned out the way it did. Plus, what a brilliant way to use those smaller mini stencils in a new and exciting way!


Happy creating
Niamh
@niamhbaly (IG/YouTube)
@niamh'sartjournal (FB)

Friday, February 9, 2024

Using stencils to make marks easily in your journal pages


Hi Everyone,
Niamh here from sunny down under! I love mark making and it is something I know a lot of people find tricky. But what if there was a way to make it easier for you? There is - stencils!!!!
Stencils come in so many varieties - but at stencil girl products - there are sooooooo many that you can use in different ways to help you with mark making in your art easily.
I have chosen two of my favourites today to play with, the Maltese mix stencil and the CM 2019 circle stencil. I love these as there is a great mix of sizes and flow on the stencils allowing you to be a little random with your marks. 

Here is the step by step video making this page: 

Stencils used: the Maltese mix stencil and the CM 2019 circle 
Happy Creating,
Niamh
@niamhbaly (IG/YouTube)


Wednesday, December 20, 2023

Rainbow backgrounds using stencils


Hi Everyone,
It's summer here down under, and that means bright colours!!! Well, it means that year round for me, but I digress!
This simple journal page was created using only stencils and acrylic paint, and it was so fun to make. I love how the background is such a strong focus, yet stands up to the bold image in the foreground.

To create this page I used the Circle Tile Stencil (L015) and sponged rainbow colours through the parts of the stencil all over my page. I started with the lighter colours and built up to darker, so if there was some overlap it would be covered.

Once dry, I then stencilled the pretty as a Peacock face ( S288) in black gesso and part of the You Got Time (M398) stencil to create a body. I used white paint pen to add highlights to the black gesso. I then stencilled a quote from the Rainbow Quote stencil (L956) and added white highlights as well. 

I love how happy this piece makes me, so I experimented with doing a similar piece using bright watercolours. This turned out okay - but there was some bleed through under the stencil, which you could avoid if you used a stencil spray to hold it close to the page. I freehanded a silhouette of a vase of flowers, but you could easily create your own stencilled version. 

Here is a list of the stencilled used in this journal page:

Here is a link to a video creating this page: 


Happy creating
Niamh

Friday, October 13, 2023

Using stencils to mask abstract backgrounds


Hi All, 
Niamh here from the bottom of the world! I have been playing around with mark making and abstract backgrounds for as long as I remember - its one of my favourite ways to practice making art. But occasionally it doesn't always look great! This is a brilliant way to rescue a page/background or something you are not a fan of easily. 

To start with, create a background, any will do (watch the video below to see how I created this one). I would highly suggest though that to do this technique you use permanent mediums (acrylic paints, permanent inks, markers, collage etc). If you do use something that is water reactive - seal it first with a spray varnish or coat of gel medium. 


To create this effect, I choose an open, organic shaped stencil that was easy to trace around. I deliberately only drew around the larger spaces, leaving the small triangular spaces as areas I would paint in. I then removed the stencil and painted in the gaps with white gesso. This wasn't painted thickly, so you can still see the colours through some areas, but I liked this effect. You can always add more coats if you want a pure colour. 

I often get asked - why spend so much time on the background if you are going to paint over it. And I get it - I really liked the background I made. To quiet that thought, I often take a photo of the background before I do the masking, so I can print it out again in the future to use as collage fodder or inspiration for another day. By using the stencil over the top though, I can create little frames and snippets of colours and marks - and this gives the piece an overall focus. 


To sharpen that, I draw around the open spaces with a black stabilo all pencil and smudge it with my fingers to add a shadowed effect to the frames. I then stencilled out a quote from the rainbow quotes stencil and stapled it to the page to complete it. 

I hope you have a go at masking with your stencils - it will completely change the way you look at them in the future!

Here is a video with the step by step process for you to follow:


Here is a link to the stencils I used on this page:

Happy Creating,
Niamh

Saturday, May 7, 2022

StencilGirl® Creative Team!

Mary Beth Shaw is ecstatic to announce the 2022-23 Creative Team!
We have seven new team members in addition to five wonderful returning team members!
Drum roll, please!

StencilGirl® Creative Team


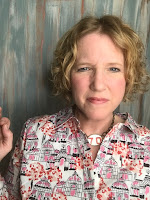
Niamh Baly has been crafting for nearly 30 years, starting with stamping and moving into art journaling and mixed media in 2003. She completed her Graduate Diploma of Fine Arts (Printmaking) in 2005. Niamh has also written two books on using Embossing Enamels, taught classes nationally and internationally, and was regularly published in stamping and scrapbooking magazines. Niamh is currently a High School teacher and lives with her small family on the beautiful North West coast of Tasmania, Australia. To keep herself busy, she still makes time every day to create art, and is now teaching mixed media courses and retreats nationally, as well as online courses focusing on Art Journaling and Mixed media. She also runs a successful YouTube Channel sharing her techniques and inspirations weekly. See more from Niamh on her websiteFacebook pageMixed Media Creative Queens page and Instagram!


Jane Bellante has been a working artist for 30 years, focusing mostly on mixed media, but also painted furniture and furniture art. “I have a master’s degree in Adult Education and I love to teach! You’ll find me in my studio most days, experimenting and playing with my art supplies. I’m so grateful to be part of the StencilGirl® Creative Team!!” Check out Jane on her website, Facebook page, Instagram, and Pinterest!


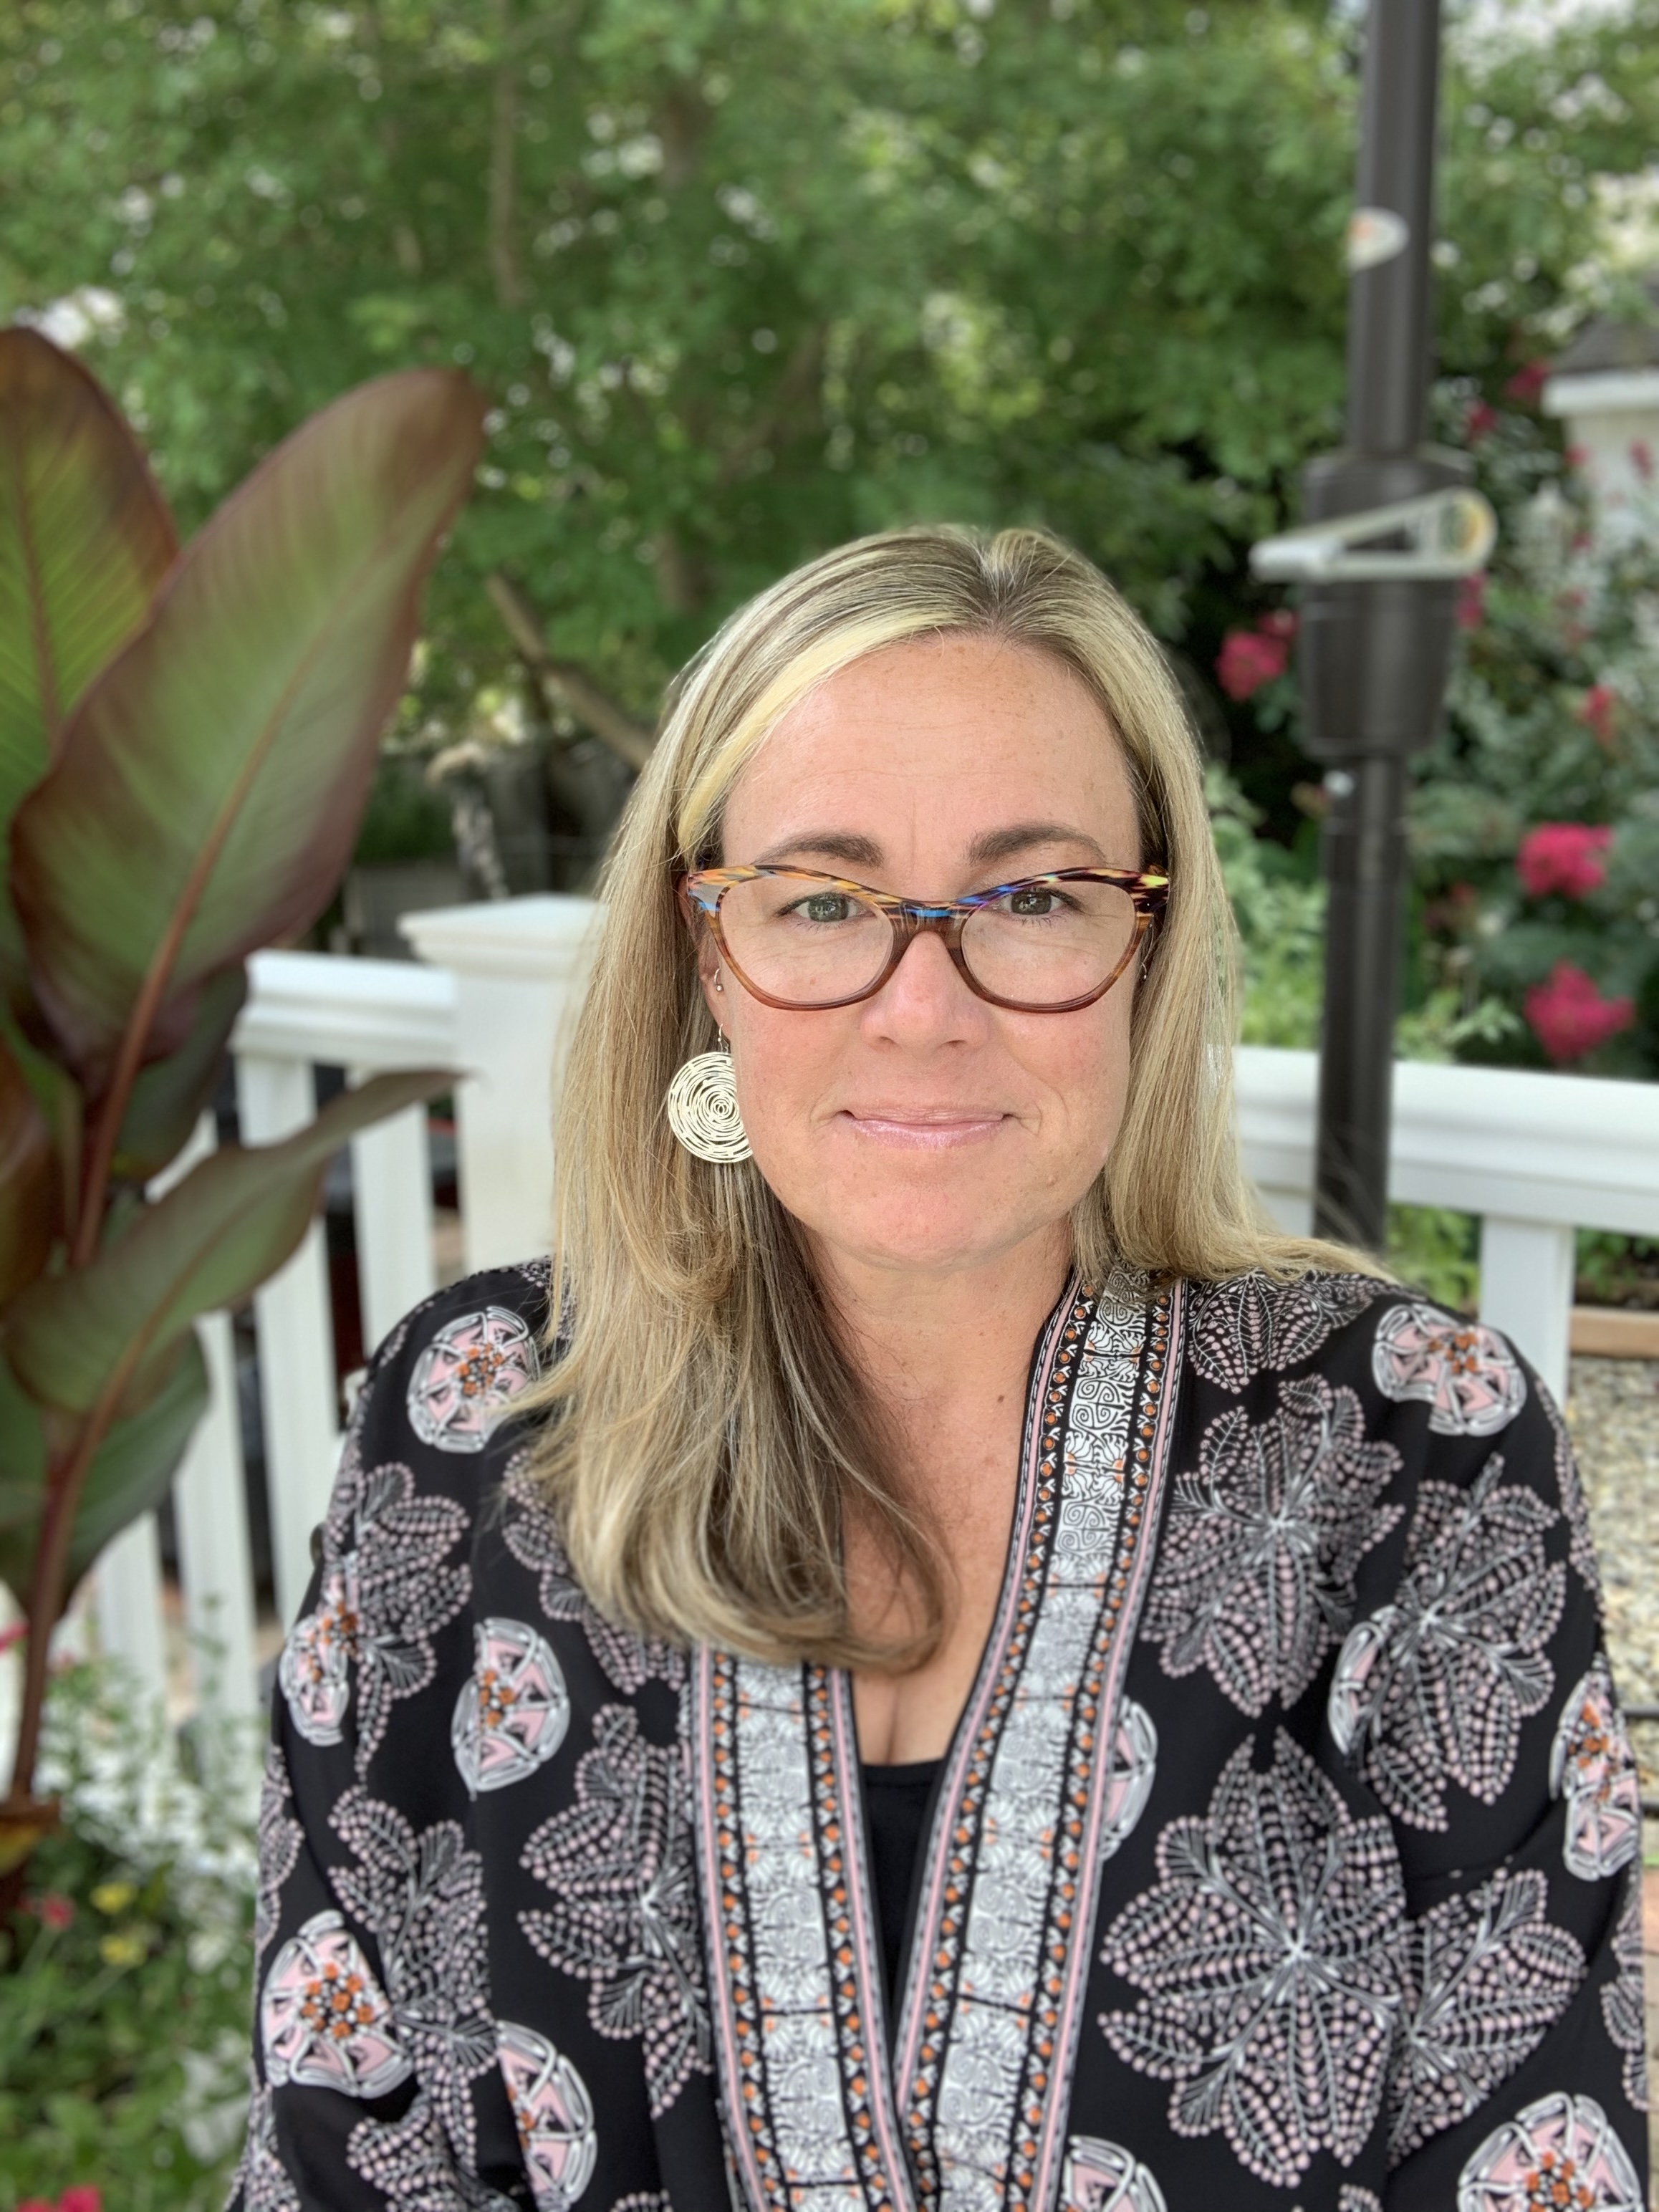
Nancy Curry is a nationally known mixed media artist, Certified Ranger Educator, and author of Texture Effects for Rubber Stamping. Nancy divides her time between her studio pursuits, designing for Nancy Curry Art, teaching mixed media workshops, and is very happy to be part of the StencilGirl family. For years her work has been published in many of the trending magazines and featured in several industry books. Her easily recognizable style has matured, yet is timeless in its use of varied applications of media. The results are pieces containing both visual and tactile textures that are rich in composition. Nancy resides in Lake St. Louis, Missouri. Learn more about Nancy on her website! 


Hello, my name is Laura Dame and I am a mixed media artist based in Austin, TX. I love to play around and experiment in my art journals, and also enjoy dabbling in abstract, collage, and floral artworks. My favorite thing about art is that there are no rules - the only requirement is that whatever you create makes you happy! My main goal when I began sharing my art was to show people that you don't have to be classified as an artist to pick up a paintbrush. Your art doesn't have to be perfect, or even 'good' - it's the act of creating that matters. I am married to a wonderful husband, who is the person who first nudged me down my artistic path about 7 years ago (although he probably didn't realize how much money I would spend on art supplies!). I am also the mother to two (almost teenage!) boys, and a full-time Sonographer. Visit Laura's website at www.lauramixedmedia.com.


Hello!!! I’m Tina Hois from @tinahoisart my happy place for creative abandonment. I have always been drawn to all things arty. It all started with scrapbooking and creating memory albums for my two beautiful daughters, which evolved into card making and paper crafts. As a stay at home mom (at the time) and a constant learner I was intrigued by jewelry and taught myself all I needed to know about creating beautiful timeless jewelry pieces. With this knowledge I launched a small company and took part in maker markets and private home events. Currently my love for mixed media outweighs all others and I am usually surrounded by creative messes, painted fingers and a head of overflowing ideas.  Art journaling is my personal expressive outlet that allows me to play intuitively without rules and fill my soul with happiness. My pages are layered with painted goodness, collage, colour, textures and stencil designs. I tend to vary my style and embrace experimenting with new techniques and mediums. In addition to art I love thrifting and giving new life to unwanted treasures ~ I dream of owning an up-cycled creative space where people can connect, unwind, learn and shop.(and it will be the seaside ~ not a big ask). For now I will dream of the seaside and can be found on Instagram, Facebook and YouTube.


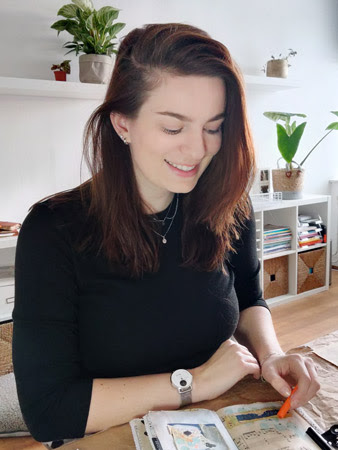
Anouk Karrsen is an all-around creative from The Netherlands. For Anouk, art journaling is a way to process her thoughts and emotions. Her style can be described as soft and feminine with a raw edge. In her creative journey, Anouk tries to let go of her perfectionism by creating on a more intuitive level. Follow Anouk on Instagram at www.instagram.com/creanouk.


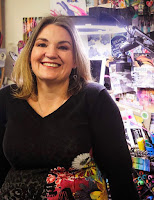
I’m Natalie May from Adelaide, South Australia! I have been working with the fantastic team at StencilGirl® Products for a few years and love everything about this awesome company! Here in Australia, I love sharing the StencilGirl® love through regular online classes and live Facebook mini-classes and demonstrations. Showing people all the amazing ways to use SG products in everyday crafting is what makes me smile and brings me so much happiness. I am a full time Papercrafter, having a Retail & Online Store here in Adelaide and happily married to Trev, with a clever & funny daughter Jessica! I also have my own line of products including stamps, collage papers & chipboard with new products coming out soon! Plus I am a Master Educator for Lindys Gang! I teach so many different facets of this papercraft industry from scrapbooking and cardmaking to mini books and art journaling. Head over and check out my Social Media and feel free to join my Facebook Community to catch up with all the classes and specials: online storeYouTubeInstagramFacebookFacebook Community!


Kristi Nazzaro is a Mixed Media Artist, Instructor and Journal Maker. She is passionate about her inclusive messages of positivity and validation that are built from the bright layers and bold textures of her easily recognized designs. When she’s not in her studio, Kristi can be found hiking, gardening and spending time with her family. Visit Kristi on Instagram, Facebook, and her website!


Hi! My name is Carol Ponsford and I am a Mixed Media artist from Columbus, Indiana. I am a retired Administrative Assistant and enjoy spending time with my husband Jim, my 2 children, son-in-law and 2 grandsons. I also enjoy travel, attending art workshops and spending time in my studio creating art. I enjoy working in all types of mediums including acrylic paint, collage, gel plate mono printing, encaustic, and have studied clay, silversmithing, and printed fabric design while in college. My most recent work is primarily Mixed Media using paint, paper collage, stencils, and rubber stamps. My love for Mixed Media stems from the wide variety of products that can be used in combination with each other offering so many unexpected surprises. I am currently setting up a space to work in encaustics in my home studio. I enjoy exploring colorful abstract work and look forward to finding new techniques to incorporate into my work. Find Carol on Instagram here.


Kirsten Varga has been creative for as long as she can remember. She has a Bachelor's degree in Fine Art with an emphasis in Visual Communication and Illustration and has worked as a graphic designer and teaching artist. She enjoys teaching all ages to discover their own creativity, a quality, she believes, everyone has. Her art interests are varied as she enjoys learning and trying new artsy things. Her favorites are bookmaking, mixed media, collage, and pen & ink drawing. She gravitates towards themes of home, connection, and whimsy in her artwork. She has dreams of starting a shop to sell her art and one day, see her work displayed in a gallery. She balances her time between her artistic dreams, raising four sassy daughters with her husband, and working as a High School Art Teacher in the beautiful Pacific Northwest. See more of Kirsten's on Instagram.


Tracy Villaume is a mixed media artist and radio personality living in the Capital Region of New York. “I am someone who is always reinventing myself and loves to try new things, but art has remained a constant throughout my life. In school I was all about sketching and clean lines, as an adult I found love in color and the abstract. Today, I like to put it all together! I take every opportunity to continue to learn and grow as an artist, and nothing makes me happier than sharing with others along the way. By my side in my creative journey are my French-born husband, Vincent; two children, Emma and Jack; and our Yorkie-poo, Frankie. When I am not in the studio, I like to find inspiration via nature walks; wander flea markets for collage fodder and sample new wines.” Check out Tracy on Instagram and her website!


Hello! I’m Nicole Watson … a Midwest girl who married a Southern boy and now lives in Austin, Texas. Art has always played a part in my creative journey—from collecting random bits of paper at a young age to selling my first painting in high school, then discovering mixed media while studying art and design in college.

My style is best described as an eclectic blend of technique and whimsy. I enjoy borrowing from my background in graphic/layout design, photography, and fine art, while mixing in color theory and discovering new and unexpected mediums to play with. Messy, grungy artwork with a touch of nature and oftentimes a circle or three are my favorites, along with the splatters, drips, and scribbles.

As an artist and a teacher, I’m most encouraged when a viewer gains confidence to try something new or just enjoys creating as a part of self-care. Paint-covered hands are the best form of therapy, and there is nothing more rewarding than reliving creative growth by flipping through journals of past projects. My hope is that you will feel just as inspired as I do to learn from others, discover your own unique style, embrace mistakes, and to be brave in both art and in creating an artful life. When not making messes in my studio, you’ll find me outside in the garden, going on walks, or searching for artsy treasures, usually with an iced coffee in hand. Visit Nicole's website and find her on Instagram and YouTube.

Friday, January 21, 2022

Creating a Hand Painted Tote Bag with StencilGirl® Stencils

Hi everyone! Niamh Baly here!

I often refer to myself as a mixed media artist, yet I tend to work in the same mediums and substrates. For this blog post I decided I would transfer what I do in my journal to another substrate – a plain tote bag, so that I could bring my art with me! It was eye opening – as I realised how easy it is to work between multiple substrates to create different homewares to decorate my place – bags, frames, bookshelves and more.

To begin, insert a craft sheet or newspaper into the bag so that you can paint onto the surface without leaking through to the other side. Then mask off the area you would like to work in using painters tape or masking tape (press down the edges carefully). Gesso the bag so that you have a primed surface to work on. While this is not necessary, it will help you get brighter colours on the finished product and let your paint spread more easily on the surface of the bag.

Once you have done all the prep – it’s onto the fun part! Choose a selection of stencils you would like to use on your bag. I used the focal stencils to help me grid up my bag so that they would fit on. You can also just paint random sized squares/rectangles and use patterned stencils to fill the gaps instead. Choose a colour palette that works for you (i.e. your favourite colours) as you will be more likely to enjoy using it when it represents you. Paint in squares and rectangles with your chosen colours and dry. Then stencil over the top with a contrasting colour. You may choose to add in some details with some posca paint pens to highlight the stenciled images.

When you are finished, iron your bag to heat set the design (place a craft sheet or baking paper over the top to protect your image. I have never washed my bags I have created – so I can’t guarantee that they will wash well. If you want to wash your bags, you may like to add in some fabric medium to the acrylic paint as you paint/stencil your images.

Here are closeup details of this bag:

Here is another version of the bag I created for some Christmas gifts:

Here is a list of the StencilGirl® stencils I have used in these:  

Thank you so much for stopping by the blog. I hope that my video has inspired you to get your stencils out and create on a different substrate than usual.

Happy Creating,

Niamh
Instagram: @niamhbaly
YouTube