Hi everyone! It's Kate here. Today I am sharing a project that came to mind by accident. It started in our kitchen, or should I say science lab? Like many of you, I have been schooling my children at home this year. For the first time in my life, I am having to play teacher as well as parent and let's be honest, it has its challenges. But overall it has been a year of getting to know my children better and I have loved almost every minutes of it.
So, back to the science lab...my son had to present a science fair project and he chose a lava lamp. The experiment instructions said that it should glow, hence we took the whole project into our very small powder room to "experience" the glowing lava lamp in the dark. There was no glowing but there was glass breaking. My son backed into one of the floating wall shelves and knocked everything off, including a picture frame.
As I stood there, looking at the broken frame, I decided it was the perfect excuse to create a new piece of art. I was thinking floral arrangement inspired by Rae Missigman's watercolor flowers.
How can I used stencils to create a floral arrangement, you ask? It's really easy.
I started off by gathering all my stencils with flowers and foliage and traced them onto watercolor paper.
One thing that I love doing is using a Pigma Micron Pen to outline, draw details and doodle my image. It can really bring a flat painting to life. I am still learning how to use watercolor so using a pen is a great technique for beginners. Just look at the difference below between the flower with details and without.
When deciding how to arrange it all, I loved the flowers against a white background but the frame I was using had a white mat so I decided to paint a simple wash in the background. By spreading a bit of salt over the wet paint it created some texture.
Once the background was dry, I started "arranging" the flowers.
I like dimension so I overlapped some of the stenciled images.
Here is the image without the glass. I was planning on leaving it like this so the layers could be seen from the side but as you can see, the mat didn't lay flat, so in the end I opted to use the glass.
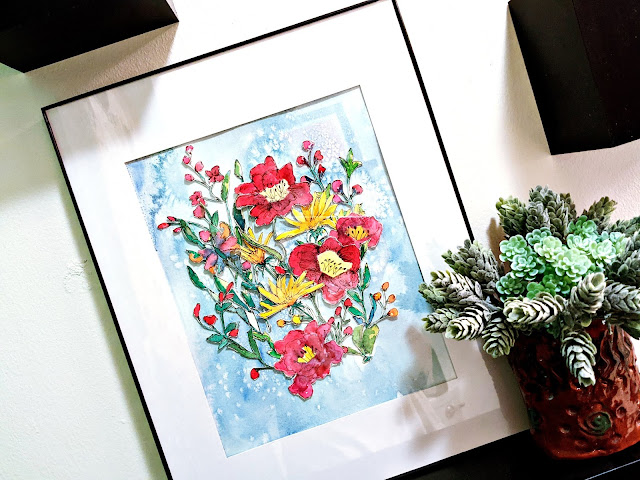
Here is the completed piece on the shelf in the powder room. Let's hope this one doesn't get in an accident.
Thank you for stopping by.
Until Next Time,


What a fun and inspired project! Thanks for sharing your techniques, Kate!
ReplyDeleteBeautiful project!
ReplyDeletebonus...thank you
ReplyDeleteGREAT ideas, Kate! Love how you used these stencils and you have a lot of patience!!!! Impressive creation!
ReplyDeleteAbsolutely delightful 3D work!
ReplyDelete