And of course, making fussy-cut images always adds dimension to any project. Here I attached a black string to my gelli-rolled egg, watercolored a few flowers from watercolor paper, cut them out, and adhered them to the egg. I love using these for table decor for Easter.
A blog for the StencilGirl® Product line owned by Mary Beth Shaw for people who love stencils like we love stencils.
Monday, March 14, 2022
Stencils, Easter Eggs and Rolling Out a Whole Lot of Fun
And of course, making fussy-cut images always adds dimension to any project. Here I attached a black string to my gelli-rolled egg, watercolored a few flowers from watercolor paper, cut them out, and adhered them to the egg. I love using these for table decor for Easter.
Wednesday, December 8, 2021
Mini Journal with Stencils - Megan Quinlan
Monday, July 12, 2021
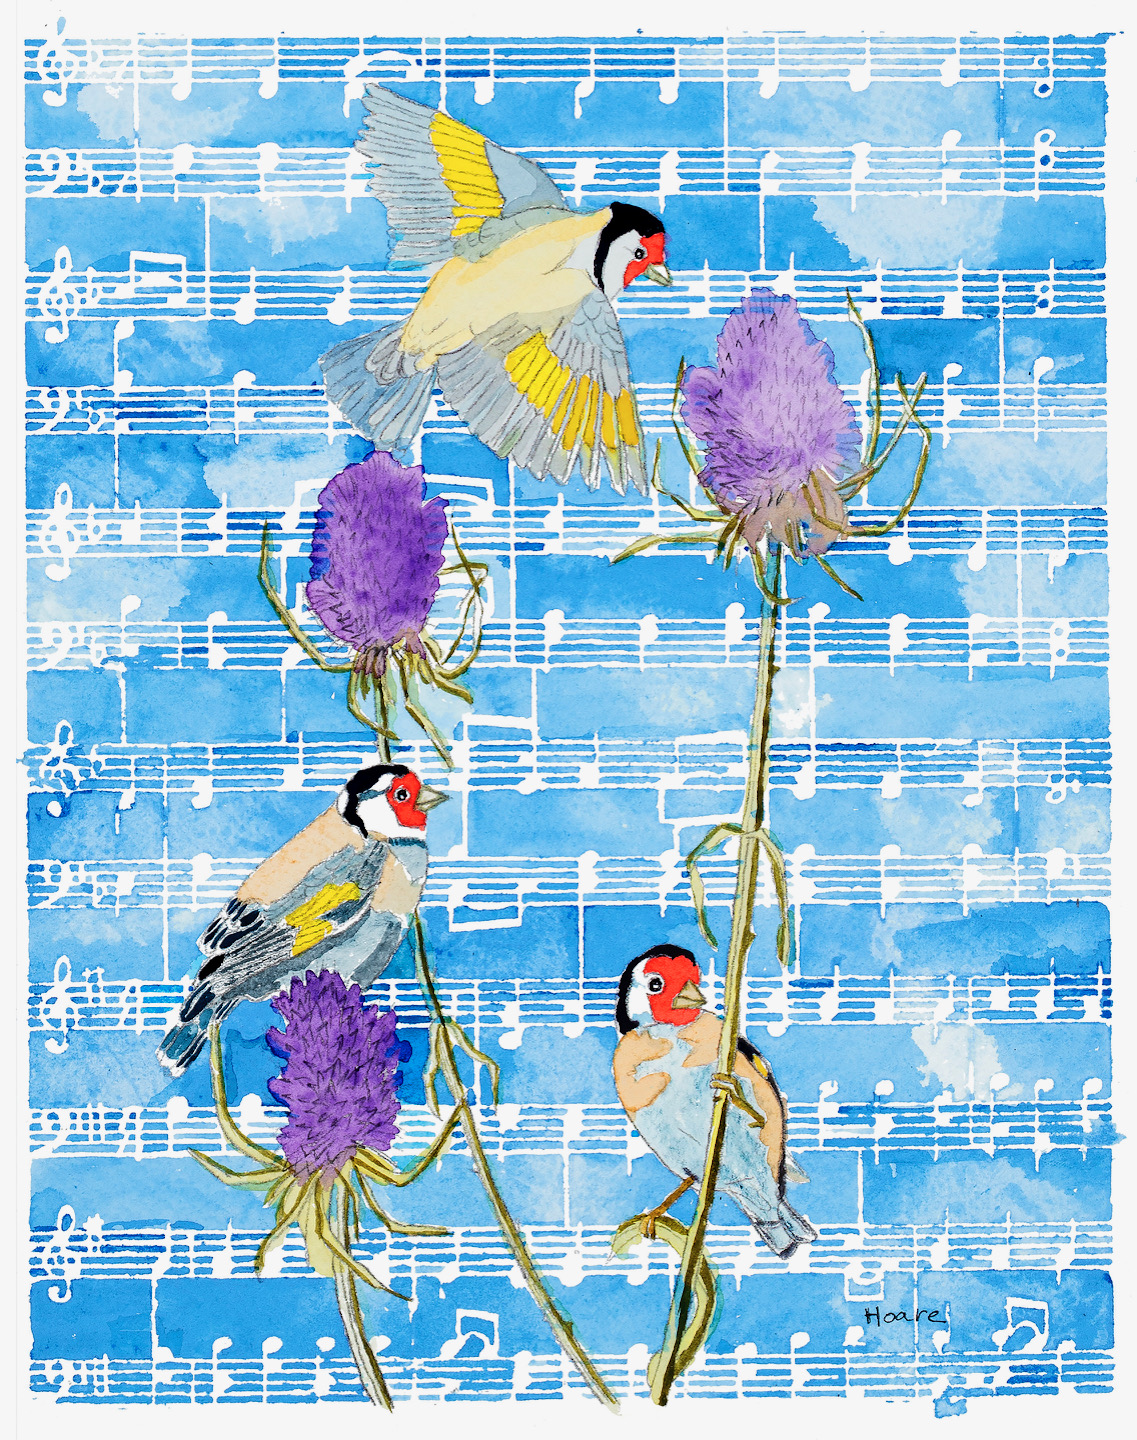
Watercolors & StencilGirl® Stencils
Good Day!
My goal for this
presentation is to show you how I use StencilGirl® Stencils and the process I
went through to be able to re-use the same stencil within a series but
producing a new feel to the pieces.
My name is Alexandra
Treadaway-Hoare (as in Hoar Frost). I was born in S.E. Asia, of Canadian
Parents, educated in North Africa, Europe, UK, and Canada. I spent my adult
years in the Corporate World in Canada and the US.
Ten years ago, I started serious Art Studies
in my chosen medium of Watercolor, under David Daniels at The Smithsonian
Institute, and continue to study under his tutelage. As of five Years ago I
have been a professional Artists. I have earned 4 Honorable Mentions from
Juried shows over the last two years from regional, national and international
competitions. I have had two One Woman Shows and will be in a Two Women Show
October 2 & 3 2021 at The Yellow Barn in Glen Echo Park.
Three years ago, I was
introduced to ‘StencilGirl®’ stencils and now they are in a sizeable number of
my works.
I painted a series of Birds using StencilGirl®
stencils as the background:
I also painted a series of flowers using StencilGirl® stencils as the background:
In the next painting I used a 12x24”
StencilGirl® Stencil where I used only Tertiary colors in the background:
Much as I enjoyed using
the stencils, I was finding one problem…… I was not having much success
re-using the same stencils no matter what the subject of my painting!
So here are my thoughts
as I completely changed how I used the same StencilGirl® stencil.
I went back to my Flowers
series…….
First, I chose the flower, a rich deep purple (*Amethyst Genuine/Cobalt Violet) lily and I tinged the leaves to reflect the flower resulting in a strong purple central focus! I lightly sprayed the back of my Black Birds in Trees Invert Stencil by Kimberly Baxter Packwood with Krylon Easy-Tack, let it dry and placed it over the central focus. Now I filled in the blank areas with different values of yellow (*Permanent Yellow Deep), being very careful not to paint over the purple flower or leaves. I let it dry and peeled off the stencil. I now had blank white areas depicting branches and birds. Choosing to cover my paper with paint, I chose a pale blue (*Duochrome Cabo Blue), to represent the sky.
Now to use the same
stencil to achieve a very different ‘look’!
I stayed within my flower motif, this time starting with my version of a few humble Dandelions, which I painted yellow (values of *Hansa Yellow Medium) and added green stems and made-up leaves. I laid the still tacky (months later!!) stencil over the central flower. I then took a ‘Micron” pen with archival black ink in a size 0.3 (felt like nib) and outlined the StencilGirl® stencil Black Birds in Tree l. Again, I peeled off the Stencil. Now I had a lot of white paper, my version of dandelions and black line drawings! I started by painting the tree branches brown (*Raw Siena & Burnt Umber) and added sporadic green (variety on my palette) shoots at some of the branch ends and painted in just the visible beaks of the birds (brown as above).and stopped! What I believed I now had was a minimalist representation of flower and flight!
In this experimental
piece for me, you’ll notice a bird head in lower left corner that had to have
the ‘brown bark’ sponged away… I did want the birds head to be in back of the
trunk, but the black ink showed thru, so I ‘fixed’ it. In the same general area
you’ll spot a brown smudge; I knew that I couldn’t get it out so I added a
stroke to imply a beak and left it alone!
The most powerful lesson
that I learnt was to allow myself to leave white space in my painting!
All paint colors are Daniel Smith watercolor tube paints.
Friday, June 18, 2021
Mini Stitched Collages with StencilGirl® Stencils
Hi, Judy here and I am excited to be here to
show you how I make my mini stitched collages. For many years I have
been obsessed with making miniature artworks. My background is fiber
art and once I discovered I could stitch my papers, there was no turning
back. I hope you enjoy this mini tutorial.
Supplies:
Acrylic paint
Watercolor paint
Golden Modeling Paste
Blue Tape
Watercolor paint brush
Foam paintbrush
Spatula/scraper
Various papers: watercolor paper/book pages/copy
paper/cardstock or old artworks
StencilGirl® Stencils –
*optional: sewing machine, needles and thread
Technique:
Start by gathering all your supplies. I like having everything within reach. Look through your papers and determine colors. Generally, I choose two to three colors plus black and white. But for this project I limited my color choices to one color with black and white. Sometimes simplicity is best.
I started creating my black and white stenciled papers on vintage book pages, music sheets and copy paper. I love the textures that these papers give and the hidden words that pop out.
Next, I created beautiful textured papers on watercolor paper with Golden modeling paste. You can use plaster, spackle, or any other thick paste like mediums for this. I chose the modeling paste for the more transparent texture. Here is a hint, if you don’t like the transparent white color add a drop or two of ink to the paste to give it color. Explore!
This next step is so much fun. Here is where I decided to see what watercolor and stencils would do. I have never had much luck, but this time…Boom! This time I painted a very wet watercolor background on the watercolor paper.
Next, I laid my StencilGirl® stencils on top of the wet watercolor paper and taped them in place. I used a version of blue tape for delicate surfaces, but washi tape works great too. Once the stencils were secure, I gently went over the stencils with a little more watercolor to add more vibrant colors in different sections. The most difficult is the next step…let it dry overnight and do not move it. Funny, I am so impatient, but trust me just let it dry overnight.
Now the fun begins, let’s make some fun mini
collages!
I know some of these papers are just gorgeous by themselves, but time to tear and cut them up. It’s only paper and you can make more. There are lots of ways to do collages, straight line, rough edges, layers, just have fun re-arranging the papers. My papers are approximately 2” pieces, some smaller and some larger. What I was looking for is color and contrast. I use a glue stick of scotch tape to temporary hold my pieces together to carry them to my sewing machine.
YES! You heard me. I have
lots of art friends that question why I sew my collages. My response
is that sewing is my mark making opportunity and it gives structure to the
collages. Plus, I used to be a fiber
artist. So why not?
Sewing paper can be a little challenging to do curved lines so I would suggest straight, zig zag and random. I try to make sure every paper has at least a stitch on it to hold the papers together.
Finishing your little collages is a personal thing with many options. Some people like them framed with a mat and others like them attached to a wood panel. It all depends on the finish too. If framing in a frame, just finish it with a final fixative spray. If you adhere to a wood panel you can finish it with a varnish, resin, or encaustic medium. Here I finished a piece with encaustic but like I said it is a personal choice with many options to choose from.

Now go create those beautiful collages and you tag me on Instagram with your creations @judy_applegarth
Happy Stenciling!
Judy Applegarth
Monday, May 24, 2021
Accidental Arrangement
Saturday, August 29, 2020
Stencils for Watercolor Delight or the Paints of Your Choice
The Rooted in Nature Butterflies Mask is a combination of many butterflies and flowers. Just when you think you are sure what you are looking at, your vision shifts, and you see something completely different.
This was a new technique for Dave. He placed the mask on
card stock, and spread “light dimensional ground” (a
Golden product) through the mask
openings with a palette knife. When the ground was dry, he flooded the surface with watercolor. after
the watercolor dried, he lightly sanded the surface, revealing the image.
Dave used Izink Ice (by Seth Apter). He applied the paint with a palette knife through the openings in the mask, then turned the mask 180 degrees and again applied paint with a palette knife creating a double exposure.
![]() |
| Rooted in Nature: Caladium |
The intricate patterns on the Caladium leaves have always fascinated Dave. Not quite random, not entirely predictable. He captured the delicate nature of these intricate patterns in this Rooted in Nature Caladium Mask.
This was another new technique for Dave. He placed the mask on Yupo
paper and sprayed it with clear water. He then grated watercolor crayons using a
“micro grater” (kitchen utensil) into the openings of the mask.
![]() |
| Rooted in Nature: Begonia |
Big
bold and very structured. This begonia caught stencil designer Dave's eye because of its repetition of bold patterns. Rooted in Nature Begonia Mask is ready for your watercolors.
Using a natural sponge, Dave stamped acrylic paint through the openings of the mask.
Dave placed the mask on Yupo paper, sprayed it with clear
water then dropped watercolor paint into the opening of the mask.
![]() |
| Rooted in Nature: Monarchs |
In
this Rooted in Nature Monarch Mask, Dave tried to capture the
thousands of upon thousands of Monarch Butterflies that migrate each year.
Separately they are beautiful, but collectively they create textures and
beautiful patterns.
Using a brayer, Dave rolled Izink Ice directly onto the mask placed on watercolor paper making a print.
Dave placed the mask on 140lb watercolor paper and sprayed it with clear water. He dropped watercolors into the opening of the mask.
![]() |
| Rooted in Nature: Coleus |
Dave used a soft sponge roller filled with acrylic paint over the mask.
Dave placed the mask on Yupo paper, sprayed it with clear water. He dropped watercolors in the mask openings and allowed the colors to mingle.
![]() |
| Rooted in Nature: Window |
Are
we looking in or looking out through the window? You are probably familiar with
this everyday scene. The combination of architecture and organic plants makes a great mix of shapes in this Rooted in Nature Window Mask.
As mentioned earlier, whether you call it a "stencil" or "mask" the white part is the mylar and the black part is where the paint goes.
Dave placed the on Yupo
paper and sprayed it with clear water. He then graded watercolor crayons using a
“micro grater” (kitchen utensil) into the openings of the mask.
Butterfly Window (the painting at the beginning of this post and the Two Crows painting (below) were created using several different stencils.
- Place the masks on Yupo paper and pour liquid watercolor though the openings.
- Wipe out the butterfly shape and repaint. (Yupo paper is a synthetic paper, actually, it is plastic. You can remove the paint completely by wiping it with a wet sponge.)
- Make a butterfly stencil out of cardboard.
- Place it over the now dry stencil painting.
- Wipe it clean and sponge “white absorbent ground” through the opening.
- Remove the cardboard and let dry.
- Paint the butterfly.
Dave used a similar technique for Two Crows.
The branches upon which the hand-painted crows are perched were created using frisket. Here is an example of frisket branches: