Showing posts with label butterfly stencils. Show all posts

Saturday, August 29, 2020

Stencils for Watercolor Delight or the Paints of Your Choice


Greetings! There is plenty of art to see in this post because Dave Daniels, aka Mr. Watercolor, is sharing his inspiration as well as techniques.

Remember, no matter if you call these "stencils" or "masks" the white part is the mylar and the black part is where the paint goes. 

Large 9" x 12" or small 6" x 6" designs available.

The Rooted in Nature Butterflies Mask is a combination of many butterflies and flowers. Just when you think you are sure what you are looking at, your vision shifts, and you see something completely different.

This was a new technique for Dave. He placed the mask on card stock, and spread “light dimensional ground” (a Golden product) through the mask openings with a palette knife. When the ground was dry, he flooded the surface with watercolor. after the watercolor dried, he lightly sanded the surface, revealing the image.

Dave used Izink Ice (by Seth Apter). He applied the paint with a palette knife through the openings in the mask, then turned the mask 180 degrees and again applied paint with a palette knife creating a double exposure.


Rooted in Nature: Caladium

The intricate patterns on the Caladium leaves have always fascinated Dave. Not quite random, not entirely predictable. He captured the delicate nature of these intricate patterns in this Rooted in Nature Caladium Mask.

This was another new technique for Dave. He placed the mask on Yupo paper and sprayed it with clear water. He then grated watercolor crayons using a “micro grater” (kitchen utensil) into the openings of the mask.


Dave applied Izink Ice paint with a soft sponge roller through the openings in the mask.


Rooted in Nature: Begonia

Big bold and very structured. This begonia caught stencil designer Dave's eye because of its repetition of bold patterns. Rooted in Nature Begonia Mask is ready for your watercolors.

Using a natural sponge, Dave stamped acrylic paint through the openings of the mask.


Dave placed the mask on Yupo paper, sprayed it with clear water then dropped watercolor paint into the opening of the mask. 


An option with these stencil-masks: You can cut off the border. It is totally a matter of preference. Keep in mind that cutting off the border will make the design bit more delicate to use and to store.

Rooted in Nature: Monarchs

In this Rooted in Nature Monarch Mask, Dave tried to capture the thousands of upon thousands of Monarch Butterflies that migrate each year. Separately they are beautiful, but collectively they create textures and beautiful patterns. 

Using a brayer, Dave rolled Izink Ice directly onto the mask placed on watercolor paper making a print.


Dave placed the mask on 140lb watercolor paper and sprayed it with clear water. He dropped watercolors into the opening of the mask.


Rooted in Nature: Coleus

A coleus plant grows just outside Dave's studio window. A recent black and white photograph of the plant revealed the beautiful symmetry of its leaves and inspired him to design inspired this Rooted in Nature Coleus Mask.

Dave used a soft sponge roller filled with acrylic paint over the mask.

Dave placed the mask on Yupo paper, sprayed it with clear water. He dropped watercolors in the mask openings and allowed the colors to mingle.


Rooted in Nature: Window

Are we looking in or looking out through the window? You are probably familiar with this everyday scene. The combination of architecture and organic plants makes a great mix of shapes in this Rooted in Nature Window Mask.

As mentioned earlier, whether you call it a "stencil" or "mask" the white part is the mylar and the black part is where the paint goes. 

Dave placed the on Yupo paper and sprayed it with clear water. He then graded watercolor crayons using a “micro grater” (kitchen utensil) into the openings of the mask.


Dave placed the mask on card stock, and with a palette knife, spread “light dimensional ground” (a Golden product) through the mask openings. When the ground was dry, Dave flooded the surface with watercolor. After everything was dry, he lightly sanded the surface, revealing the image.

Butterfly Window (the painting at the beginning of this post and the Two Crows painting (below) were created using several different stencils. 

  1. Place the masks on Yupo paper and pour liquid watercolor though the openings. 
  2. Wipe out the butterfly shape and repaint. (Yupo paper is a synthetic paper, actually, it is plastic. You can remove the paint completely by wiping it with a wet sponge.) 
  3. Make a butterfly stencil out of cardboard. 
  4. Place it over the now dry stencil painting.
  5. Wipe it clean and sponge “white absorbent ground” through the opening. 
  6. Remove the cardboard and let dry.
  7. Paint the butterfly.


Dave used a similar technique for Two Crows.

The branches upon which the hand-painted crows are perched were created using frisket. Here is an example of frisket branches:


In love with Dave's Rooted in Nature series? The entire collection is available from StencilGirl.


Friday, April 19, 2019

Poetry in a Cup with Sandee Setliff


If I could write a poem,
I would write one for you.
But I cannot write a poem,
so this will have to do.

And I think it does nicely if I say so myself.

My project inspired by our poetry theme this month is extremely easy to create and there is no harm in a simple project, especially when it is a card that you need to whip up for a friend. We both drink tea and love to go to tea parlors and have afternoon tea whenever we travel together so the Tea Cup Stencil was my go-to muse.


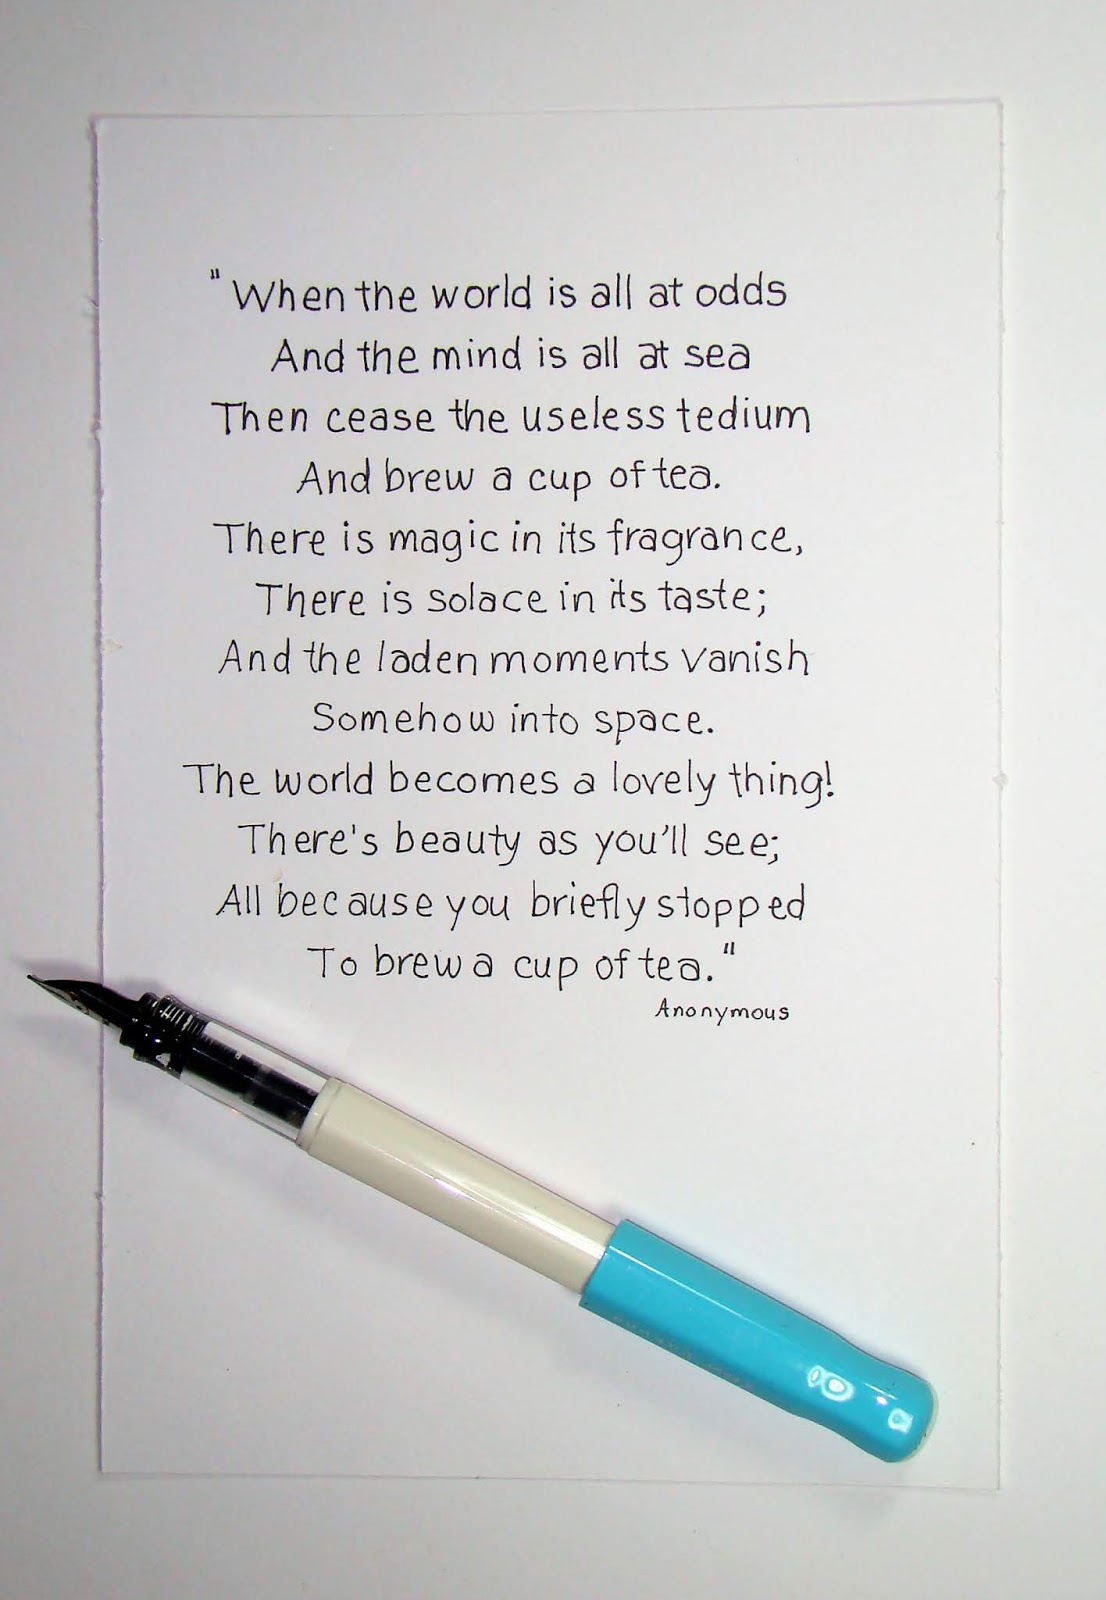
Finding a tea inspired poem that I haven't already used was a little more difficult, lol There is something about the teacup that inspires the poetic in me but unfortunately the poet in me needs to have my poetry prepared for me and there aren't a lot of tea poems out there.


The way I created my card was by coloring inside the stencil lines with water soluble pencils
 and then using water to activate the pencil which gave my card a soft watercolor effect that looks more hand drawn rather than stenciled.


Stencils I used:
Tea Cup stencil by Sandee Setliff

Doily stencil by Sandee Setliff


 Painting is poetry that is seen rather than felt.
 Poetry is painting that is felt rather than seen.”. 
LEONARDO DA VINCI

-----------------------------------------------------------------------------------------------


perfect for Mother's Day card:

and another fun friendship card:

Sandee

Wednesday, March 21, 2018

Stencil in springtime with new stencils from Cathy Taylor and Gwen Lafleur

Plum blossoms and stylized peackock feathers, a paint tin and flower stamens - these new stencils by Cathy Taylor and Gwen Lafleur herald springtime.

Paint Tin and Butterflies stencil by Cathy Taylor illustrates butterflies taking their colors from tins of paint. This design would be lovely gracing the cover of an art journal or as the focal point of a piece of mixed media artwork, or you could make a large, cheerful greeting card for a friend. Use it with watercolors (as Cathy has done), Inktense pencils, acrylics, encaustic paints, and much more!


We'll let Gwen tell you all about her new stencils:


Not Afraid to Try: In 2009 I went back to school to get my MBA and during my second year I took an elective called Business Judgment, which was my favorite class of the entire program (it was much more interesting than it sounds!) One of the books we read in class focused on the concept that our own fears are our biggest impediments to making decisions and moving forward and with achieving success in both our professional and personal lives. 

This really stuck with me, and I ended up making it the subject of my final project for the class (which I aced, by the way!) I've continued to keep that as a mantra in the years since, and have long wanted to have a version of that concept as a phrase on a stencil so that I, and others, could use it for art journaling and other projects. 

The words are all hand-drawn, and you can also mask off individual letters to form other words and phrases like I did with the sample that reads, "Doubt Not, Fear Not." (I stenciled just part of the "o" and then drew in the horizontal line to make an "e.")
Of course, I couldn't have a quote without some decorative elements, so I added two borders which were inspired by traditional Indian woodblock designs, as well as a fun ornamental motif that's a combination of inspiration from a vintage metal finding and architectural elements. You can repeat the borders to make them longer, or turn them into backgrounds!


Scribble X Mask: I've been a doodler for as long as I can remember - I doodled in my classes all the way from elementary school through college, and then as an adult I've continued; I think that's the reason I continue to take notes in a notebook instead of on my computer! It helps keep my hands busy and my brain focused. 

This particular design was inspired by a series of doodles that showed up in my notebook during meetings at work last Fall. I had the idea to turn a few of my doodles - including this one, into a hand-carved rubber stamps, and I loved this particular design so much that I knew it just had to be enlarged and become a mask that could be used for even more applications in my artwork.


Chinese Garden Plum Blossoms: This stencil was inspired by my first two visits to China where I explored the Yu Garden in Shanghai and also learned about the symbolism of the plum blossoms during a Chinese watercolor painting demonstration - these trees flower in late winter and have come to embody the ideas of perseverance and hope, as well as beauty and purity. I also added Chinese characters for beauty (top,) harmony (middle,) and tranquility (bottom,) to describe the feeling while visiting those stunning traditional gardens.
The design of the plum blossom branch was deliberately created as an outline to allow you to color the flowers with whatever color combinations and mediums you choose.


Art Deco Peacock Feathers: It's no secret that I love peacock feathers and Art Deco - I've already created stencils aplenty for both of these themes! 

I have a particular fondness for Egyptian Art Deco designs, and have wanted to do something along those lines for quite a while now. While visiting my family in the DC area last year, I spotted a pillow in a shop that immediately sparked the idea in my head to make Egyptian Art Deco peacock feathers. I drew it out and carved it as a stamp to see how it would work, and I loved it so much that it was the first thing I worked on when I started this round of stencil designs. 

The hand-drawn pattern was created to repeat, so all you have to do is line the stencil up along any of the edges to create seamless backgrounds as large or as small as you want. You can also mask off a single feather to use as a stand-alone motif in your work.


Decorative Flower Stamen Medallion: Like the Scribble X Mask, this design started off as a doodle in my work notebook. I had these organic elements that looked like the stamens of a flower growing out of the margins of my pages, so I went home and turned them into a quarter-repeat hand-carved rubber stamp. When I printed and repeated the stamp, the results were so much cooler than I'd anticipated! I knew immediately that it would make a fabulous addition to my collection of medallion stencils. 

It's perfect for creating background textures and patterns (it worked great with texture paste in my sample canvas!) Like all of my medallions, it's also ideal for layering... try using smaller circular designs and objects layered over the center and build up from there to create a really cool and unique focal point in your art!


Discover more stencils by Gwen Lafleur HERE and more by Cathy Taylor HERE.