Showing posts with label clipboard. Show all posts

Wednesday, December 23, 2015

Last Minute Gifts With StencilGirl Stencils

Hi - Jessica Sporn here.


I had some last minute gifts to make.  


I covered them with washi tape -- great way to use up some of my stash -- using a technique I learned in Marjie Kemper's Craftsy Class. The words from my Three Trees stencil was great for this small clipboard. (The garlands are from gelli prints - you can see the tutorial in this Handmade Holidays post.)


Seth Apter's stencils for StencilClub were great for both a mini clipboard and a letter sized one.


I used my Rain Stencil, and Uplifting Words Stencil for another mini.  


They look great on their own, or with photos or cards clipped to them.
(This photo is from a vacation at the Jersey Shore when I was about 6!
Don't you love my mom's Jackie O' look?)


I hope this post gave you some ideas. All my best wishes for a Merry Christmas and a Happy New Year.
Thank you StencilGirl for having me as a guest blogger today!

To celebrate Jessica on the blog today...for TODAY ONLY...

receive 10% off any purchase of Jessica Sporn's StencilGirl stencils!!
Use coupon code: SPORN23


Monday, January 6, 2014

Getting Organized with Color!

Hi! Mary Nasser here! Happy New Year! A popular New Year’s resolutions is getting organized, so I’m here to share with you a fun project to help with that resolution. Today I’m using Pam Carriker’s Primary Secondary Tertiary Stencil to embellish a clipboard!

For this project, I used a clipboard, gesso, collage elements, brushes, an ink sweeper and acrylic paint!

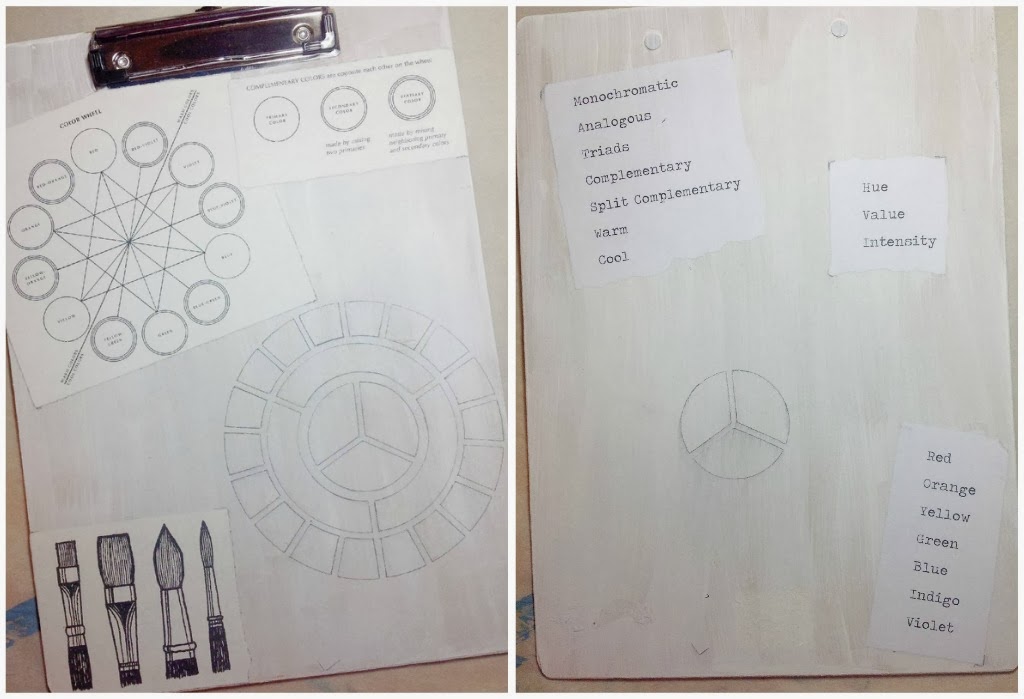
First, I primed both sides of my clipboard with gesso because I knew the masonite clipboard would absorb much of the paint.
After arranging collage elements from a vintage art book and words I'd typed and printed, too, along with the stencil,
I adhered the paper elements with gel medium.

Using painter's tape to help me achieve straight edges, I painted the colors of the spectrum on both sides...

After this dried, I taped my stencil in place...

...then pounced on a light layer of gesso on with an ink sweeper.
I kept the gesso light so that it would not seep under the stencil.

I repeated this process on the other side...

Then came my favorite part...mixing and painting in the colors on Pam's stencil!!
I taped my stencil in place again and used it as a guide for my colors.
If any paint seeped under the stencil, I wiped it off easy-peasy with a baby wipe!

I finished by brushing on matte varnish to both sides to protect my clipboard.
I love that I have a completely unique clipboard now!

Here's the front...

and a detail...

And here's the back!

And one more detail...

Happy New Year! I hope I've inspired you to try stenciling on a new surface, too!