A cheery hello to my fellow stencil lovers! Today I'm honored to be back on the StencilGirl blog as a Creative Team member and a Guest Designer.
If you follow me on Instagram you likely know that I'm a huge fan of Frida Kahlo. With both the day of her birth and the day of her passing coming up in July, I wanted to create an ATC shrine, or nicho as they're called in Spanish, dedicated to honoring her.
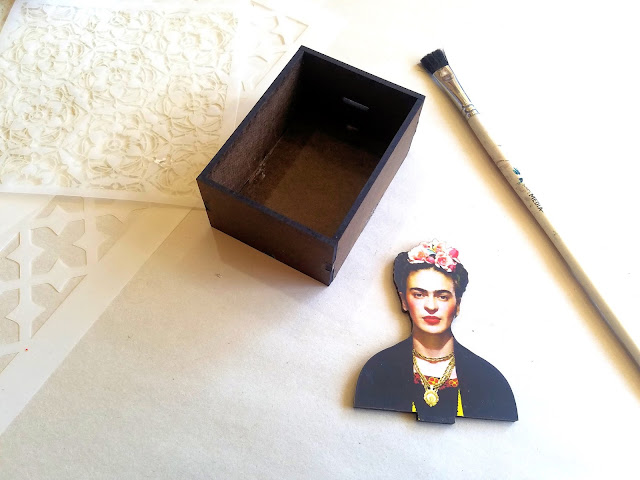
I started with some StencilGirl stencils, paints, clear glue, gesso, brushes and a shrine kit that I purchased from RetroCafe. If you're into woodworking you could likely whip one up on your own, but this girl... not so handy with the power tools, so buying a pre-fab kit was the way to go.
For the shrine itself, I used:
The first step was assembling the shrine and gluing the pieces together.Once put together, I let it sit for about 30 minutes to dry.
Meanwhile, I used some gel medium to adhere Frida head, that came included with the kit, onto the board backing.
I set that aside to dry as well.
At this point I wasn't yet entirely sure how I was going to decorate my shrine, but I knew it was going to be painted so I gave it a coat of gesso.
Side Note: If you are going to place items inside your shrine, you can paint and stencil your pieces before assembling them.
Once the gesso was dry, I gave it a couple coats of paint. I chose to use an impasto because you get great coverage and you can see all of your brushstrokes. I thought it would add to the Mexican folk art look I was going for.
Next it was time to stencil! I used a cosmetic wedge to sponge on paint from the Pilgrimage to Mexico stencil.
Because this is a border stencil, it was easy to stencil on the design around the edge of my shrine.
On the back I used the Ornamental Compass Screen and set it aside to dry.
Since I knew that I was going to affix my ATC to the outside of my shrine, rather than place it inside, I measured and trimmed some card stock to size and gave it a coat of gesso.
I used a bit of washi tape to isolate the sections of my stencil that I wanted to use on my ATC.
At this point I'm just building layers, knowing that I may cover up some parts of the initial stenciling.
I decided to incorporate more stenciling so I reached some heavy body paints and a few more of my favorite stencils:
To add extra visual interest, I grabbed a water brush and my favorite mark making pens and pencil.
It wouldn't be complete without a quote from the great Frida Kahlo herself, so I typed one out and added it to my ATC.
I used clear glue to affixed my completed ATC to the edge of the nicho, added the Frida head, and done!
Thanks for following along. I hope that my project has inspired you in at least some small way.
Happy stenciling and of course, Viva la Frida!
XO,
Belen


Gorgeous! Love your stencil and color choices, so perfect for a Frida tribute
ReplyDeleteThank you so much, I had such fun with this project.
DeleteAwesome project and thanks for reminding of the anniversary dates, I love Frida!
ReplyDeleteLove the outcome, the colors, and the quote. Where can I purchase the small scribble stencil that you used inside the circle. Thanks for sharing.
ReplyDeleteHi Julie, You can get the Travel Note Mini stencil by Rae Missigman here http://www.stencilgirlproducts.com/stencil-travel-note-mini-rae-missigman-p/m102.htm
DeleteThis is just adorable! I love love love it! Thank you for sharing! :) Rae
ReplyDeleteThis looks like so much fun, what a fun idea to spend a day on a weekend. Love Frida :)
ReplyDelete