Hi all! It's Gwen back this month with another installment of my Paint & Texture column.
DIY collage fodder has been all the buzz on Instagram lately, so I thought it would be fun to add another technique into the mix and share Five Steps to Collage Fodder... with stencils!
I know that a lot of us, which definitely includes me, have piles of papers that we can't bear to throw away but haven't found a use for. They're either too busy or not the right color or, I'll just own it, downright ugly.
To start my tutorial for today's post, I browsed through my pile of less-than-pretty collage and background papers as well as a few failed gelli prints and pulled out a few of them to turn into collage fodder. With those selected, it was just 5 easy steps to a great collage! Ready to see how it came together?
Step 1. Tame & Tone
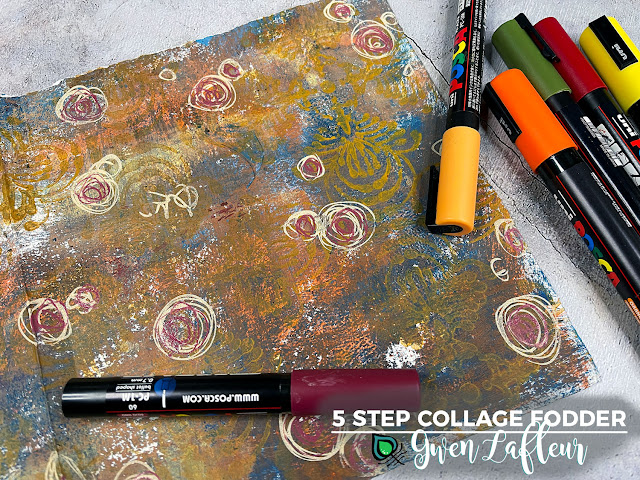
Step 2. Make Your Mark
For the next layer I added some marks. For this step I pulled out my trusty Posca paint markers, but you can use whatever you'd like or use your favorite mark-making stencils for this step.
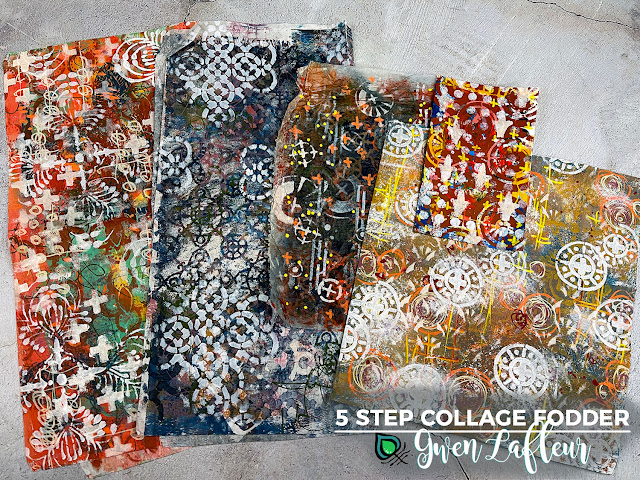
Below you can see all five of the pieces I worked on here and how just the first two steps have already transformed them quite a bit!
(Here you can see three more of the stencils I used in step 1, including my Decorative Flower Stamen Medallion, Ornamental Compass Screen, and Ornamental Circle Cluster Screen stencils.
Step three is a bit of a cheat since it's kind of two steps in one, but whether you do one, the other, or both is up to you. Here I used a color tint (Titan Mars Pale in the sample above) with a smaller scale all-over pattern and then stenciled with white in the top layer to lighten and brighten the papers. This also pushes some of the busyness of the previous layers into the background.
Below you can see the result of this step on all five papers. Additional stencils used on this step include the 4x4 from my February 2021 Feathered Tribe StencilClub collection as well as part of the 9x12 from my December 2016 Heraldry set. I also used the Patterned Circles and X Rows stencils by Michelle Ward.
Step 4: Cut it Out
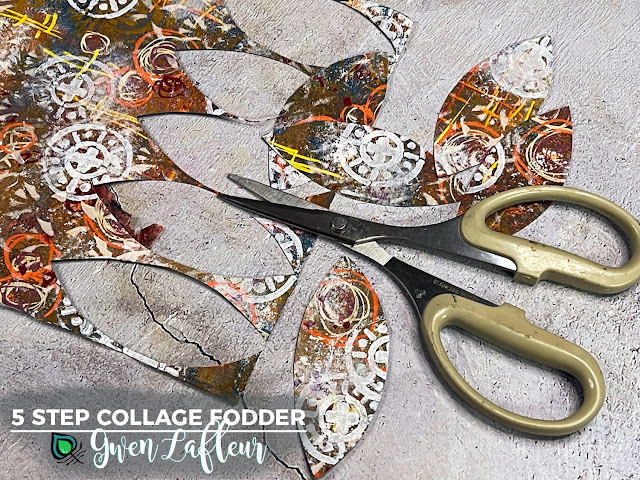
These papers are still quite busy, but that changes when you cut them into smaller pieces. If you have shapes that are go-to elements, that's a great place to start. I know that I will always use circles, squares, and leaf shapes, so I cut out several of each of those.
If you aren't so keen on just freehand cutting into your collage papers or if you want a bit of a different shape, you can pull your stencils back out again. Above you can see where I used my Ornamental Circle Clusters Screen stencil to trace the outline of the base shape on the back of one of my collage papers and then cut it out.
Here you can see the shapes I cut from all five sheets (and I also have some paper leftover to use later.)
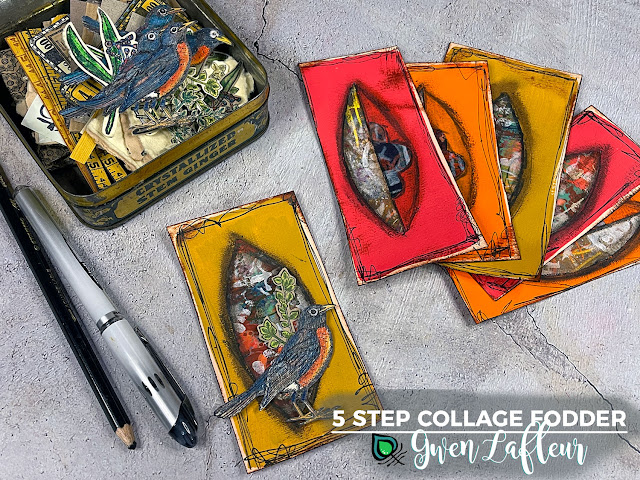
The last step... collage it! Pull out the glue or matte medium or whatever you want to use and collage your new bits and pieces into your work. Above you can see that I painted rectangles on some Canson drawing paper and then collaged all or half of my petal shaped pieces into the center of each rectangle and then colored and smudged around them with some of my handmade art crayons.
On the rectangles with the half petals, I took some of my stenciled cut-out shapes and cut those in half and added them on the other side to create some visual interest.
When I first started working on the painted rectangles, I'd envisioned that as the final piece. But once I collaged the pieces on and then stepped back, it just called out to me to cut them into individual rectangles... so I did! Sometimes collaging the collage fodder just makes more fodder. lol.
I pulled out some stamped and colored images from my EGL19 Build-A-Collage, Birds stamp set with PaperArtsy and layered them on top, then added a few marks and adhered it onto a previously completed background in one of my mini art journals. I finished the page with a fun little clip and some washi tape.
So just that quickly and easily, I have a completed art journal page, five more fun collage pieces, more fodder shapes that are cut and ready, AND some more paper ready to cut into new shapes.
So that's it! I hope you enjoyed today's tutorial and that you have fun making your own 5-Step Collage Fodder to use in your projects.
Until next time, happy stenciling!


These are terrific ideS Gwen. It makes a good warm up exercise too...for when your .ind can't kick start your next project. This is wonderful!! Thank you for sharing.
ReplyDeleteFound it now on Pinterest - it's a great idea, many thanks!
ReplyDelete