
Hello, Hello :)
Today I would like to share with you a project created for my interpretation of the In Honor of theme.
For me, I had to created a project Honouring Australian Soldiers; past, present, and future and I chose to incorporate the red poppy.
I was inspired by an iconic photo, depicted below, [photographer unknown] that is used to represent the significance of the red poppy on Remembrance Day, on November 11th every year.
The red poppy has special significance for Australians and is worn on Remembrance Day each year. Australians wear them for 3 reasons; First, in memory of the sacred dead who rest in Flanders' Fields. Second, to keep alive the memories of the sacred cause for which they laid down their lives; and third, as a bond of esteem and affection between the soldiers of all Allied Nations and in respect for France the common battleground.
The red poppies were among the first to flower in the devastated battlefields. In soldiers' folklore, the vivid red of the poppy came from the blood of their comrades soaking the ground.

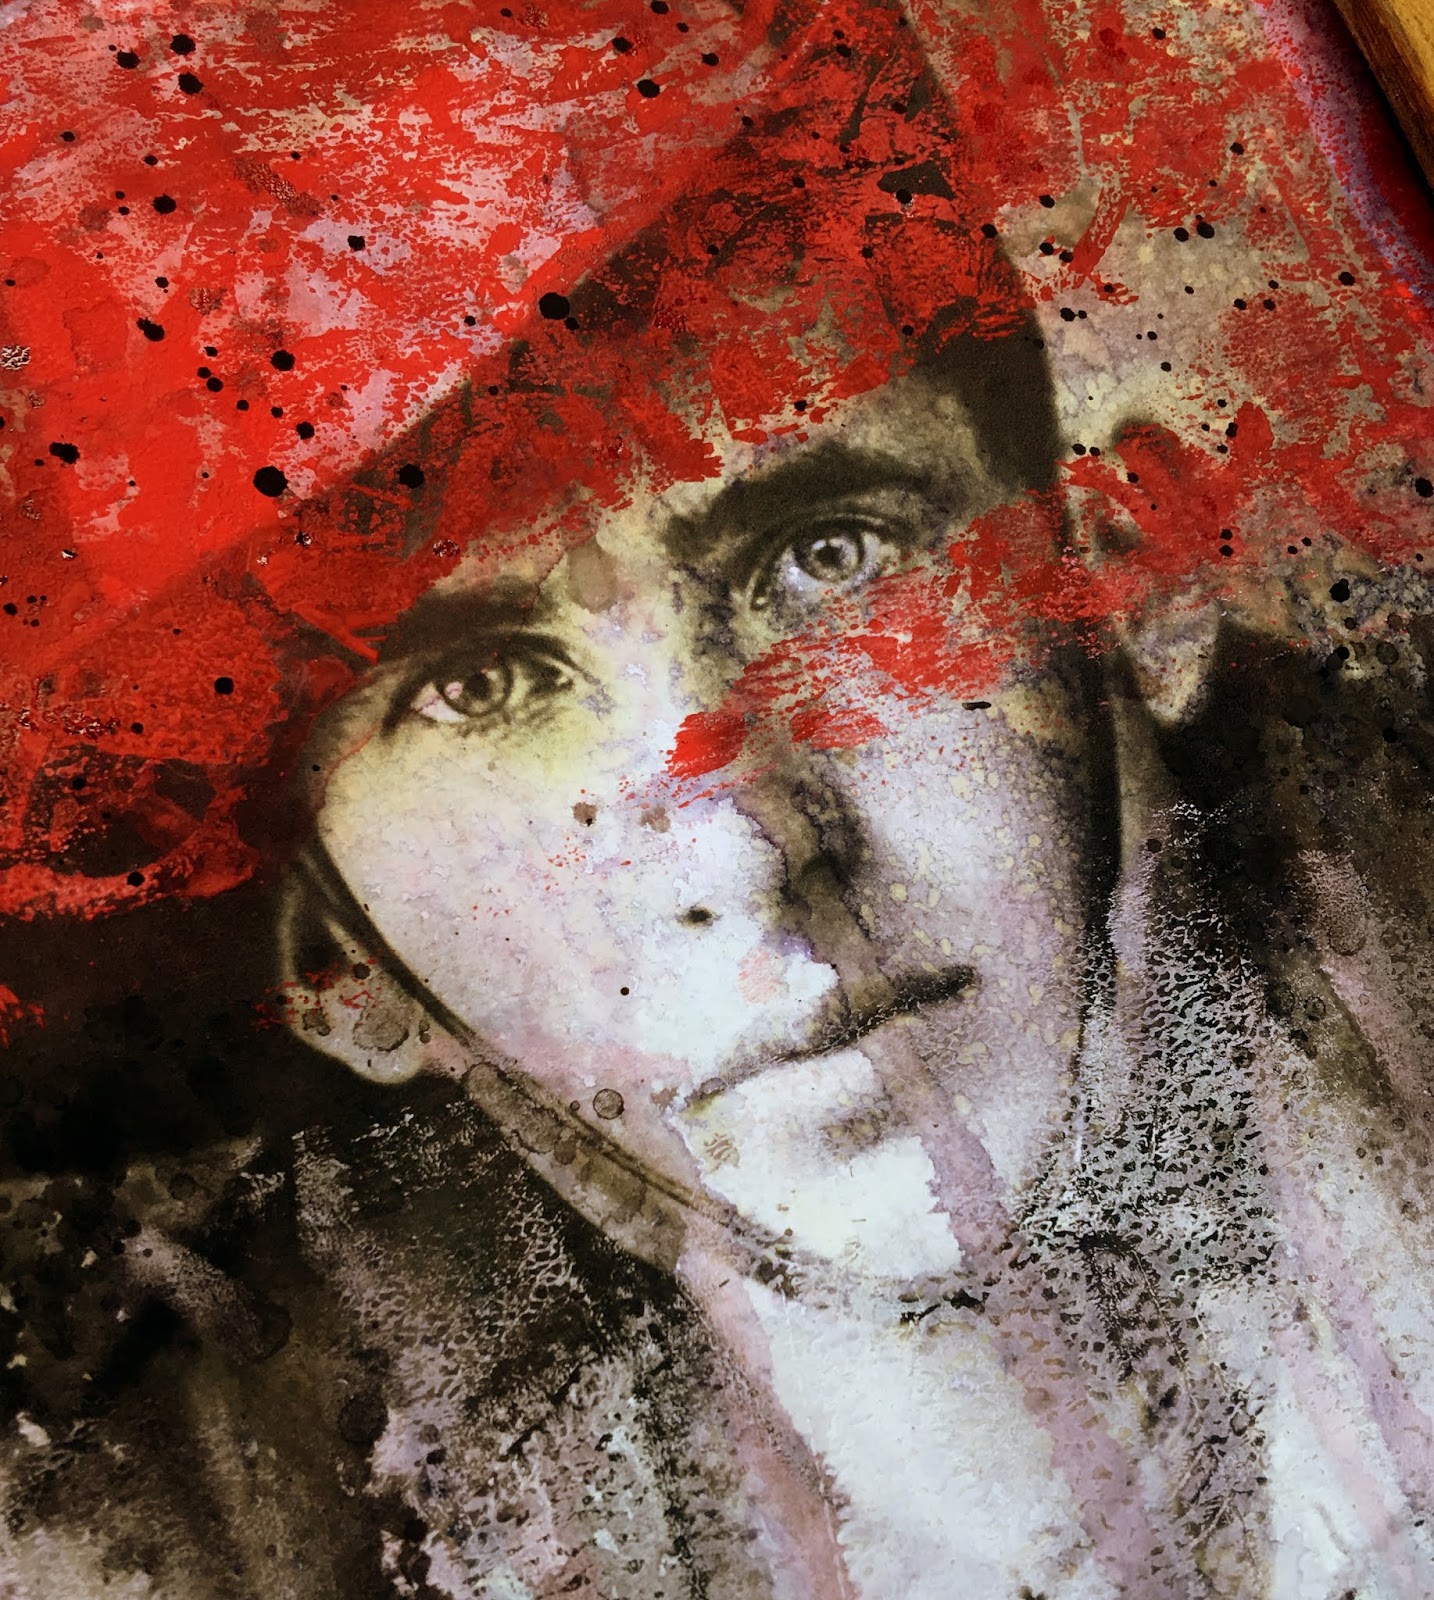
This photo was a direct inspiration for the process of creating this project [image below]. I have used 2 different StencilGirl stencils to depict the poppy field of the photo above, over a printed photo of an unknown Australian Soldier. [From the Australian War memorial Collection].

Through various creative steps, I have tried to reproduce the field of poppies in an abstract way.
I was also directly inspired by the color choice of the photo.
After I started creating this project it came to mind, that in a way I was 'artistically' coloring this photo of the 'Unknown Soldier', as photographers used to, when over-painting early photos that were originally printed in black and white or sepia. This was done to enhance the realism of the photo. I like to think that with my over-painting I am enhancing the realism of the 'Remembrance Day'. It kind of added to my personal satisfaction of creating this project.
I would like to share a few photo collages on how I created this 'Colored Photo'.

- I began by sourcing the Unknown Soldier image from the internet, inserting it into a word document page, and printing it on to good quality paper; Canson 300gsm.
- The products and tools I used were; a Gelpress plate, brayer, acrylic paints, spy ink, water mister, and black watercolor paint.
- The stencils I used were both designed by the fabulous Suzi Dennis. The Garden Dreams L436 Stencil is depicted below, the bottom stencil [depicted above] was one included in a StencilGirl Club Kit [SC-09-2017].
- With all of the overpainting/printing, I ensured that the soldier's eyes were left free of paint by using just a torn scrap of paper.
- I applied 2 colors of acrylic paint [red and white] to the gel printing plate using brayers. This was a fairly thick application.
- I then overlaid the stencils on the gel plate. I did a light print pass with the photo and then turned over the stencils and reprinted onto the photo to remove the paint from the stencils.
- This double printing from both the plate and the stencils served to abstractly blur the printed patterns.
- Whilst the acrylic paint was still wet I spritzed the red flower portion with water and allowed it to run down the photo.
- When this happened I kind of had a 'happy accident' in that the water made the photo ink run as well and the unpainted portion [the eyes] yellowed, not unlike an old photo would look. This was dried with a heat tool.
- I then added splats of black spray ink over the red flower portion and dried it off with a heat tool.
- I then added a darker application of black watercolor paint splats around the soldier's face, under the red flower portion.
- I then spritzed this with water to allow the black paint to run down the photo. this was then dried off using a heat tool.
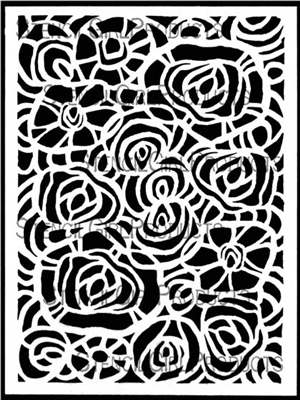 |
| Garden Dream Stencil |


Below are close-up images of the photo so that you can see the effects of the creative process, and how I tried to reproduce the poppy field, flowers and stems.


Well, that is my creative fun for this month using the amazing StencilGirl Stencils. I do hope you have enjoyed it.
Cheers and Happy Creating!
What wonderful results - and a wonderful homage, too!
ReplyDeleteLove it Louise!! Awesome effects!! Thanks for including me :)
ReplyDeleteAbsolutely AMAZING!!! Really love the final effect!
ReplyDelete