Showing posts with label Geli printing. Show all posts

Saturday, January 5, 2019

Love & Friendship: Junk Journal by Louise


Hello, Hello, Fellow StencilGirl Creative :) :) :)

Today I would like to share with you my creative interpretation of our current theme 'Love & Friendship'.

As you may have know from my last blog post for StencilGirl®, I am a huuuuge fan of creating Junk Journals. I have a few 'on the go'! I have a collection of tags, paper bags and paper scraps that I have pre-prepared with layers of paint, mostly 'dirty plate pulls', from when I get on a roll with printing using my gel printing plates.

For today's creative project I have used 2 of the pages from my Junk Journal stash to journal personal sentiments I feel for a couple of creative friends, who are having a bit of a tuff time at the moment. 


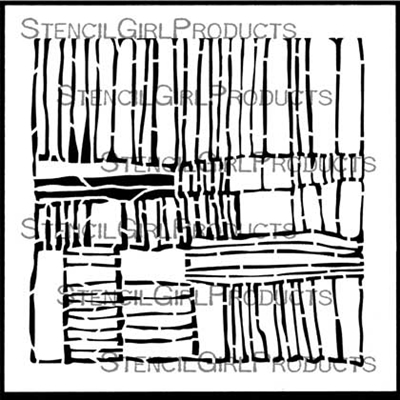
To create these 2 journal pages I have used 2 awesome StencilGirl® stencils designed by the fabulous MaryBeth Shaw.


I would like to share with you some photo collage images that depict my step-by-step process for creating these journal pages.

  • To create these journal pages I assembled some basic requirements; Gel Printing plate, StencilGirl® stencils, brayer, acrylic paint, wet wipes, journal pens, sponge applicators, paintbrush, journal stickers, and gesso.
  • I actually mixed 2 colors of acrylic paint on my gel printing plate to apply to the backgrounds.
  • the application was abstract and a little haphazard to blend with the background pages.


  • Whilst the paint was still wet I layered the stencil down and then proceeded to remove paint to highlight stencil pattern, with a wet wipe, on 1 background, and then on the second background, I applied another color of paint onto the gel plate, layered down the same stencil and then printed the pattern.


  • When the paint was dry I applied white gesso with a palette knife, roughly in the shape of a human upper torso.


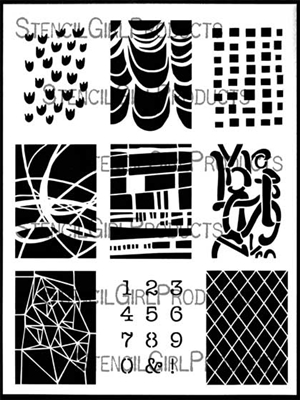
  • To complete the pages I added visual highlights with the ATC stencil, sponging on acrylic paint.
  • Extra splats of coordinating acrylic paint were added using a soft bristle paint brush.
  • The shoulder and upper body definition were created using liquid ink.
  • I hand drew the remainder of the face and neck with black journal pens.
  • Journaling was added using journal stickers and journal pens.
Here are some close-up images of the fabulous stencils that I have used :) :) :)


 I do hope you enjoy these Junk Journal pages that I have created. They for me are very personal, am hoping that their love reaches those intended [IYKWIM]! :) 

Cheers and Happy StencilGirl Creating for the Festive Season. Please stay safe!
Much Mwah!


PS: please remember this.....

"You owe yourself the love that you freely give to other people."

 p.s. Click the pic if you want to be part of our Instagram Contest!

Tuesday, August 7, 2018

Dog Days of Summer - Mini Artworks with Louise Nelson


Hello Hello :)

Today I would like to share with you my take on this months Inspiration Theme; 'Dog Days of Summer'.


I am a big fan of Mixed Media Mini's, so with that in mind, I decided to create a set of 3 'lil framed artworks that depict the colors and look of an Australian Outback Summer landscape. My approach is somewhat abstract, and a lil 70's style in look, but you get the idea.


The main colours of the Australian outback are blues and ochers, so I have used a vibrant sky blue and a pale earth color acrylic paints. I have used these paints to created the landscape on a 'lil 6 x 4 gel printing plate, with a very basic color blocking approach.


Have you noticed that when the sun is high and hot in the Desert/Outback there is a heat haze-like filter on your view of the landscape?

Well, with my little arty landscapes I tried to emulate the look of a heat haze by using a fabulous StencilGirl stencil designed by the one and only Mary Beth Shaw; Layers S429!


I thought I would include some photo collage images to show and describe to you how I created these 'lil arty landscapes. The technique is very simple, so simple in fact that it would be great to use this as an art project for a holiday activity with your children. Frame them up and they would be a great gift got the grandparents! :) 


  • In the above image, you can see the supplies that I have assembled and used for these lil arty landscapes.
  • I have used office supply index cards, to print on.
  • because I needed to stencil in similar colours I actually lightened the background landscape colors with white acrylic paint.
  • I have used 2 sizes of brayers to apply the paint to the small gel plate, this made it easier to proportion the colours correctly to place the horizon line in the right place on the gel plate.


  •  I brayer'd the paint on fairly evenly and burnished the paper firmly so that most of the paint came off on the cardstock with the first print.
  • I repeated this process to create quite a few backgrounds; it is always to good to create extras in case of oopsies!


  •  When I completed the backgrounds I then repeated the process using the stencil to create the look of the heat haze. 
  • This time tho I used neat colours [a lil darker] so that the stencil'ed pattern was evident but subtle.
  • I over layed the stencil on the paint loaded gel plate, took a light dummy print, then flipped the paint loaded stencil over onto the pre printed backgrounds.
  • To ensure the paint on the stencil was transferred on to the printed background I used a brayer.

  • As you can see from the first image in the photo above the transferred paint is light and patchy, which helps to create the illusion of the heat haze look.
  • To complete my lil landscapes I used a stamp which is an abstract image of people off in the distance against the horizon with a sun in the sky.
  • After the image was stamped onto the background I then highlighted the sun with some dark orange water color paint. I also added some very small splats of coordinated water color paint to help soften the overall look.
Here are a few close up images of the finished arty landscapes.


I do hope you enjoyed my creative take on this months fabulous Creative Inspiration theme?!

Cheers for now and Happy StencilGirl Creating!!!

Tuesday, July 17, 2018

Honouring The Australian Soldier by Louise Nelson


Hello, Hello :)

Today I would like to share with you a project created for my interpretation of the In Honor of theme. 

For me, I had to created a project Honouring Australian Soldiers; past, present, and future and I chose to incorporate the red poppy. 

I was inspired by an iconic photo, depicted below, [photographer unknown] that is used to represent the significance of the red poppy on Remembrance Day, on November 11th every year. 

The red poppy has special significance for Australians and is worn on Remembrance Day each year. Australians wear them for 3 reasons; First, in memory of the sacred dead who rest in Flanders' Fields. Second, to keep alive the memories of the sacred cause for which they laid down their lives; and third, as a bond of esteem and affection between the soldiers of all Allied Nations and in respect for France the common battleground. 

The red poppies were among the first to flower in the devastated battlefields. In soldiers' folklore, the vivid red of the poppy came from the blood of their comrades soaking the ground.


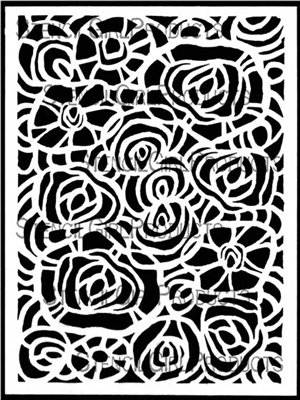
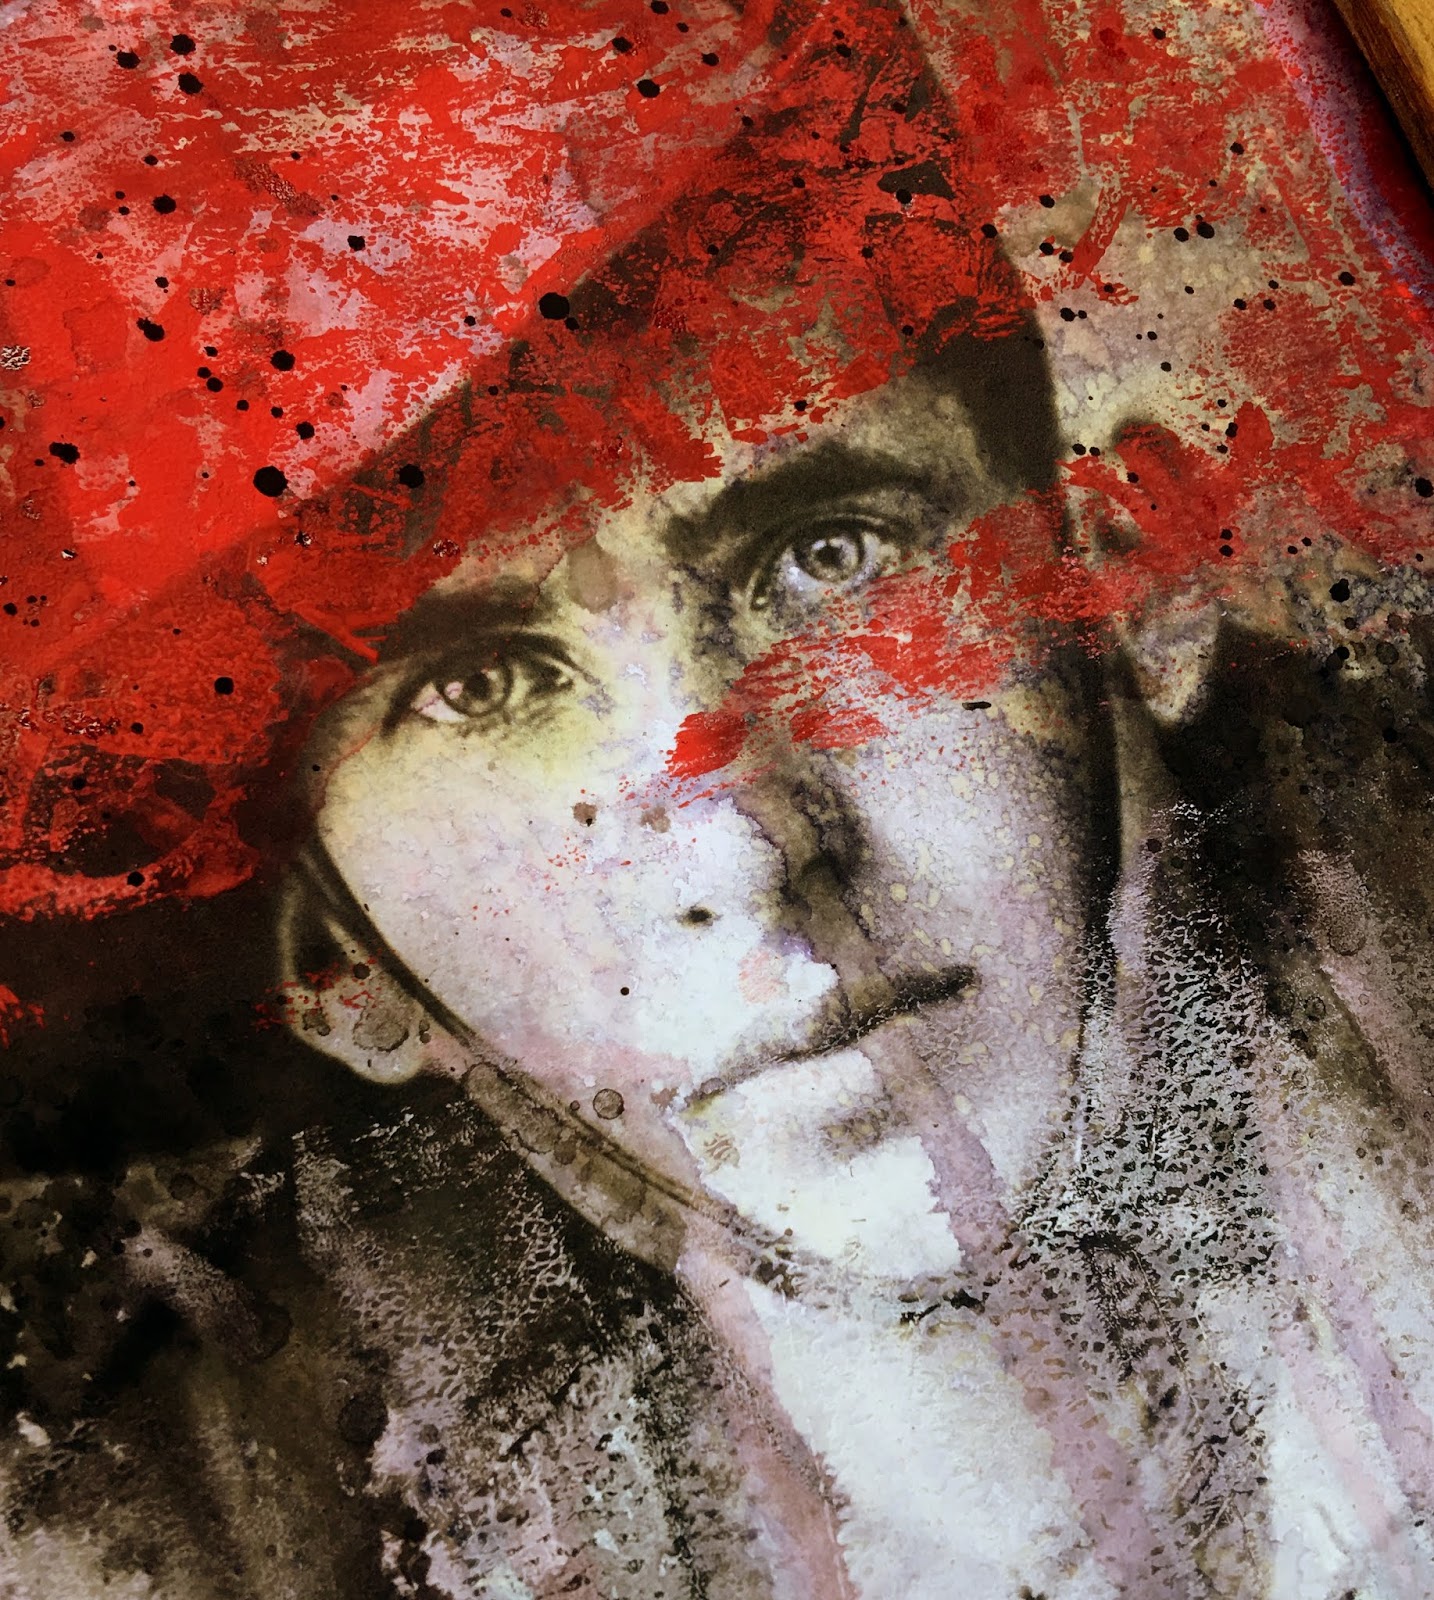
This photo was a direct inspiration for the process of creating this project [image below]. I have used 2 different StencilGirl stencils to depict the poppy field of the photo above, over a printed photo of an unknown Australian Soldier. [From the Australian War memorial Collection].


Through various creative steps, I have tried to reproduce the field of poppies in an abstract way. 

I was also directly inspired by the color choice of the photo.

After I started creating this project it came to mind, that in a way I was 'artistically' coloring this photo of the 'Unknown Soldier', as photographers used to, when over-painting early photos that were originally printed in black and white or sepia. This was done to enhance the realism of the photo. I like to think that with my over-painting I am enhancing the realism of the 'Remembrance Day'. It kind of added to my personal satisfaction of creating this project. 

I would like to share a few photo collages on how I created this 'Colored Photo'. 


  • I began by sourcing the Unknown Soldier image from the internet, inserting it into a word document page, and printing it on to good quality paper; Canson 300gsm.
  • The products and tools I used were; a Gelpress plate, brayer, acrylic paints, spy ink, water mister, and black watercolor paint.
  • The stencils I used were both designed by the fabulous Suzi Dennis. The Garden Dreams L436 Stencil is depicted below, the bottom stencil [depicted above] was one included in a StencilGirl Club Kit [SC-09-2017].
  • With all of the overpainting/printing, I ensured that the soldier's eyes were left free of paint by using just a torn scrap of paper.
  • I applied 2 colors of acrylic paint [red and white] to the gel printing plate using brayers. This was a fairly thick application.
  • I then overlaid the stencils on the gel plate. I did a light print pass with the photo and then turned over the stencils and reprinted onto the photo to remove the paint from the stencils.
  • This double printing from both the plate and the stencils served to abstractly blur the printed patterns.
  • Whilst the acrylic paint was still wet I spritzed the red flower portion with water and allowed it to run down the photo.
  • When this happened I kind of had a 'happy accident' in that the water made the photo ink run as well and the unpainted portion [the eyes] yellowed, not unlike an old photo would look. This was dried with a heat tool.
  • I then added splats of black spray ink over the red flower portion and dried it off with a heat tool.
  • I then added a darker application of black watercolor paint splats around the soldier's face, under the red flower portion.
  • I then spritzed this with water to allow the black paint to run down the photo. this was then dried off using a heat tool.


Garden Dream Stencil


Below are close-up images of the photo so that you can see the effects of the creative process, and how I tried to reproduce the poppy field, flowers and stems.


Well, that is my creative fun for this month using the amazing StencilGirl Stencils. I do hope you have enjoyed it.

Cheers and Happy Creating!

Tuesday, July 26, 2016

Love Book, made with stencils on gelli printed paper, by Marleen van Meerendonk


Hello StencilGirl fans!!
Marleen here with a project from my heart ♥
I was totally inspired by stencils from  Jessica Sporn.

I made a cute little mini-book with photos from the love of my life.

First of all I made many backgrounds with my GelliArts printing plate.
Then I used the Hearts, Flowers and More stencil to add a nice layer on my backgrounds.

Don't print the whole page but use parts of it.
Don't you get happy from these colors!?
Add hearts on your pages with the Seven Hearts Stencil.
After it is all dry, you cut hearts in the same shapes.
Doodle with a white fine-liner around the hearts and photos.
Spray a ribbon with some bright inks.
Add a binding ring to the pages and add the ribbons.


There are many more pages!

I used these amazing stencils from Jessica Sporn:

I hope you are inspired again ;)
More inspiration on my BLOG, Facebook and YouTube channel.


Have a creative day!
Hugs,
Marleen xx