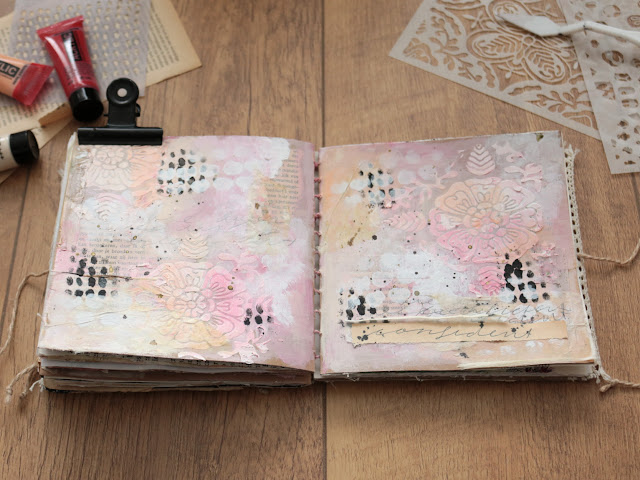
Hello you beautiful artist!
One thing I love about art journaling is that it can be very intuitive. It took me a lot of time to let my inner perfectionist go and to create without thinking too much about the result. Today I'm going to show you step by step how I made this intuitive art journal page. You can use this as an inspiration, a guideline, or as a tutorial. It’s up to you! If you decide to play along with me, grab a nice cup of tea, play your favorite song, meditate for a little bit and try to keep an open mind. Let your hands tell you what to do instead of your head because that's when the magic happens!
Using collage is one of my favorite ways to start an art journal page. Tearing and gluing stuff down can feel so satisfying don't you think? It's also great to add texture and layering to your page. For this page, I collaged old book papers with washi tape and some tea bag scraps that were laying around on my desk.
While I was working on the collage I got the idea to make a layer of modeling paste with the Tapestry stencil by Kristie Taylor that I would paint over with acrylics once it dried. I definitely prefer doing to technique with watercolor, but since I'm working on craft paper I decided to do it with acrylics.
This is what I mean by working with your hands instead of your head. My head told me that I should do this on mixed media or watercolor paper. But my hands already applied the modeling paste. No turning back here.
To paint over the pattern with any type of paint, your modeling paste has to be completely dry. Just leave it be for a while or use a heat gun to speed up the process. Always clean your stencil asap when you are using modeling paste, it dries faster on your stencil than on your page and your stencil will become less usable over time.
For my first layer of paint, I mixed some Amsterdam Naphthol Red Deep acrylic with a little bit of white gesso for a more transparent and matt look. If this was a pre-planned page I probably would have done this step first. But since I’m following my intuition, mixing your gesso with paint is a great way to prime and adding color at the same time.
In this stage I don't wait for my paint to dry, I like how they blend when they are still a bit wet. I find painting backgrounds very relaxing so I just keep adding tiny bits to the page with Naples Yellow Red Light and Venetian Rose until I’m happy. Sometimes I use a baby wipe to blend in the colors a little bit more and to remove paint on places that I used too much. If your modeling paste pattern is under too much paint you can also use a baby wipe to dab it away.
As you can see I like to work in layers and layers. Especially layers of paint. So for my third layer of paint, I patched up some areas that didn't blend well for my linking with White, Naples Yellow Red, and Naples Yellow Red Light.
I think hidden journaling is such a lovely element in a journal background. Especially when it's all messy and scribbled. Sometimes I use my art journal as my diary and I just write and write until my page is all covered in words. Then I like to paint over it a little bit just so the words are still peeking through. When I was working on this page I was listening to a song that kept repeating the same words. So I wrote it down with a pencil in an almost vintage kind of handwriting.
My obsession with using teabags in my art
is real! I just love how it gives your page so much texture and how it blends
everything together.
While the tea bags are still wet from the glue I splashed down some gold ink and let everything dry for a little bit.
If you want to you can leave it like this. But I was feeling a little brave when I made this and I stepped out of my comfort zone. Normally I would just add some marks with a black pen, but the Repetition Stencil by Rae Missigman was winking at me on my desk, so I just went for it!
I probably should have gone for a Naples
Yellow Red instead of black, because after I applied it my immediate thoughts
were: “Where is my white paint? I need to make it soft again.” Your hands are
not always right, I can tell you that!
But as I said before: this is where the magic happens! Because after I
applied my white paint through the Interesting Dots stencil by Jennifer Evans
everything came together so beautifully.
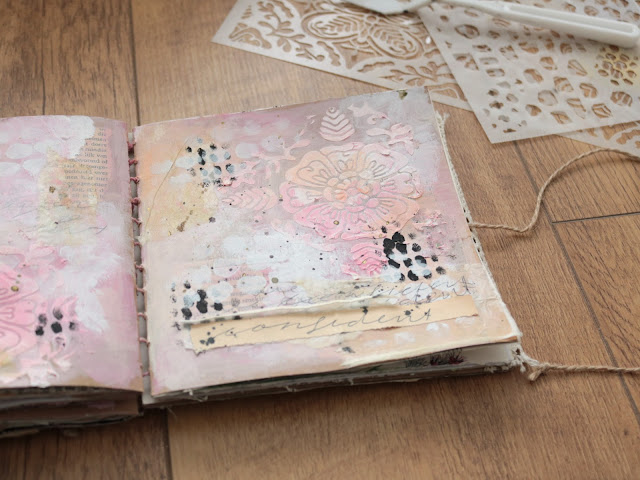
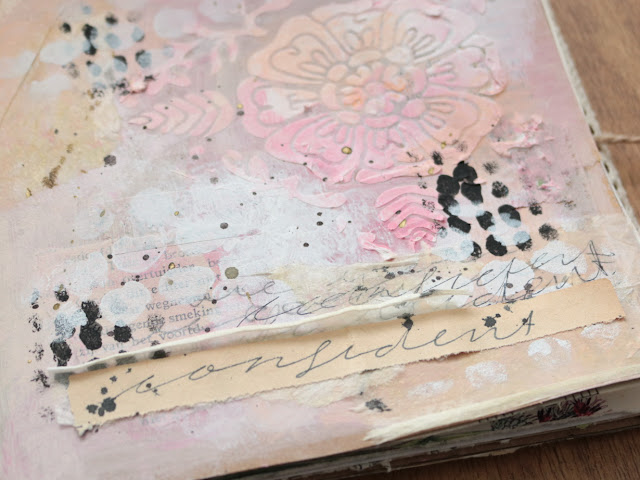
I finished this page off with some black ink splatters and glued down the word confident with a little tea bag underneath.
I chose the word confident because I wanted to remind you to be confident in your art. Just have fun and enjoy the process. Be confident! You can do it!
My name is Anouk, Creanouk on Instagram, and I’m so excited to be back on the blog today. I hope you enjoyed this step by step tutorial and that I’ve inspired you to get creative today.


Love your technique!
ReplyDeleteMakes me want to go to art table now.
I'm so happy to hear that! Thank you Brenda, have fun creating!
ReplyDeleteI like seeing how you did your layers in this lovely piece. Thanks for sharing!
ReplyDeleteBeautiful, Anouk! I love that gold splatter! And....well...everything about your pages! XO
ReplyDelete