Sunday, November 27, 2022

Ready Set Go! The Sale Starts NOW!

THE TIME IS NOW!


If you buy 6 stencils of the same size StencilGirl’s 10% everyday discount is automatically applied to those stencils. This discount is taken before your 25% off.

The best part: FREEBIES!

  •            $100+ the Exclusive 4-Pattern Stencil by Mary Beth Shaw
  •            $500+ a piece of original art by Mary Beth Shaw & the exclusive stencil


Please note: 

  • Freebies are calculated after the discounts are applied. 
  • Sorry, the International shipping fee does not apply toward the $100.
  • 25% off does not apply to wholesale orders or StencilClub subscriptions.
  • StencilClub loyalty coupon does not apply during the sale.

Thursday, November 24, 2022

Happy Thanksgiving from StencilGirl!

Happy Thanksgiving from all of us at StencilGirl!
We are so grateful for YOU!

Wednesday, November 23, 2022

Got My Mind Set on You


Happy November!  It's Nancy Curry back for another project usually "loosely"  based on a song title.  This one shows my age a bit and it has nothing to do with the project.  You'll understand more when you watch the video.  Let's just say that my project mind was all over the place so you actually will see samples from both techniques.  I'd call that bonus material.  The project in the photo above is the project that I demonstrate in the video.  It is another use for my huge Citra Art paper stash (organic papers rich in mark-making made from older National Geographics) besides framing finished pieces or collaging. Click here to see some finished work. Today we will use those papers and paint to create high contrast tags for those special people you want to impress.  If you don't have Citra pages, you could try doing this with other old magazines that have background pictures that would be a good backdrop for a stenciled layer.  If you don't have any shape punches, you would need to use tag blanks or make your own to use as a template for the shapes.  

Before we get to the video, I'll give you a materials list for the videoed project and a stencil list for the tags I did on and off the camera. 

Materials:

Shape punches or tag blanks (big box craft stores)                                    
Citra art magazine pages                                                                          
1/4" hole punch                                                                                           
stencils
black and white acrylic paint
washi tape
twine or fibers 
 
 
Stencils:
 
 In video  
                                                                             
M223    Kalbach        Park Blvd                                                                    
M055    Curry            Allegro Clef                                 
Club      Apter            12-2017                                                     
Club      Butler            03-2019     
Club      Shaw/Dube   08-2020     
 
Additional Samples
 
S860    Oliver    Mark M w Bot Embellish 
S517     Nichols  Vintage Ornaments  
Club     Sporn     04-2015   
Club    Sjodin/ Shaw  06-2020 


Now onto the show.........


I really enjoyed turning some of my page pile into the tags in the video and the extras pictured below I did off camera.  It really reinvigorated my interest in Citra Art.  Lately, I've been obsessed with watercolor but I am always excited when I head back.  Enjoy the extra tags below and take some time to play with symmetry, high contrast,  and a lot of fun stencils.  You may look at them in a new way.  I wish you and yours a safe, healthy and fun holiday season and beginning of 2023.  As always, you can find me on social media @nancycurryart or find me on my website where my shop is located.  There's a sale coming soon.  


xoxo

Nancy


Monday, November 21, 2022

A Gentle Reminder about Workshop Etiquette


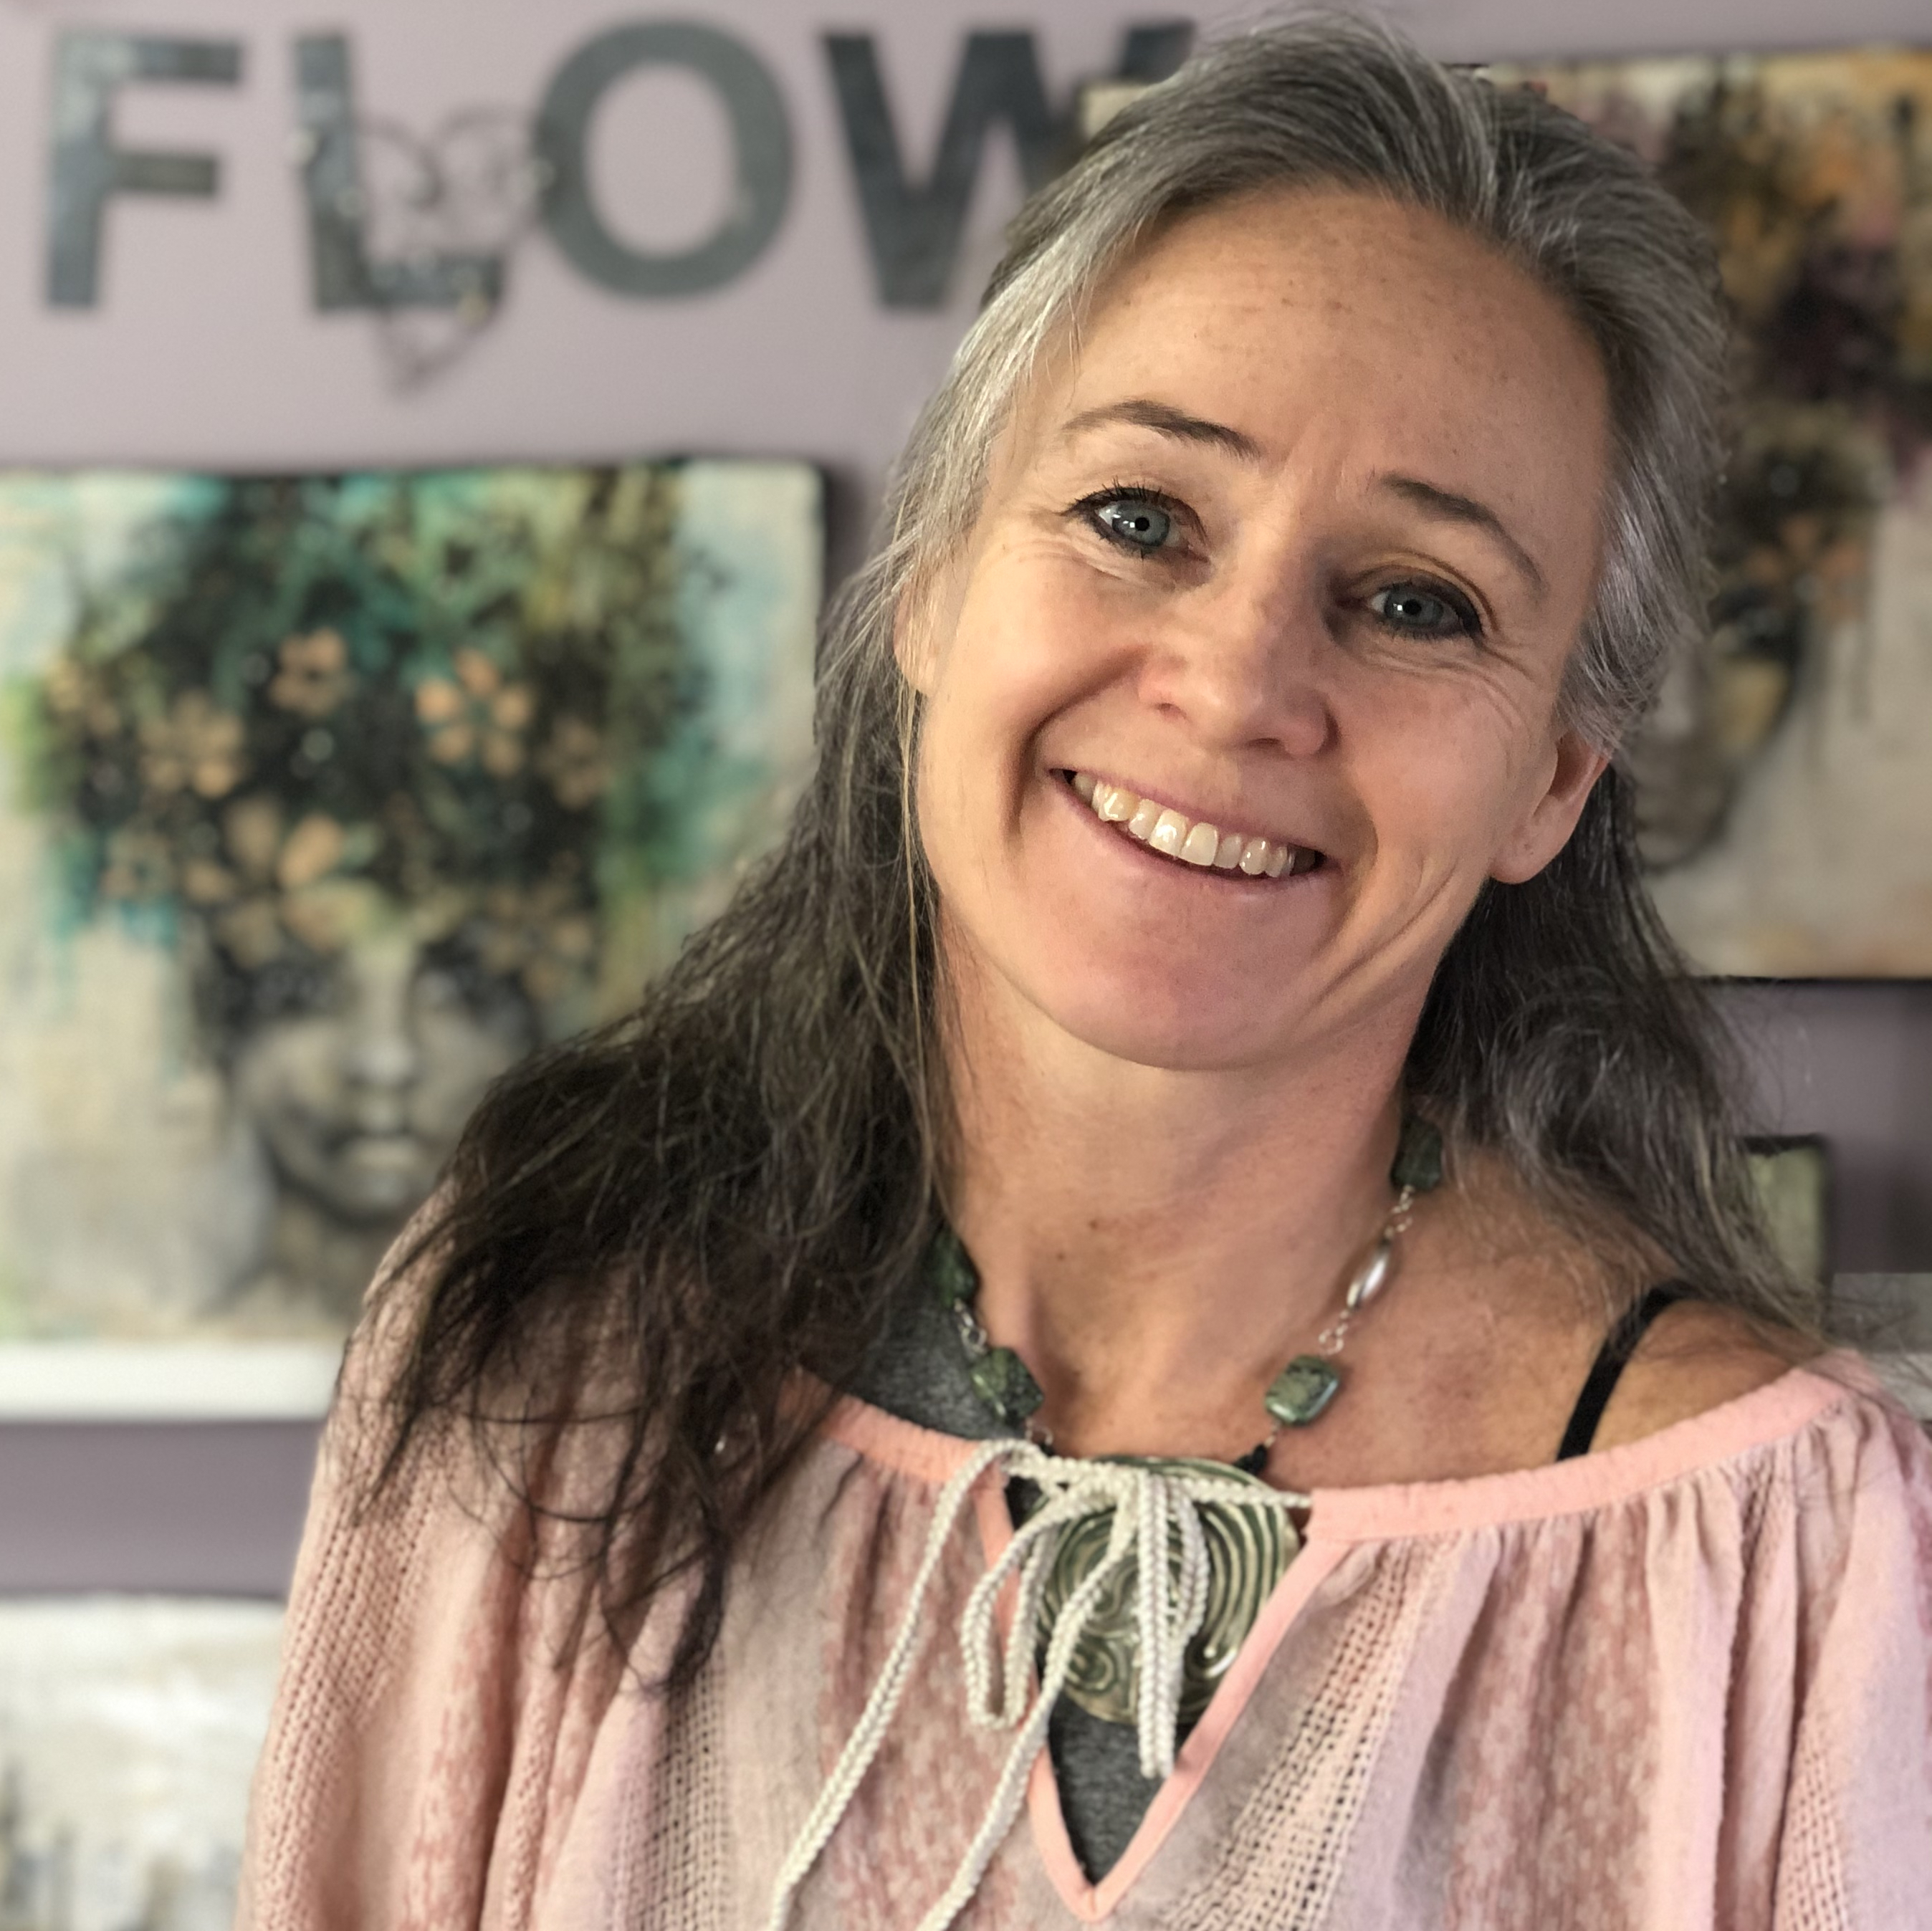
Greetings! I am Kristin Williams, owner of Ephemera Paducah. I’ve hosted over 200 workshops, taught by traveling instructors or me, since opening my business in 2013. 

I’ve said to a lot of people that, since Covid, we’ve all changed a little bit (of course, Captain Obvious). Many of us haven’t been in groups of people in literally a couple of years. In light of that, a refresher on Workshop Etiquette is what I have for you today. Please take it in the spirit in which it is intended - helping to create a great experience in class for everyone! 

As teachers, we get it. 

You are very excited!!!

We really do get it. It’s a special time when an in-person workshop rolls around.

As teachers, we get excited, too!!!!  

And anxious, nervous, and hoping to do our very, very best so that all our students have a great experience in class. 

Excitement sometimes morphs into events or behaviors that disrupt the class, upset the flow of the experience, create stress for teachers and fellow students, or break trust within the group. Some events are beyond everyone’s control but, there are actions you can take to help create the environment we all crave when taking an in-person workshop.  

I posed three (3) questions to a number of popular teachers who are on our mixed media circuit. They all answered within 24 hours. Quotes are in italics; other answers I combined and added my own thoughts and experiences.

What behaviors from students do you appreciate the most when teaching in-person?
What behaviors do you appreciate the least when teaching in-person.
What advice would give someone getting ready to attend their first in-person workshop?

For the most part, answers to questions 1 & 2 mirrored each other at either ends of the spectrum. 

1. Punctuality Makes a Huge Difference.  
Starting late can throw the whole day off!

Showing up on time was identified by numerous respondents, which indicates this is an issue.

We all know stuff happens — traffic, sick kids, alarms, waking up in a strange city. Make sure to have contact information for the venue or someone else in class to call if you are going to be late. Calling or messaging the teacher is not helpful, at all. 

I appreciate those that respect and honor the starting and ending times of a workshop. Those that do not show up way early (which can be disruptive to the flow) and those that do not stay and linger afterward (which can be draining after a long day of teaching). 

2. Read & Follow the Communications About Class

When in doubt or seeking information, go back to the class description, first. Supply lists, class dates & times, address of the venue should all be there. 

Read the Emails. Unless your class is specifically tied to a social media platform, information will come via email. Please read them. Expect that important information about your class may be coming via email near class time. 

Please refrain from using one of a dozen other ways to ask questions about class like in a Facebook post or via Instagram Messenger (unless specified by the venue). Sometimes I spend 15 minutes looking for the question that flashed across my screen. Email, please. 


3. Supplies 
 Pack light for a better workshop experience!
I have literally groaned when I’ve seen Roller Bags come into the Studio when supplies that would fit in a toolbox are all that was required. It creates a space issue, cramps neighbors at tables, and instead of being in the moment and using what is provided, students waste valuable class time digging through stuff for the imagined “perfect” piece of somethingorother. 

Bring the supplies on the list. Don’t overpack, especially if that class takes place at a store where additional supplies are available. 

And, please be respectful of shared supplies. 

Don’t dispense paint you will never use. 
Don’t treat supplies that are shared in a wasteful or destructive manner.
Don’t hog the shared supplies. 

4. Listen, Be Curious & Go With the Flow

You paid for the class and made time to take it, let the teachers take you there. Do it their way and see what happens. Use the supplies they recommend and share. 

Listen with both ears. Take notes. 

I appreciate it when students are receptive and trust me to guide them through the process. The students who can grasp the concept that we are there to learn, and perfection is just not part of that equation are the best. 

I love it when students listen and ask relevant questions. 

I don’t appreciate it when students are on their phones and not listening when I am talking. 

I do not appreciate it when a demo is going on with the teacher instructing and an experienced student interrupts with their own experience unintentionally hijacking the demo.

I appreciate when people are engaged and ask questions but do not appreciate when they monopolize the conversation, try to show they know more than the teacher, or have unrealistic expectations of personal attention from the teacher for any number of reasons. 

Please don't be "A Creeper." 
Make sure not to spill into someone's space
5. Be Responsible for the Energy You Bring into the Space 

There are the basics like not talking during demos, cleaning up your mess, and not encroaching on someone else’s workspace that helps shape the workshop, but there are some less obvious things that can seriously impact the vibe in your workshop.

I do not appreciate it when someone is on their phone throughout the day and then suddenly verbally blasts out some kind of terrible "breaking news story" which can bum out the entire positive creative vibe. 

An individual’s anxiety and fear of not knowing what is coming next can impact the class as well as the students who are so paralyzed by perfectionism that they bring the whole room down with self-deprecating phrases like “oh, this is horrible” or “my work looks like garbage.”

Be kind. Art classes should be safe places. All artists are welcome whether new to the subject matter or advanced. We all need kind words. It’s often simple and kind reinforcement that drives artists to do better and try new things. I really like it when I see people encouraging and uplifting each other no matter the caliber or level of their work. 

I appreciate the students who pay attention, respect, and assist with the ADA accommodations in place for students with disability needs so that they can have an inclusive workshop experience. 

6. Understand this is your Teacher’s & Venue’s Livelihood.

The great ones make teaching look easy but please do not underestimate the time, energy, and financial resources that go into teaching on this circuit. Don't let the buzz of creative energy or the party atmosphere obscure the fact that they are working. 

Ask before taking photos and take them in moderation. Also, give credit where credit is due.

I don’t appreciate it when someone is at their table talking about great deals at Big Box stores while being in a small store. 

I’ve seen students take photos of everything a teacher brings, paging through journals, and it erodes trust wondering where they will end up. 

Every teacher has different ways they recharge for the next day. As an “Extroverted Introvert” my “charm factor” wears off by the end of the day. Please don’t hold it against me if I need to go back to my hotel room instead of a group dinner so that I can be my absolute best in class the next day. 

Many students are genuinely intrigued by how artist-instructors or venue owners have created their businesses. And, most venue owners and artists enjoy sharing their stories. But, not in the middle of teaching or running a class. Make a connection and follow up with a phone appointment if this information is something that will help you find your way. If you are looking for a critique of your portfolio or business plan, consider asking what they would charge for that service and make an appointment for that before assuming it comes with their presence in class. 

90% of the teachers have quit using handouts for class because of sharing after the fact. I have never allowed video in my class for the same reason. Please do not go home and “teach” your friends step-by-step instructions of what you learned in class. 

I’ve posed to a student or two, imagine if you had 20+ people watching you do your job. How much would you appreciate someone you just met sitting in the corner of your office and correcting you as you worked in front of an audience? Would you appreciate it if they second-guessed, out loud, what you were doing? Please let teachers do their job and save any constructive criticism for a private conversation or feedback survey. 


Finally, here are suggestions for first-timers (or those who are venturing back into in-person workshops).


Enjoy the moment. It’s a workshop where you are learning a new skill and not becoming a master in a couple of hours. Realize that the teacher, and possibly some fellow students, have spent years, sometimes decades, to attain their skills. 

Do it even though you are scared. 

Be open to going to the places the instructor brings you to, and be excited because the experience may change you as an artist. 

Relax. Release yourself from the need to have a perfect outcome. Go to classes to experiment and learn. You can take skills home and make something awesome but you may not make amazing art in class. (And that is OK.)

Come as a Kindergartener.

Look around you. You won’t be the only new person. Engage with the other students. 

Show up just are you are. You are already creative enough. As a first-timer, you may be sitting shoulder to should with those who have more wisdom or experience but all are uniquely connecting through creative camaraderie. Enjoy the workshop and give yourself permission to express your own creative voice. 

What I have found is students are most importantly seeking community. Wanting to spend time with like-hearted others to create together. Being in a safe space of welcome and belonging….This is where the experience transforms from perfunctory to a powerful gathering for all. 

Thank you for taking this in the spirit in which it was intended -- A gentle reminder of the role you can play in curating an incredible workshop experience for our mixed media community. If I've left something out or something really resonated with you, please comment, below. 

Saturday, November 19, 2022

3 days of Super Stencil Savings Starts November 27th!

It's almost time for the biggest and best stencil sale of the year!  

READY...SET...GO...FILL THAT CART!


If you buy 6 stencils of the same size StencilGirl’s 10% everyday discount is automatically applied to those stencils. This discount is taken before your 25% off.

The best part: FREEBIES!

  •            $100+ the Exclusive 4-Pattern Stencil by Mary Beth Shaw
  •            $500+ a piece of original art by Mary Beth Shaw & the exclusive stencil


Please note: 

  • Freebies are calculated after the discounts are applied. 
  • Sorry, the International shipping fee does not apply toward the $100.
  • 25% off does not apply to wholesale orders or StencilClub subscriptions.
  • StencilClub loyalty coupon does not apply during the sale.


Wednesday, November 16, 2022

Guest Designer: Jenny Grant

Hello creative souls!
I am Jenny Grant, and I am so excited to be here and share my grungy world of mixed media art with you!


One of the pitfalls when working with mixed media is to buy loads of art supplies and then not use them. Trust me, there are so many fun things to buy, BUT you can get a long way with just a few supplies, everyday items that you can use as tools and, of course, plenty of scraps. I always think about who I buy my art supplies from. I want my hard-earned money to not only give me good products but that the money ends up with someone that I want to give them to. This is the reason why I buy my stencils from StencilGirl®.

Here is the list of the supplies that I use in this video:


       A canvas board, size 8”x8” (20x20cm)

       Acrylic modeling paste. I use Liquitex.

        Acrylic Paint I use white, Black, Van Dyke Brown and Light Gold.

       Acrylic Ink I use Oxide Yellow, Deep Violet and Sepia.

       A Palette knife

       Sand paper

       A couple of paint brushes

       StencilGirl® Loopy Leafy Vines Background

       Water spray bottle, old plastic lids, a makeup sponge and a rag


I start with adding some dark contrasting marks with Acrylic Paint and the StencilGirl® stencil. These marks will show in the background of my next layers and give a great depth to my design. I am using a mix of Van Dyke Brown and Black.

In this step I add modeling paste through my stencil. A thin layer put on with the help of my palette knife. 


When the modeling paste is totally dry, I sand it down to a very smooth surface. This is recommended to do outside. This step is needed to achieve the effect I am after in my last step. Make sure that all dust is brushed off before next step.

In this step I tint the modeling paste with a light color wash. I add Acrylic Ink (Oxide Yellow and Deep Purple) and some White Acrylic Paint. Some modeling pastes are easier to tint than others. I use Liquitex that I find works really well.

In this step I add dark Acrylic Ink (Sepia). I add it to the grooves of the modeling paste and try to get it to run along the modeling paste to give the design an outline. I love that I cannot control this process and I looooove the drips and grunge that it adds to my design.

The Final Touches are created with Acrylic Paint. I add VERY LITTLE paint to my palette knife and use the knife flat against the modeling paste to grunge the surface of the modeling paste. I first apply a dark layer and then a metallic layer (gold). This is not possible to do if you do not sand your modeling paste to a smooth surface.

I hope you enjoyed the process and that you got inspired to jump in and use your StencilGirl® stencils.
Jenny Grant

Jenny Grant is a mixed media artist working with her art business full time. She has found the magic creative spark within herself and she is on a mission to inspire and guide others to explore theirs.  She does this through her art, her online workshops and her in-person workshops around the world. Jenny loves painting big but she is also addicted to Art Journaling. She paint in many layers and her work is very rich with many layers that add depth and texture to her work.  There are no limits, nothing is wrong and there are no mistakes. The process is the fun! Being creative allows her to explore herself, to let go and it helps her to be here and now. Her base is her studio, Studio Flow, just north of Stockholm in Sweden.

Instagram: @flowbyjenny
Facebook:
JennyGrantArt
YouTube: FlowbyJenny
Pinterest: FlowbyJenny
www.jennygrantart.com

Tuesday, November 15, 2022

Encaustics & Pan Pastels

Hello everyone! It's Jane Bellante from Jane Bellante Art. I'm so excited to be back to share with you one of my favorite ways to stencil with Pan Pastels.


I have been obsessed with encaustic art for about 10 years or so now.  I absolutely love the depth and dimension it creates, but also - being a total texture junky, I can't get enough of creating different marks and deep texture on my pieces.

One way to add visual interest and beautiful marks is to use pan pastels through stencils over encaustic medium.  The possibilities are absolutely endless!

For this project I used the following products:

Clear encaustic medium

Ultramarine Pale Blue encaustic medium

Unbleached Titanium encaustic medium

Hake brushes

Phthalo Blue Shade pan pastel

Stencil Girl Stencils by Seth Apter:


Bird and Crown transfers by Iron Orchid Designs

I have a full VIDEO TUTORIAL for you right here:


You can find me at https://www.janebellanteart.com

I hope you enjoyed this tutorial and thank you so much for watching!!

xo, 

Jane


Monday, November 14, 2022

Buon Natale with StencilGirl® Stencils

Hello everyone, Cynthia Silveri here with a quick stenciled Christmas themed artwork to use anyway you choose. Lately I’ve been smitten by spray paint and glitter, so I’ve incorporated both into this simple little project. I’m thankful to be back on the blog today to share this project with you and to wish you a happy Thanksgiving and soon, Buon Natale!

Materials:
Madonna and Child Stencil
Watercolor paper (or cardstock) if you want it to be able to stand up like a card. I used a scrap piece of watercolor paper and painted over it.
IronLak spray paint in Arizona (sky blue), Liquorice (black) and Brain Freeze (bright purple)
Krylon Looking Glass spray paint (you can use silver or white)
Pixie Spray removable adhesive
Black acrylic paint and sponge
Gel pens by Sakura and Yummy
Just Glitter Markers by Marvy Uchida
Versa Clair Ink pads in Twilight, Monarch, Morning Mist
Water brush
Computer, printer
Matte medium or Mod Podge

1.    I spray painted the scrap piece of watercolor paper with blue IronLak. On the back side (inside of the tent card) I used IronLak in Black (and some Purple because I ran out of black). Make sure to shake that paint can well and work outside or in a well-ventilated area. I tore the paper to size which gave it nice, organic edges.

2.     I sprayed the stencil with Pixie Spray and placed the stencil on the card with room for the sentiment across the top. I masked out areas that were outside the stencil frame. Then I applied the Looking Glass spray paint over the stencil (you could use any white or silver spray paint; this was all I had!) and let it dry.

3.     Then I removed, and replaced, the stencil in the same or nearly the same spot and using black acrylic paint and a sponge I applied it over the spray-painted image. You should have a little bit of a “ghost” effect where you can see some of the lighter paint peeking out from the edges of the black stenciled image.

4.     To do the image transfer of “Buon Natale”, I typed out the words and modified them to print backwards (in Photoshop use “edit,” then “transform,” then “flip horizontal”) in a size and font to fit the 7” width of the paper. I printed it off on regular printer paper using a laser printer. I trimmed the extra paper off around the words, then using matte medium I brushed it over the printed side of the words and adhered it right side down onto the project paper and burnished it with a spoon and left it to dry completely. (You could stencil or stamp the sentiment if you don’t want to try the image transfer.)

5.     While the words were drying, I went back in with gel pens and glitter markers to embellish. I used gold for outlining the stars, white and green glitter pens to outline the leaves, a little bit of red in some circles I drew around the frame, dots and stars in white and gold, etc. (photo 5)

6.     On the Madonna and child, I used some of the glitter pens to draw in between the stenciled image and then used a water brush to soften the lines thus adding a touch of color to the figures and helping them stand out from each other. I used blue on the Madonna, purple on the Christ child and reddish brown on the faces. I used gold on the halos.

7.     Once the words for the image transfer were dry, I used a sponge to slightly dampen the paper and my fingers to gently rub it off to reveal the words. It requires some patience and a light touch to get a good image transfer using this method. In some places around the letters where the paper was hard to get off, it dried leaving a slight white ghosting, so I went back in with a blue marker that matched the background to minimize that effect.

8.     Finally, I used Versa Clair Fine ink pads to distress the edges of the paper. I also used a gold Just Glitter marker along the edges.