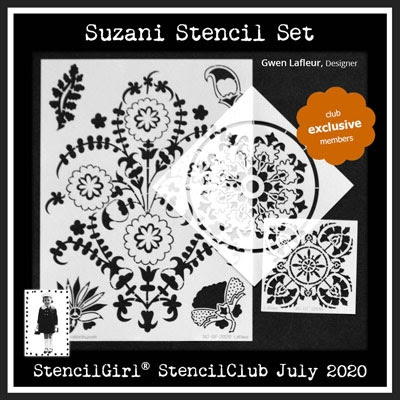
Paint tins with gesso or acrylic paint of your choice and set aside until completely dry.
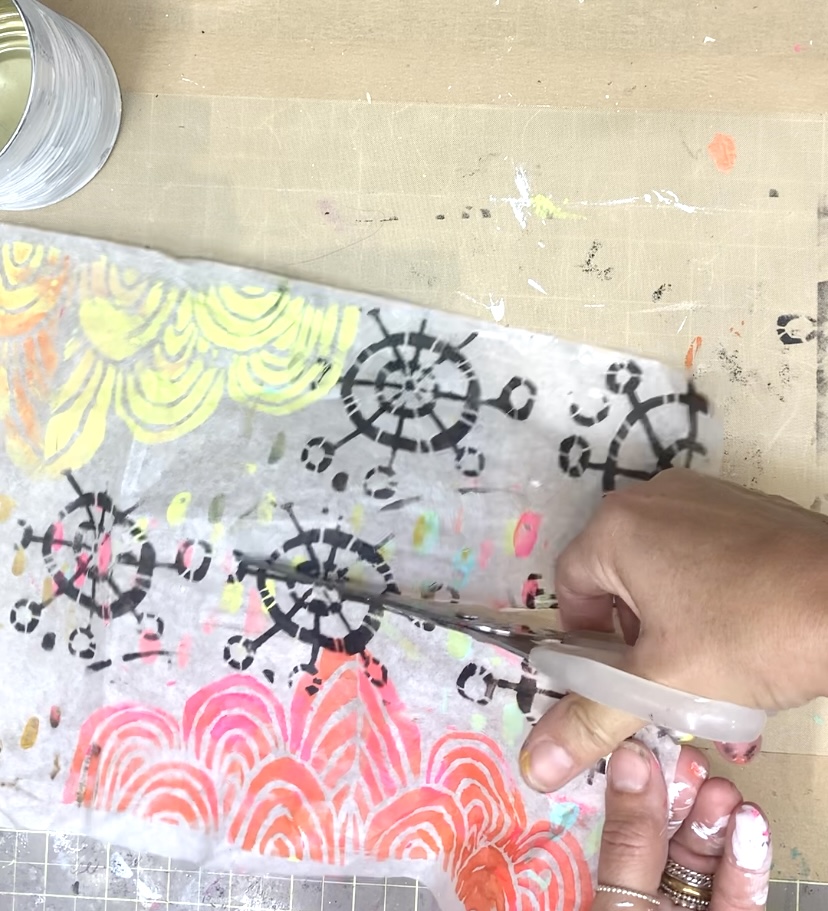
Transfer stencil pattern onto tissue paper
Measure the height and diameter of the can and cut the tissue paper
Apply some ModPodge or matte medium to the can or the tissue and adhere until the entire surface is covered.
TIP: Cut a piece of plastic wrap - (enough to cover the can)and wrap it around the can. This will ensure we don’t overwork the tissue and allows us to press it into the grooves.
Once you are satisfied place the can aside to completely dry.
Once the container is dry seal it with a coat of ModPodge and allow to completely dry.
The containers can be left as is or embellished further.
I used my crop-a-dile to punch holes and added a wire handle one one. Some string, fabric and glued wood legs for height variety.
I will be creating a few more with live succulents for the front porch. Just love how they turned out.
Happy New Year everyone! Carol Ponsford here showing you how I used the January StencilClub set
to create a journal page. This wonderful set was a mash-up designed by Seth Apter and MaryBeth Shaw.
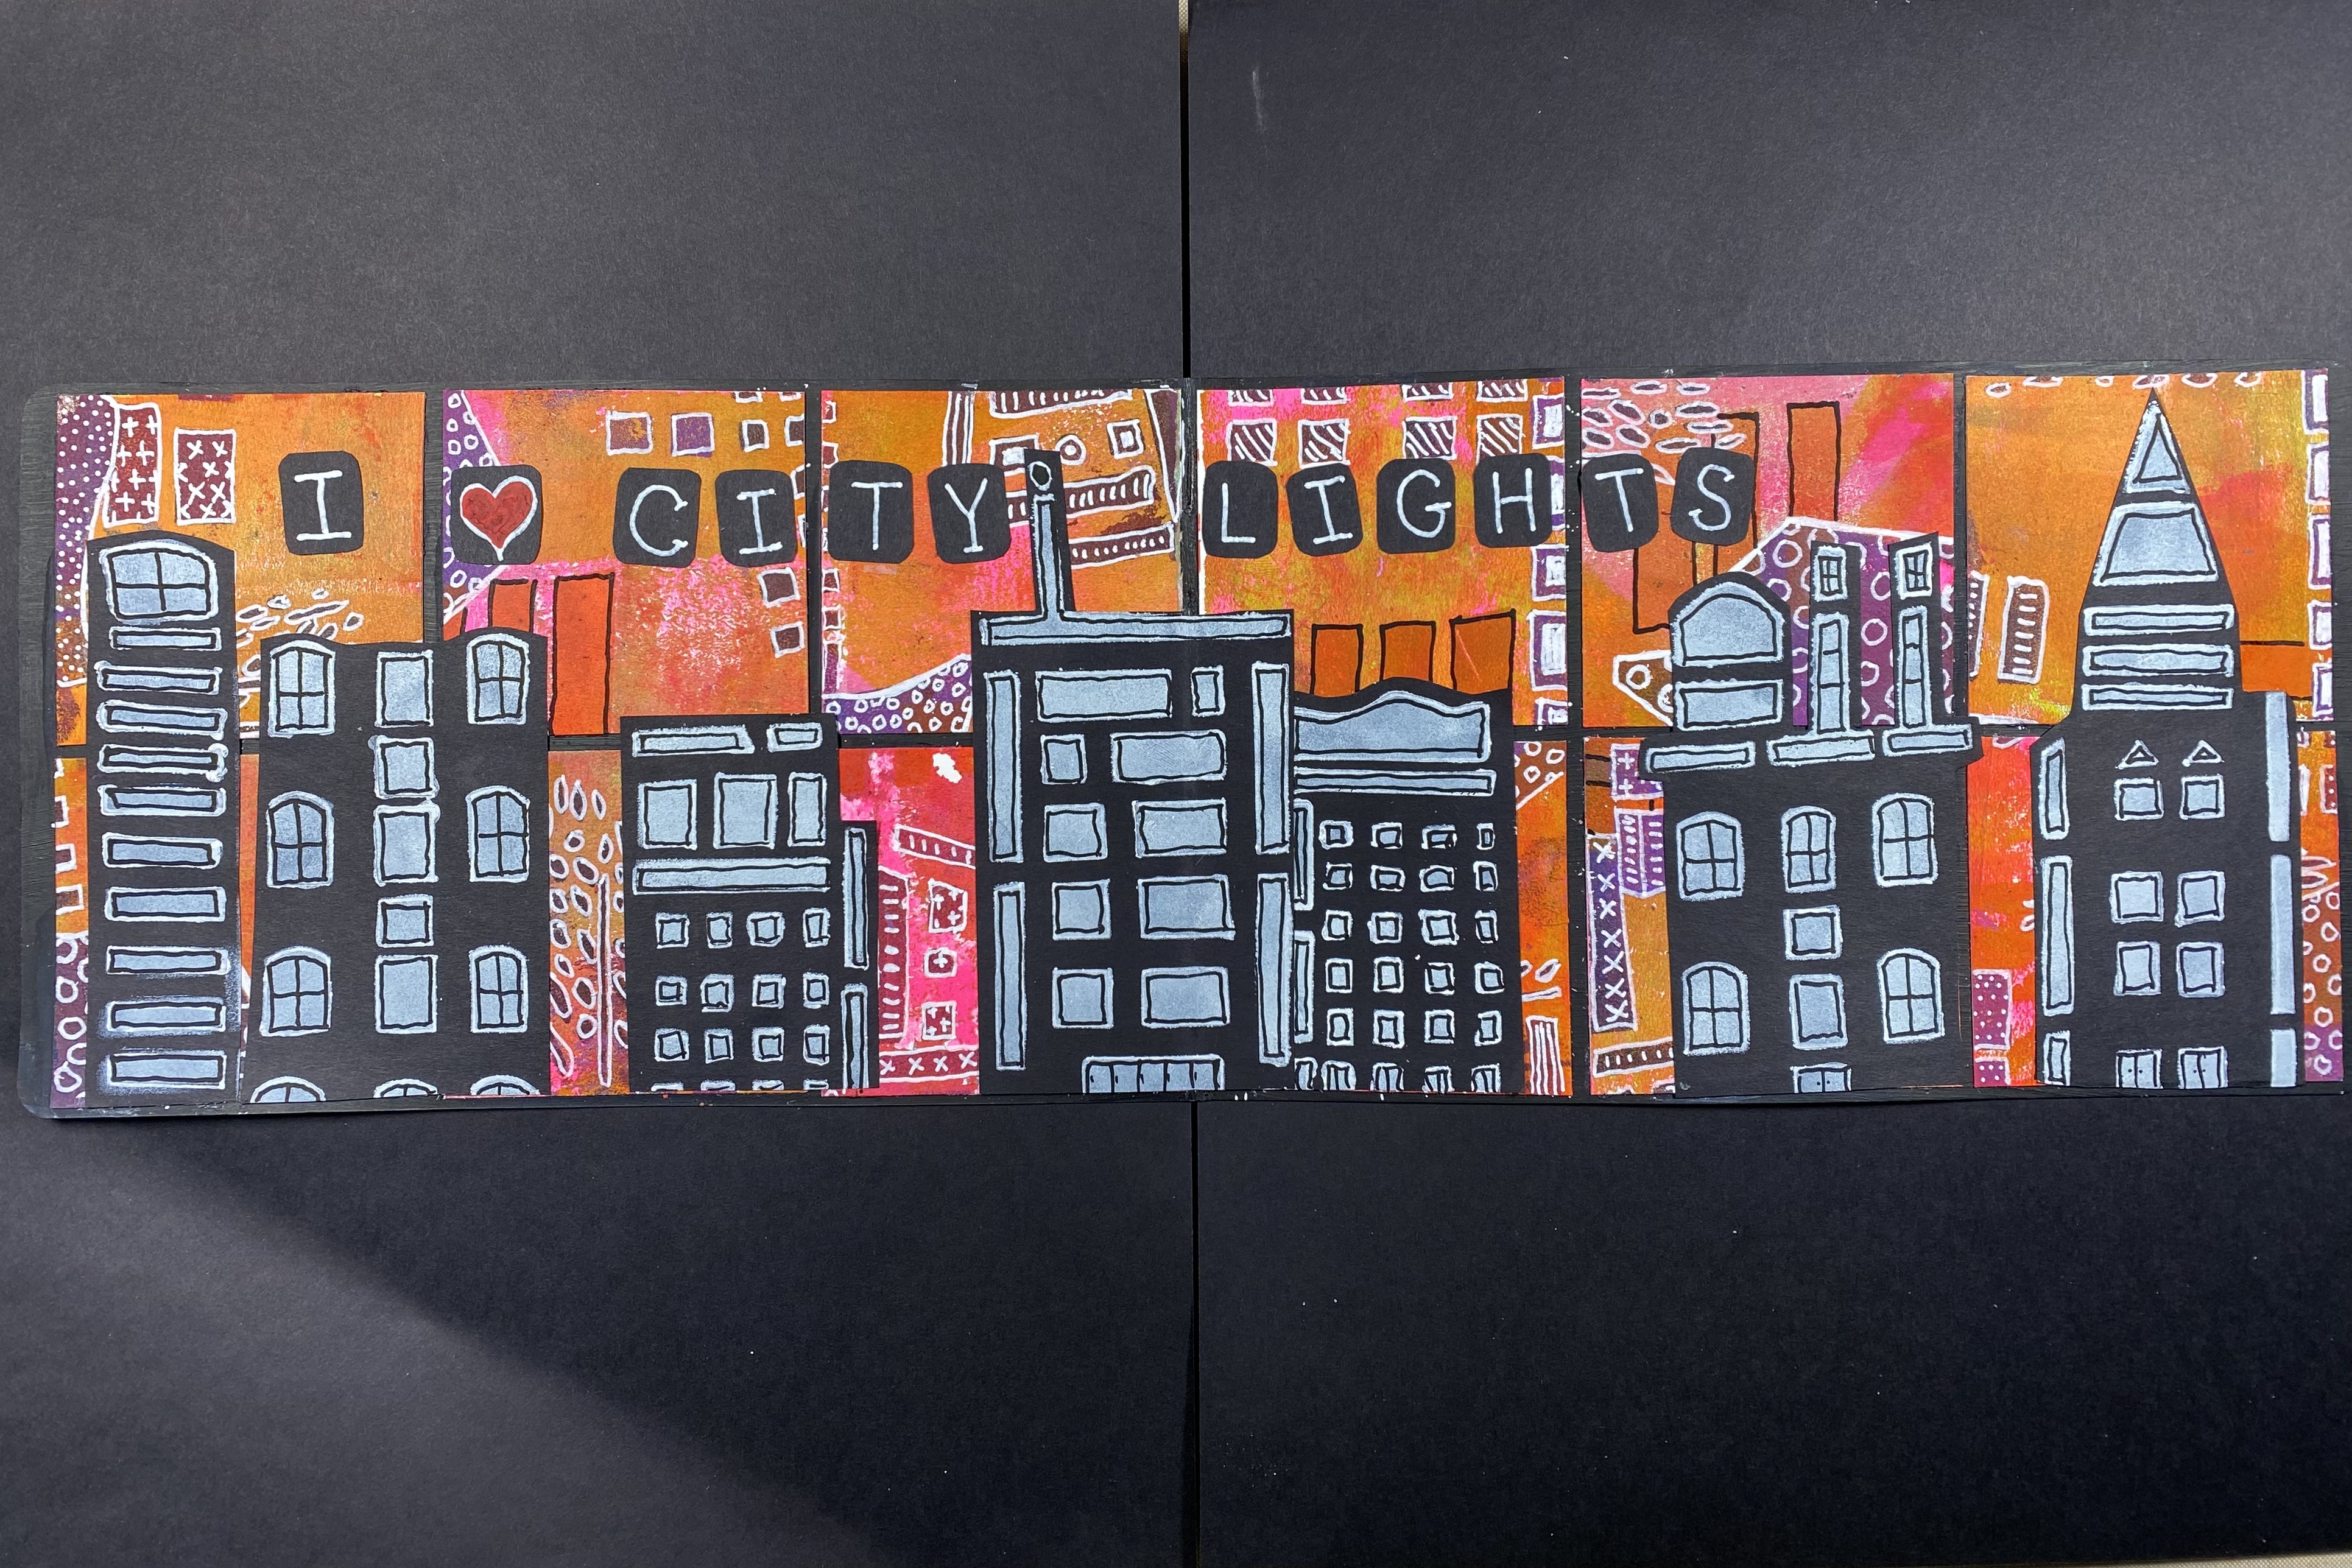
I grew up in Southern Indiana overlooking the Ohio River Valley which included the metro
area of Louisville, KY. I always loved the bird's-eye view of the twinkling city lights we
had from our home which is what inspired this journal page.
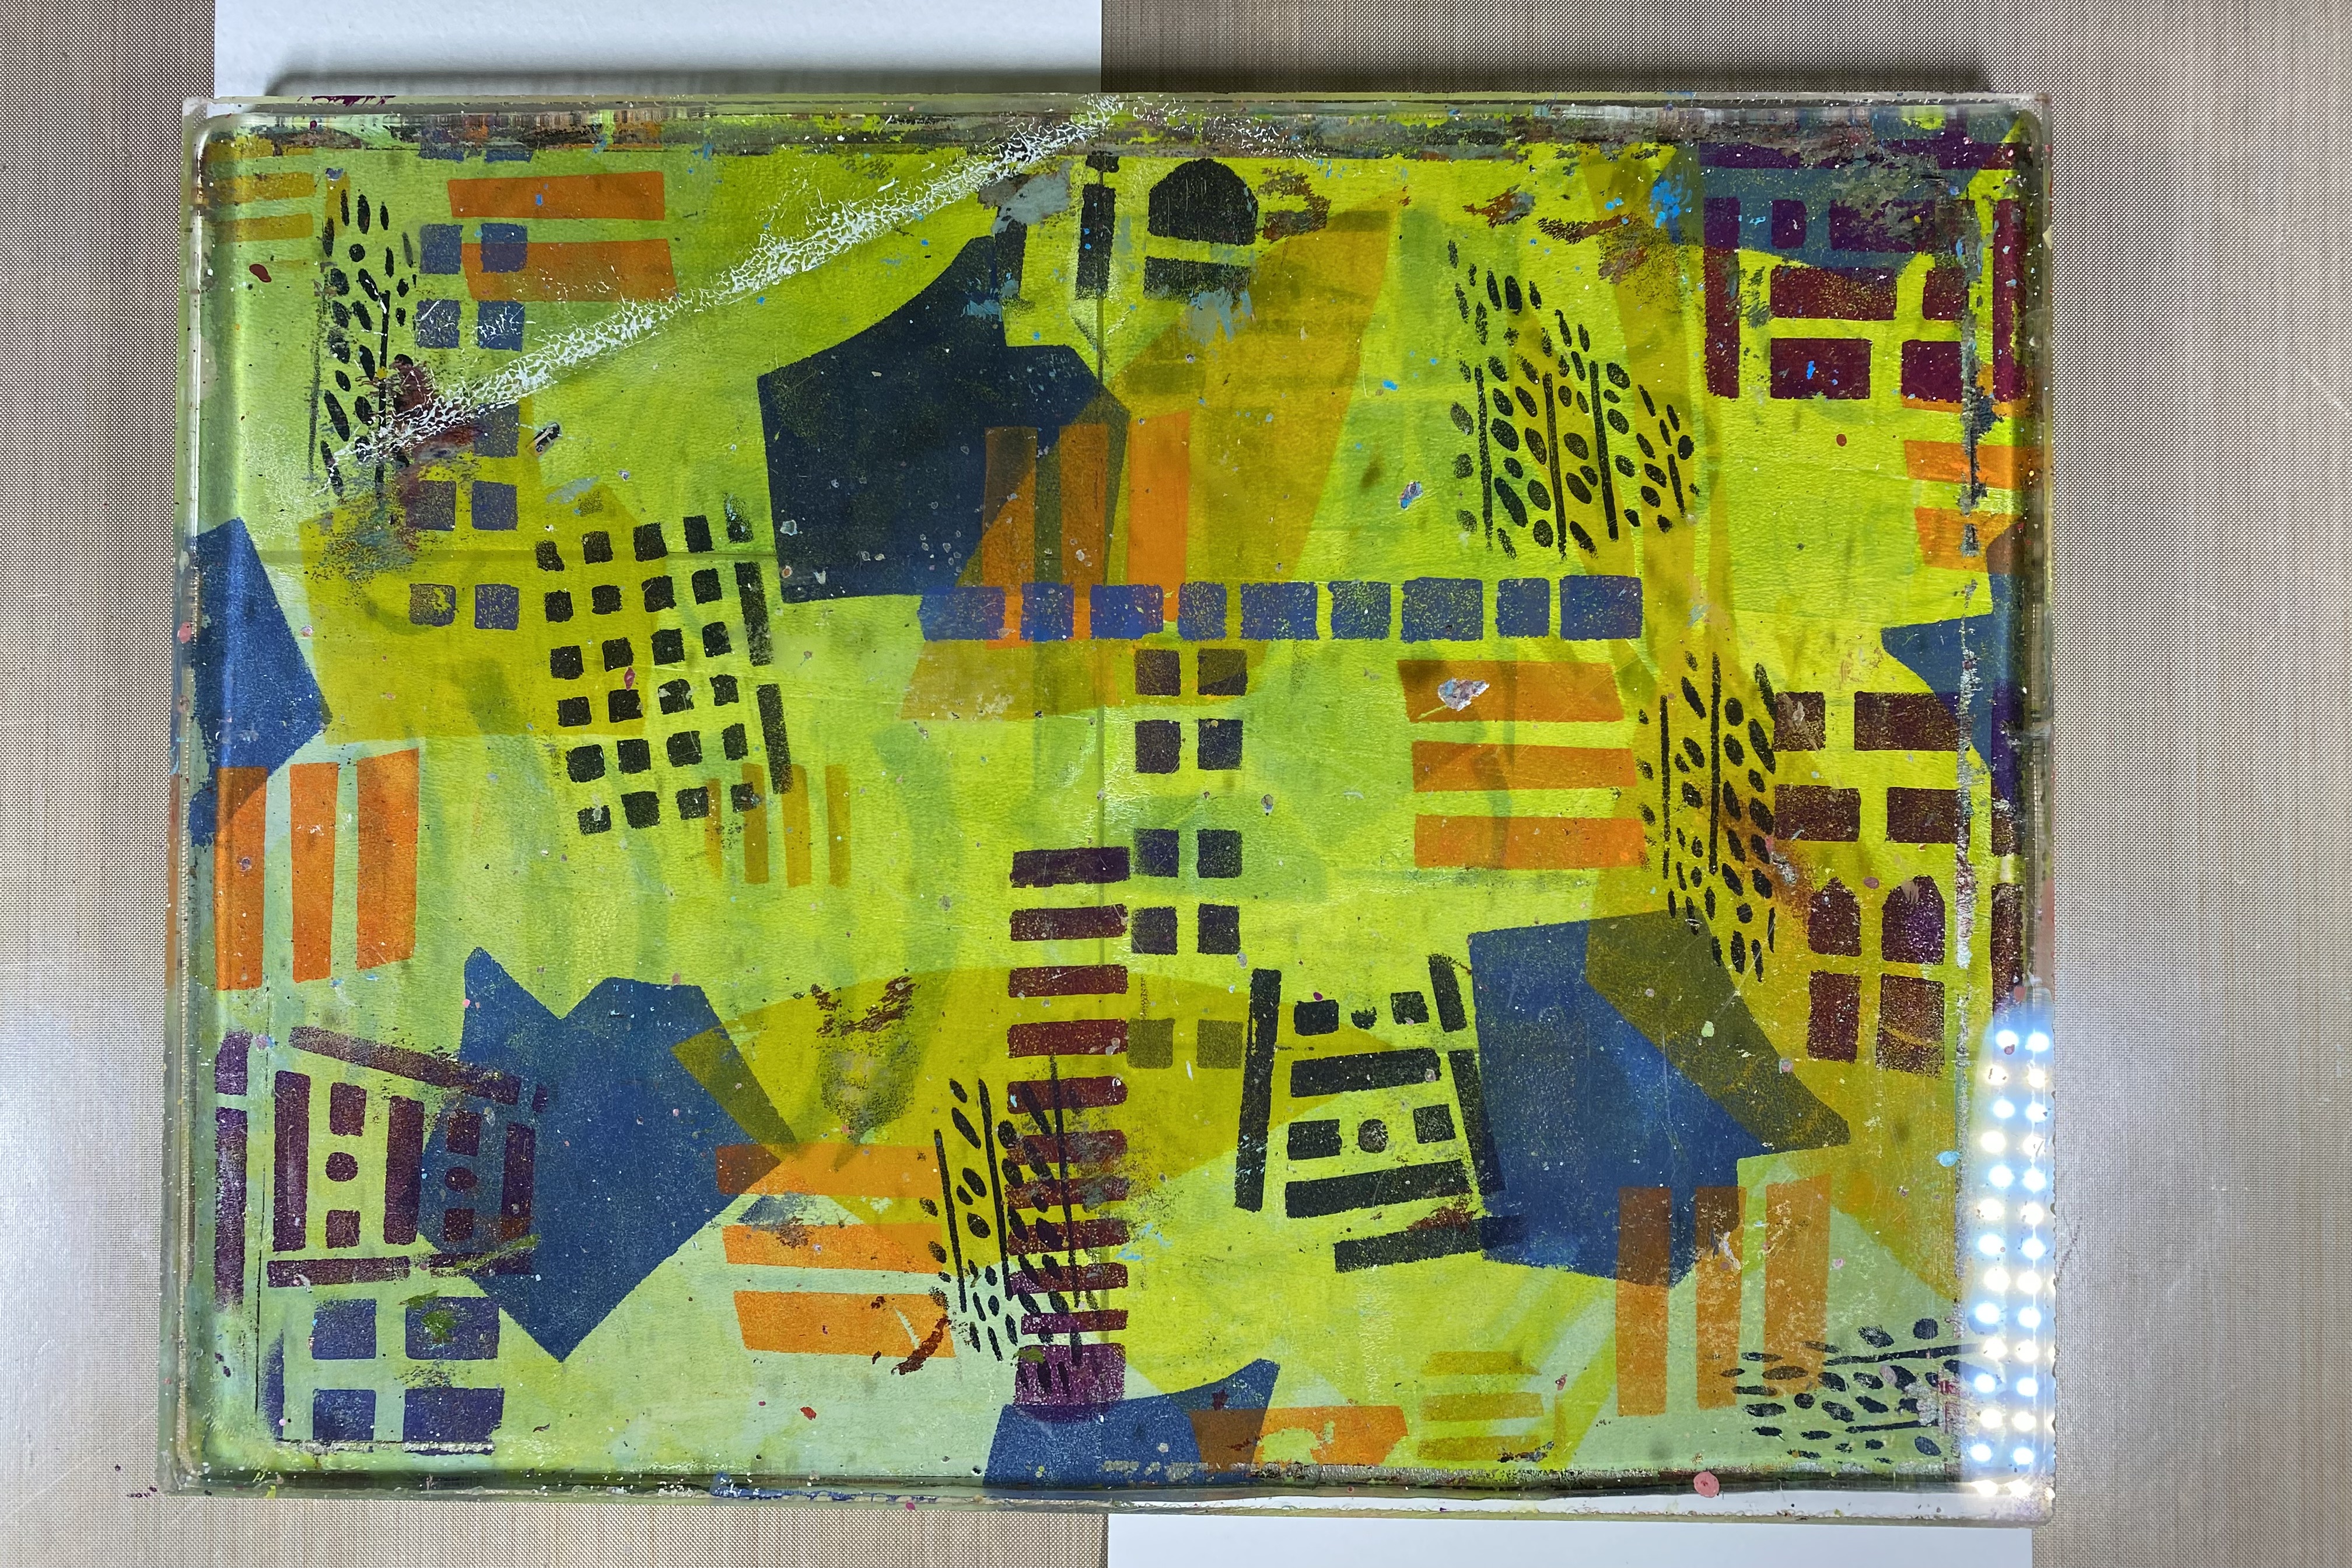
I began by placing the building stencil on my gel plate and randomly sponging areas with acrylic paint. The colors I used on this first layer were Master's Touch - Violet, Paynes Grey, Rouge, and Cobalt Blue.
Next, I grabbed the second stencil and sponged acrylic paint through some of the larger patterns overlapping the areas from the previous stencil using some of the same colors listed above
with the addition of Master's Touch Yellow Deep and a mixture of the Yellow Deep with
Amsterdam's Reflex Rose which makes a beautiful orange color.
After the layers were fully dry, I blended a thin layer of Master's Touch Ocean Green and Light Olive Green acrylic paint (I started with each color in opposite corners of the gel plate and worked the colors to the center with the brayer) and quickly put sheets of white card stock down pressing firmly and letting it set on the plate for several minutes to help get a even pull.
After I removed the paper from the gel plate, I measured to see how many small squares I would need to fit my particular journal. (My journal needed 12 pieces each being a little smaller than 2 1/2" square)
Once I laid out the squares I decided I wasn't really happy with my color choices so, when that happens I add a layer of Amsterdam Reflex Rose acrylic paint. I used a brayer to add a thin layer to cover the existing colors and it changed the colors more to my liking. Reflex Rose is such a great color to add if you are ever not happy with your color choices as it can make a huge change.
I painted my journal pages with black gesso before adhering the squares onto the page in a grid
format. After adhering them in place I took my white Posca paint pen and doodled on the shapes
adding marks that I use frequently. I apologize that I did not get a photo of this stage but if you look closely at the finished page, you can see how I added this to add interest to the background.
I took a sheet of black copy paper and traced the stencil building shapes with my white
Posca paint pen and cut out the building shapes to get my skyline to add on top of the squares.
After laying them on the page to figure out placement I realized I wanted the window shapes to
show more so I took each building and laid the stencil back on top, lined it up, and sponged
white acrylic paint into the window openings.
Once I had everything glued in place I used my black Posca paint pen
to add the window frames of each window.
I also cut out small squares to add the words I wanted and glued them in place
and then used the white Posca pen to add the lettering on each square to finish the page.
I had so much fun creating this page and hope that you enjoyed following my play. I encourage
you to always look at your stencils with a sense of play and think outside of the box with what you
can do with every part of them. Even though the focal point of this journal spread was the
building stencil, I think the parts I used from the other stencil added interest to my background.
I could have reversed their use and would have come out with an entirely different outcome.
Until February, where I will show you what I do with the February StencilClub set.
Have a wonderful January full of playtime with your stencils from StencilGirl@!
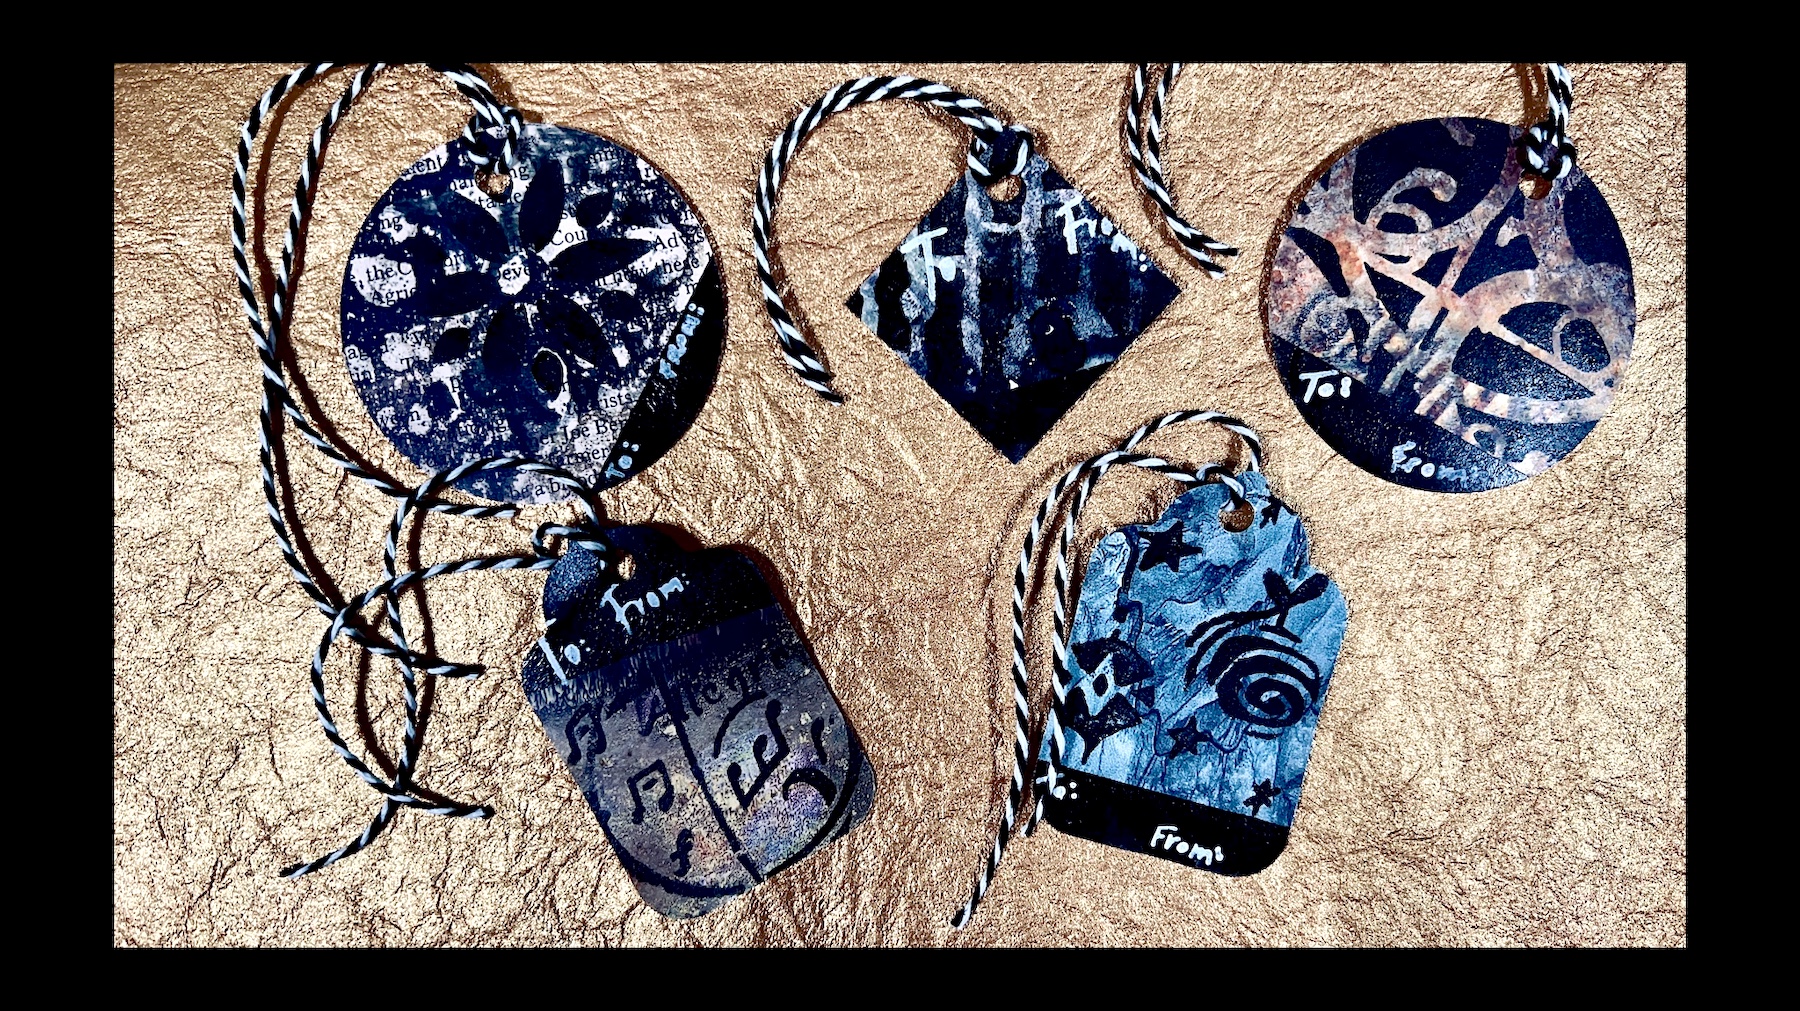
Happy November! It's Nancy Curry back for another project usually "loosely" based on a song title. This one shows my age a bit and it has nothing to do with the project. You'll understand more when you watch the video. Let's just say that my project mind was all over the place so you actually will see samples from both techniques. I'd call that bonus material. The project in the photo above is the project that I demonstrate in the video. It is another use for my huge Citra Art paper stash (organic papers rich in mark-making made from older National Geographics) besides framing finished pieces or collaging. Click here to see some finished work. Today we will use those papers and paint to create high contrast tags for those special people you want to impress. If you don't have Citra pages, you could try doing this with other old magazines that have background pictures that would be a good backdrop for a stenciled layer. If you don't have any shape punches, you would need to use tag blanks or make your own to use as a template for the shapes.
Before we get to the video, I'll give you a materials list for the videoed project and a stencil list for the tags I did on and off the camera.
Materials:
Shape punches or tag blanks (big box craft stores)
I really enjoyed turning some of my page pile into the tags in the video and the extras pictured below I did off camera. It really reinvigorated my interest in Citra Art. Lately, I've been obsessed with watercolor but I am always excited when I head back. Enjoy the extra tags below and take some time to play with symmetry, high contrast, and a lot of fun stencils. You may look at them in a new way. I wish you and yours a safe, healthy and fun holiday season and beginning of 2023. As always, you can find me on social media @nancycurryart or find me on my website where my shop is located. There's a sale coming soon.
Having moved from one state to the next recently, I have been in the process of re-establishing my art workshop. Interestingly, what seemed to fit just fine at the old house now seems to be bursting from the seams in the new one despite having more room to put things. However, the joy of the re-establishment is that I am again seeing art that I made years ago and reveling in how far I have come. As I was moving things around yet again to get just the right placement, I came across some early journal pages that I had created from prompts I was given. It occurred to me that just like writers, artists sometimes need prompts to help them move forward in their art.
Late one night, having slipped into bed but not yet ready to turn the light out, I stared at my tube of fortune telling sticks, or what is known as Kau Chim, that I had bought years ago. These sticks tell what one's fortune will be for the day, and I pondered on how I could create something similar but focus it on art making. The result is a modified Kau Chim that can help an artist determine what the immediate future of their art will be.
The idea is that the sticks will provide color options that can be used singularly or together, as well as a word prompt that can be used in collaboration with or independent of the color options. In this project, I created 52 sticks, one for each week of the year. However, more sticks can be made. The exciting aspect of this project is that the sticks can be used over and over again or they can be easily replaced at a low cost. I found the process of making the 52 sticks relaxing and pensive.
For my choice of stencils for this project, I thought it would be great to use some of the stencils that only Stencil Club members can get. Not a Stencil Club member? You should be! Join StencilClub here!
Here's what else you will need to make the project:
Paper maché round wine box Wavy Jumbo Wood Craft Sticks
Dried Flowers
I-Zink Dye Spray in Coffee Accent Piece
Green Jade Table Poem Stamp by Rubbernecker Stamps
Gesso
Paint in colors of your choice (for the container and the sticks)
White Gel Pen
Metallic Silver Gel Pen
VersaFine Stamp Pad in Vintage Sepia
Sharpie or Similar Permanent Marker Mod Podge or similar adhesive for decoupage Spray fixative (optional)
Paint brushes
Box cutter Sand block or sand paper
TO MAKE THE BOX
STEP 1: Measure the sticks against the wine box and mark so you know where to cut.
STEP 2: Cut the box to size so that it is about 1/4 to 1/2 and inch taller than the sticks.
STEP 3: Use a sand block or sandpaper to smooth the edges of the wine box and to even it out.
STEP 4: Gesso the exterior of both the box and the top. Let dry completely.
STEP 5: Paint the box and top the color of your choice. Consider the stencils you plan to use and be sure to use complementary colors. For example, if you wanted to use Gothic stencils, you wouldn't want to use pink and orange as your color choice. Allow to dry.
STEP 7: Using the I-Zink Dye Spray, spray some on a small paper plate. With a pointed round brush, dip into the spray then flick onto the box and top. These splatters should infer age. Allow to dry.
STEP 8: Use the stamp to stamp around the top and the around the box.
STEP 9: Glue dried flowers to the box using adhesive. Allow to dry.
STEP 10: Draw edge lines at the bottom of the box and the top. Paint the space between the line and the edge of the box and the top with your choice of color. Allow to slightly dry, then use a stencil and a baby wipe to remove some of the paint.
STEP 11: Add markings using the gel pens to create interest and depth.
STEP 12: Create the accent piece and glue it to the top of the box. You can see a video here showing how to create one.
STEP 13: (Optional). You can use a fixative or the adhesive to cover the box and top if you wish so that you don't have what looks like shadows on the box from adhering the flowers. However, I like the shadows, so I leave it as is.
TO MAKE THE STICKS
STEP 1: Line about eleven sticks up together. Using the 9 x 12 stencil from Block Prints by Jill McDowell, stencil all at the same time. You can also opt to use many different stencils.
STEP 2: Paint each edge a different color. It doesn't matter if you want to use complementary colors or if you just paint colors in general.
STEP 3: Add a word or phrase to the middle of each stick. These should be words that will prompt you toward creating. Try to avoid specific words like bee or animal. Instead, use words that can have multiple meanings or that might convey a specific form of art making that you haven't tried before. Your job is to interpret the word as best fits the day you use it.
HOW TO USE THE KAU CHIM FOR ART MAKING
Each week, pull one of the sticks. Decide if you want to use one color, both colors, the word, or a combination of them. Be open to numerous interpretations so that even if you draw the stick again the next week, you still create something entirely new.
While I only created 52 sticks, you can certainly make more. This will allow you to "retire" some of them in favor of adding some of the new ones. You can also finish the back side of the sticks so that you have more options to choose from.
Anne Marie
WANT TO CONNECT WITH ME? CLICK ON THE LINKS BELOW.👇