
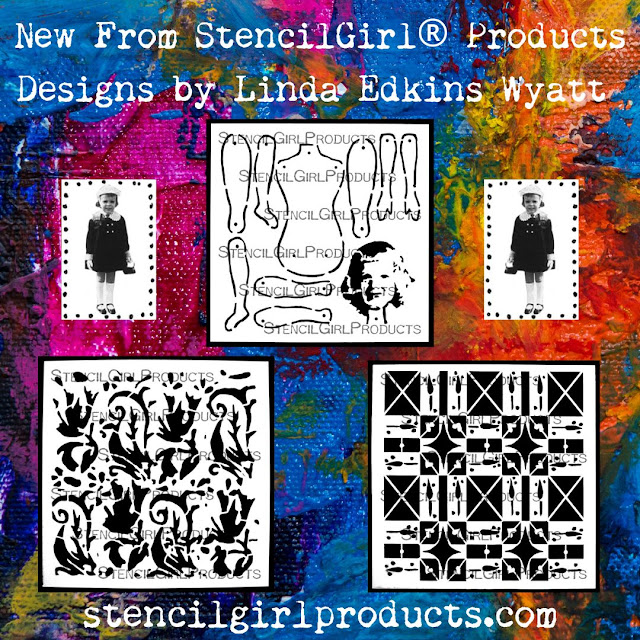
Americana 1 - L979

This stencil is filled with bits and pieces of Americana…from stars and flat to burst of fireworks. This stencil is perfect for creating Americana themed projects along with cards, mixed media, journaling and so much more.
Americana 2 - L980

This stencil has four background that are perfect for Americana projects along with creating backgrounds for cards, and mixed media projects. Use bits and pieces inside your journals and art projects.
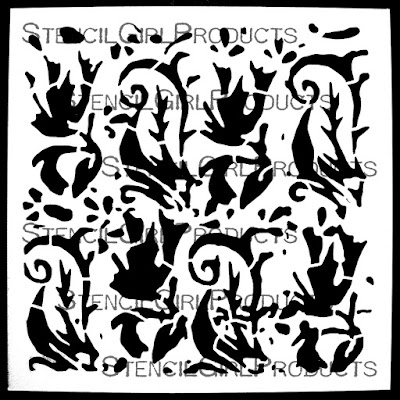
Fleur de Lis Squared - S963
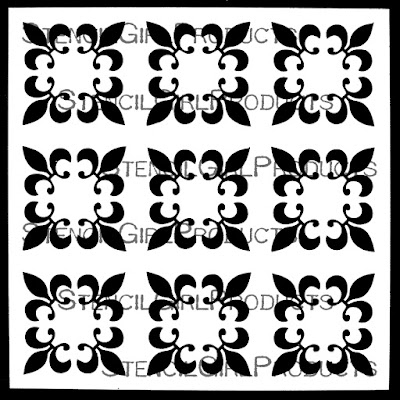
This 6x6 stencils another fabulous background that can be used for cards, mixed media, quilting and journaling or parts of it can be used to create depth and texture to your projects.

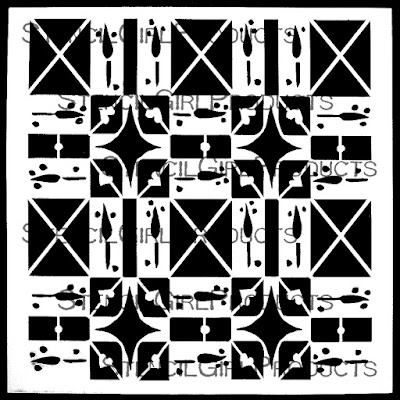
Lots of Dots - S964

This 6x6 stencil is a fabulous background that can be used for cards, mixed media, quilting and journaling or parts of it can be used to create depth and texture to your projects.


Stenciled Americana Banner with StencilGirl® Stencils

The Americana Stencils are perfect to be used for so many projects. Here I created an Americana Banner that is perfect to use for the 4th of July, Labor Day and Memorial Day. It would also be great to use for anyone who has a Birthday in July!
For this project, each banner flag showcases one of the stencil designs, but put your own spin on it and combine the designs to make this banner your very own!
Supplies:
- StencilGirl® Americana Stencils 1 and 2 by Ann Butler
- Cardstock: Red, White, Blue
- Ink Pads: Red, Blue
- Blending Brushes
- Paper Trimmer
- Scissors
- Adhesive
- Foam Tape
- Ruler
- Painters Tape
- Baby wipes
- Craft sheet
- Hole Punch, 1/4"
- Twine
- Ribbon, optional

Step 1:
Cut banner shapes from the cardstock in the following sizes:
- White 4” wide x 5” high (12)
- Red and Blue 4 ¼” wide x 5 ¼” high (6 each)
- Red and Blue 4 ½” wide x 5 ½” high (6 each)
Then measure and mark 1 ½” from the bottom edge on each side. Trim the bottom edges in a V from the center to the marked edge. Repeat for all banner pieces.

Step 2:
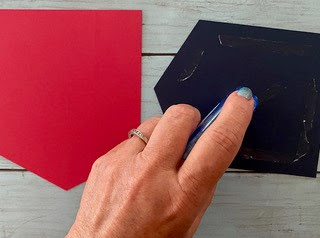
Place stencil design of choice over a white banner, tape off if desired. Apply Red or Blue ink with a blender brush. Remove stencil.

Step 3:
Reposition stencil if needed to fill in any desired areas. Remove stencil.

Step 4:
Repeat steps 2 and 3 for all 12 of the White banner pieces.

Step 5:
Arrange banner pieces for layering.

Step 6:
Adhere layers together alternating Red, White and Blue banner pieces.


Step 7:
Measure ½” from the top and each edge of banner pieces and punch with hole punch.

Step 8:
String banner pieces together with twine, alternating colors. Tie off each end and add ribbon bows if desired.

Have fun creating this quick and easy Stenciled Banner!
Designer Notes:
- Use different colors for other times of the year to create banners.
- Layer patterns for another look.
- Try this with fabric instead of cardstock.
- Add ephemera on each banner.
- When blending ink, go light and add more for a darker color.
- Use paint instead of ink.
Links:
Ann Butler’s Website: https://bellacraftspublishing.com/
FaceBook: https://www.facebook.com/BellaCraftsPublishing
YouTube: https://www.youtube.com/@BellaCraftsPublishing
Instagram: https://www.instagram.com/bellacraftspublishing/


