Showing posts with label stenciled jewelry. Show all posts

Tuesday, November 10, 2020

What Do You Have to Wear to Feel Dressed TODAY?

Hello Stencil Enthusiasts!

It is Peg Robinson and Shel C on the blog today.

Our world is a different place these days. With so much going on outside our homes we wondered...what do YOU need in your daily attire to feel dressed to go outside your house?

One thing that is very new, but very important, is a face covering or mask. So, if you have to wear it why not make it beautiful? With a few great StencilGirl stencils and some paint, you have the tools to make it so! It’s also fun to have a few extras on hand to hand-out to service people who may visit you at home and forgot to bring a mask. Peg will show you what she is talking about.


Peg chose to use spray media for quick and easy results.

To see the whole process here’s a video showing how these were created:


Shel had a different idea of what she needs to feel dressed..or dressed up..before going out these days. Some of you probably need perfect hair or make-up. Others the exactly coordinated outfit, shoes, and purse. For Shel, she really doesn't feel dressed to go outside without jewelry. Yoga pants and a t-shirt with hair in a ponytail is perfectly fine...but no jewelry? No way! So Shel used some stenciled shrink plastic pieces to make these shiny earrings for going out.


Why shrink plastic you may ask? Well, if you LOVE a StencilGirl stencil design but it is just too big to make something like earrings...why not just shrink it??? An important tip when you are trying to use shrink plastic and make it fit into something that is a certain size is to make yourself a measuring tool. Simply mark a strip of your plastic like a ruler with a permanent pen and then shrink it. Now you have a shrunk ruler that you can measure your bezel with and that gives you the proper size to cut your piece to be stenciled.


Another important thought when using shrink plastic is to remember that the color you stencil on is going to get darker and more intense as it shrinks down. So a pretty red color may look black once shrunk. Use pastel colors and they will be darker when done. Pigment-based ink as well as archival dye ink both work well as do alcohol inks.


A finishing touch is some sort of dimensional sealer or resin to make a shiny level coating on the top. I used a common product, Mod Podge Dimensional Magic, to glue the plastic into the earring bezels as well as adding a layer over the top. A few beads added in the right colors to the hooks and my earrings were done!


Watch how Shel C made these earrings in this video.


Stencils used to make earrings:

Words to Live By, L209, Designed by Carolyn Dube 

Small Figures People, S707, Designed by Valerie Sjodin 

ATC Mixup Apter #2, L750, Designed by Seth Apter

StencilClub November 2019 

StencilClub September 2020 

Butterfly Wings of Whimsey, S727 Designed by Jennifer Evans 


Wednesday, August 5, 2020

StencilClub Voices Create with the Shaw-Apter At the Improv Mash-Up Set

From Jewelry to Cards this month's StencilClub Voices, Sherie Weiser Eddy, Marge Taylor, Lucy Medeiros Tyson, and I, Carol Baxter, have an explosion of inspirational ideas for you!

Jewelry? Yes!

Paintings? You bet!
Cards? Quite a few.

They began with:


Join StencilClub


Sherie's Mixed Media Take-Out, Necklace, 
and Stenciled Paper

Sherie says: First up is an upcycled Chinese take out food container. (Washed and bleached, of course!) I gessoed both sides, then stenciled it with acrylic paints in lots of layers. The last layer is gold foil: I used tacky-when-dry medium through stencils and adhered gold foil. The chain is made of Sari ribbon, fabric wrapped vintage key, vintage tag, and beads.


Necklace: This was stenciled with acrylic paints on bleached muslin. Then I added eyelets with my Crop-A-Dile, and strung 2 rows of beads. On each end of the necklace I used bits of fabric I dyed with Tumeric and machine stitched it on. The two reddish beads on the second strand are lava beads. Used for holding essential oils, which I added.


“Your Voice Matters” This is a piece of my recent eco-dyed paper stenciled with the left-over acrylic paints and some Dina Wakley gloss sprays. 


Marge's Art Journal Page and Mixed Media Tags

Marge says: For the journal page, I often tear interesting words and phrases from magazines, to use at a later time. It felt like a good time to use this particular sentiment.


I also made the set of tags, and then thought I’d like to make a card to accompany the tags.


Lucy's Vibrant Paintings

Lucy says: I love mixed media, so I was excited to get August 2020 stencils from Seth Apter for StencilClub. I love the large grid stencil with the circles interspersed at intervals, the smaller stencils have a variety of mark-making shapes you can use in a variety of ways. I used multiple products, acrylic paint and inks, texture paste, collage, Neocolor II water-soluble crayons, Posca paint pens, and Pan Pastels. I also used some extra stencils by Seth Apter Recede M285 and Valarie Sjoden Celtic Spirals L764.  


The Zen of Improv Note Card Making with Carol

My goal one recent weekend afternoon was to use cards I had started and put down and create something, either simple or complex, that was snail mail worthy.

I must say, At the Improv is a go-to set for integration.

These first two have just the dancers in orange, so I used the large At the Improv stencil to put the ballerina silhouette behind the "window" and the leaping dancer in front. Then I embellished just a bit with gel pens and the small Improv stencil.

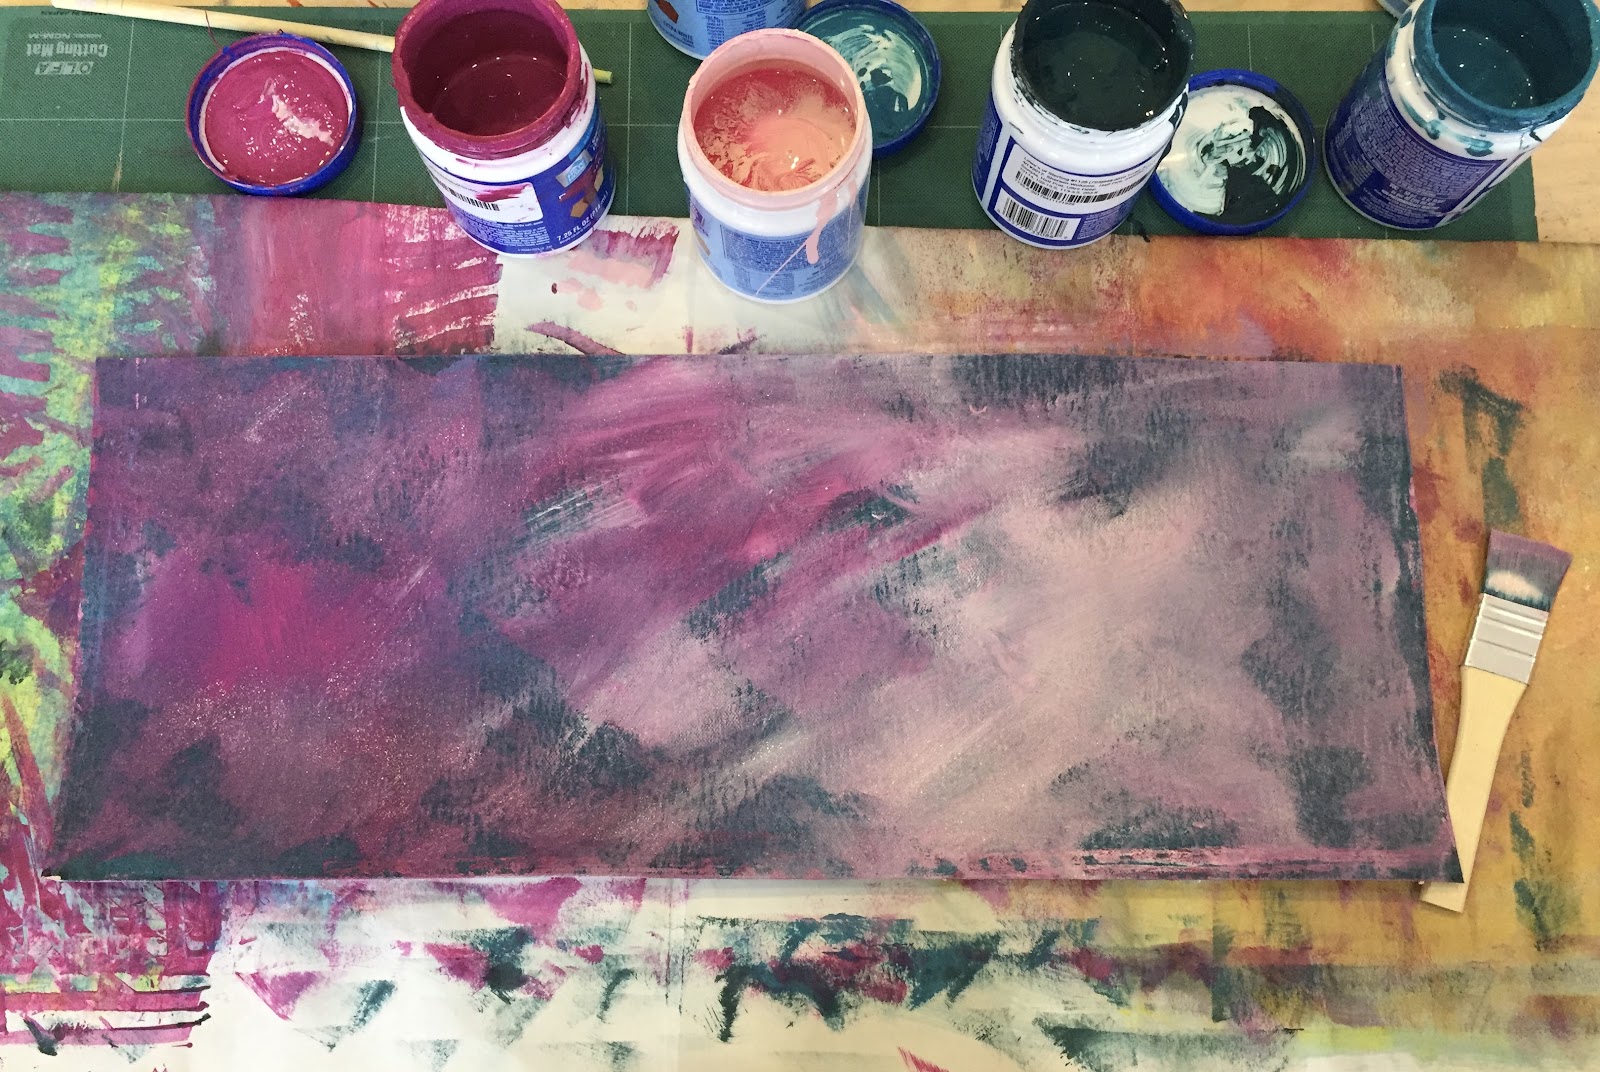
I began with several partially painted backgrounds and one with words, which I honestly did not think was salvageable. Mary Beth knows best and when she says to keep painting. Bronze paint knocked just enough of the sloppiness from a black crayon out.


I was listening to the song Jet Lag by Joss Stone while cutting and gluing and painting these last two cards. She was singing about how love makes you feel crazy bad and crazy good. Red, black, tan, and white came together just as I hoped. I used a craft knife to cut layers.


Want to create with At the Improv? Here are the details.

Wednesday, January 29, 2020

Making Mixed Media Jewelry with StencilGirl® Products

Hi, everyone! Silvia Souza here! Sometimes process is more important than outcome. I have been exploring different techniques to grow a paper jewelry collection I am developing. Towards that end, I wanted to use StencilGirl® stencils in two different ways, along with some other trial paints and ways of applying it to create texture. I create multiple sheets at one time.

First I applied a skim coat of house paint to one side of black Kraftex with a brush.
Then using different colors I applied another skim coat.
Then a heavier coat of paint was put on and I dragged a texture tool through the paint.
The other side also followed the first two steps but instead of creating texture I applied pattern with stencils Soulful Scribbles Dots Dash stencil by Traci Bautista and Mary Beth's Private Collection 16.4 stencils printing from the gelli plate. I used both the positive and negative print on all my sheets.
Then using the Rough Maze Pattern stencil by Kristie Taylor, Suzi Dennis’ Ancient Marks stencil and Rectangular Patterns for Play stencil by Carolyn Dube as masks, I used an embossing ink pad to dab over the stencil onto each sheet. Then I applied a mix of embossing powders and set them with the heat gun.
I then cut out “components” in different shapes in different sizes.
I organize the components into a pattern that I then follow to sew up a necklace or make into earrings. I also use these components in larger artwork that I am working on.

I was able to make 4 necklaces from these components.
The loop is long enough to wear doubled or tripled.
Have fun stenciling with StencilGirl® Products!
If you want to see more of my paper and thread work and follow more progress with messy experiments, please go to @paperifils on Instagram or www.paperifils.com.

I hope 2020 brings you many artful adventures,
Silvia


Tuesday, August 27, 2019

Faux-Leather Stenciled Jewelry by Linda!


Jewelry made from StencilGirl® designs? And embossed onto painted a Lutradur surface that looks surprisingly like leather? Yes and Yes!

While rummaging in an old box of unfinished art quilts, I stumbled upon pieces of a half-finished project made with painted Lutradur and Tyvek. About five years ago, I had a vision of using strips of black and white harlequin painted Lutradur along the edges of my painted Tyvek design. The project never quite worked out, so I decided to try stenciling over the Lutradur to see what would happen. It had been years since I worked with Lutradur, a non-woven fabric that is often used in furniture construction and has been embraced by crafters.

Using a Versamark stamp pad through a stencil, the embossing powder looked perfect before heating.
The beauty of Lutradur is that it takes paint well, is lightweight, and can be easily stitched through by hand or machine. The downside is that it melts and becomes lace-like when you use a heat gun or blow dryer on it. My first attempt, on the partially painted harlequin design was a fail: the Lutradur melted away in the unpainted section and stayed put on the black painted areas.

Once I blasted the design with a heat gun, the unpainted (white) Lutradur melted. The areas painted with black gesso, however, were perfectly intact.
So, I decided to paint the whole strip of Lutradur, and covered it generously with Golden's black gesso. When dry, I tested various favorite StencilGirl® stencils using a variety of embossing powders. The fiber had more weight with the addition of the black gesso, and the paint prevented the Lutradur from melting when I heated the embossing powder. Gold, pale blue, and white looked great against the black. It looked surprisingly like black leather, but since Lutradur is vegan, lighter weight, and less expensive than leather, it was a win/win.


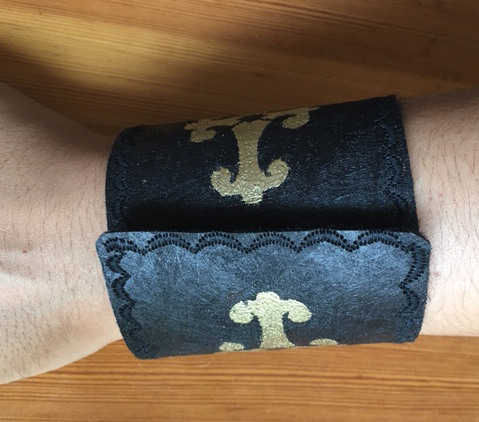
I set about stenciling some of my favorite StencilGirl® design on the black strips of painted Lutradur. I had a vision of making a cuff bracelet. I combined one of Jill McDowell's circular Japanese-inspired Crest stencils with a cross from Laurie Milka's Pilgrimage to the Renaissance.


After the stenciling was done, using a rotary cutter, I cut the design to the length I wanted for a cuff.

The painted Lutradur was a little scratchy, so I also cut some black felt (to use as a lining) to the same size. After some deliberation, I selected a decorative stitch on my sewing machine and carefully stitched along all edges.


The finished, stitched cuff.
I needed a closure of some kind, and decided to use Velcro. I carefully lined up three pieces of the Velcro on each end of the cuff.


The finished cuff is easy to put on and take off with the Velcro closure.
I was pretty excited about the success of the cuff bracelet, so I decided to make more jewelry. (It was kind of addictive!)

I used another one of Jill's Crest medallions for a pendant. I made two, and glued them together with Golden heavy gel gloss. I used Jill's full 2.5" circle as a template, traced around it with a pencil, and cut each shape so they would match perfectly. A small hole was punched with an awl, and a small jewelry ring inserted through the hole. I hung it from a piece of black cording that I found at my local bead store.


Clips held the two sides together while the glue dried. Be sure to cover the edges with waxed paper or parchment paper so the clip doesn't stick to the surface.
Some of my favorite India-inspired shapes from Gwen Lafluer's Not Afraid to Try design became earrings, as well as one of the shapes from Laurie Milka's Pilgrimage to the Renaissance.


Each earring shape was carefully cut out with small, sharp scissors.
I used a piece of wood behind the stenciled Lutradur to avoid poking holes in my worktable.
Two sets of the finished earrings.
I decided to make a more delicate, feminine cuff with a floral shape using pale blue embossing powder. I chose a section of Laurie Milka's Pilgrimage to Mexico. I tried adding white dots to the edges but they smeared so I used only the blue area. After trimming away the excess, I cut a piece of black felt for a lining, and used a machine stitched floral design along the edges. Again, I used Velcro for the closure.


Last, I took some triangular shapes from Laurie Milka's Pilgrimage to India, cut them carefully, and attached them to wide black grosgrain ribbon with Golden heavy gel gloss and brass brads.


Each diamond was backed with black felt.


Here are all of the embossed design that I experimented with. A few of the embossed shapes are being saved for future projects.
 

Finally, here's the finished collection of my handmade, faux-leather jewelry, ready to be worn.


Tips:
* Lutradur is fibrous, so if it is humid, extra embossing powder can stick where you don't want it. The excess powder can be brushed away with a fine paintbrush before heating. 

* Any extra embossed powder that ends up in the wrong place can be covered over with a black sharpie. 

* It doesn't really matter if your embossing powder isn't perfect; the edges are going to be trimmed away so only the center of the design shows.


Stencils used:
Laurie Milka, Pilgrimage to Mexico 
Laurie Milka, Pilgrimage to India
Laurie Milka, Pilgrimage to the Renaissance 
Gwen Lafluer, Not Afraid to Try
Jill McDowell, Crests