Showing posts with label Jewelry. Show all posts

Friday, November 7, 2025

Copper Etching


Hello fellow artists!  It's Julie Peterson here from @nuthouse73 bringing you something a little different, copper metal etching.


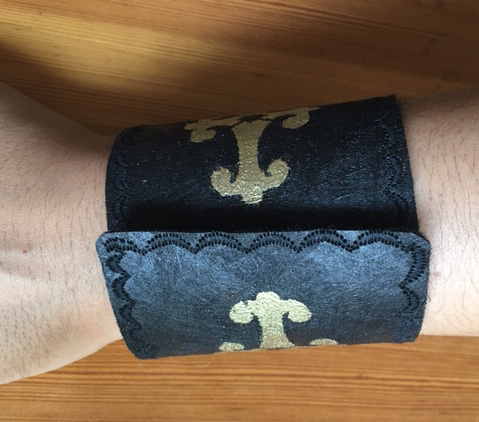
I love stencils! They are one of my favorite tools.  This is the first time I have applied them to my metal working.  They worked absolutely fabulous!  I ended up making a few pendants, which could also be journal charms, a page clip, a pair of earrings, and a ring.  The possibilities are endless!  


I used stencils


S831 Celestial Bodies by Kathryn Costa

L579 ATC Mixup #2 by Mary Beth Shaw

SC022023B Rolodex Redesign by Tina Walker

L279 Celtic Celebration by June Pfaff Daley

L427 What’s Your Sign by Cathy Nichols

S033 Ray Circles by Michelle Ward

L764 Celtic Spirals Mask by Valerie Sjodin

L651 ATC Mixup by Pam Carrike


Let’s get started!


First gather your supplies.


Gloves

Safety glasses

Ferric chloride

Liver of sulfur 

Acetone 

Copper blanks or copper sheet 1mm thick

Stencils 

Sharpie marker

Spray paint, any color

91% isopropyl alcohol 

Sand paper from 400- 2000 gritt 

Duct tape

2 disposable Plastic dishes

Tooth pick or awl

Paper towels

Joyce Chen kitchen scissors, only if you are cutting copper sheet

Beadsmith metal hole punch if you want to put holes in your copper pieces.

WELL VENTILATED AREA 


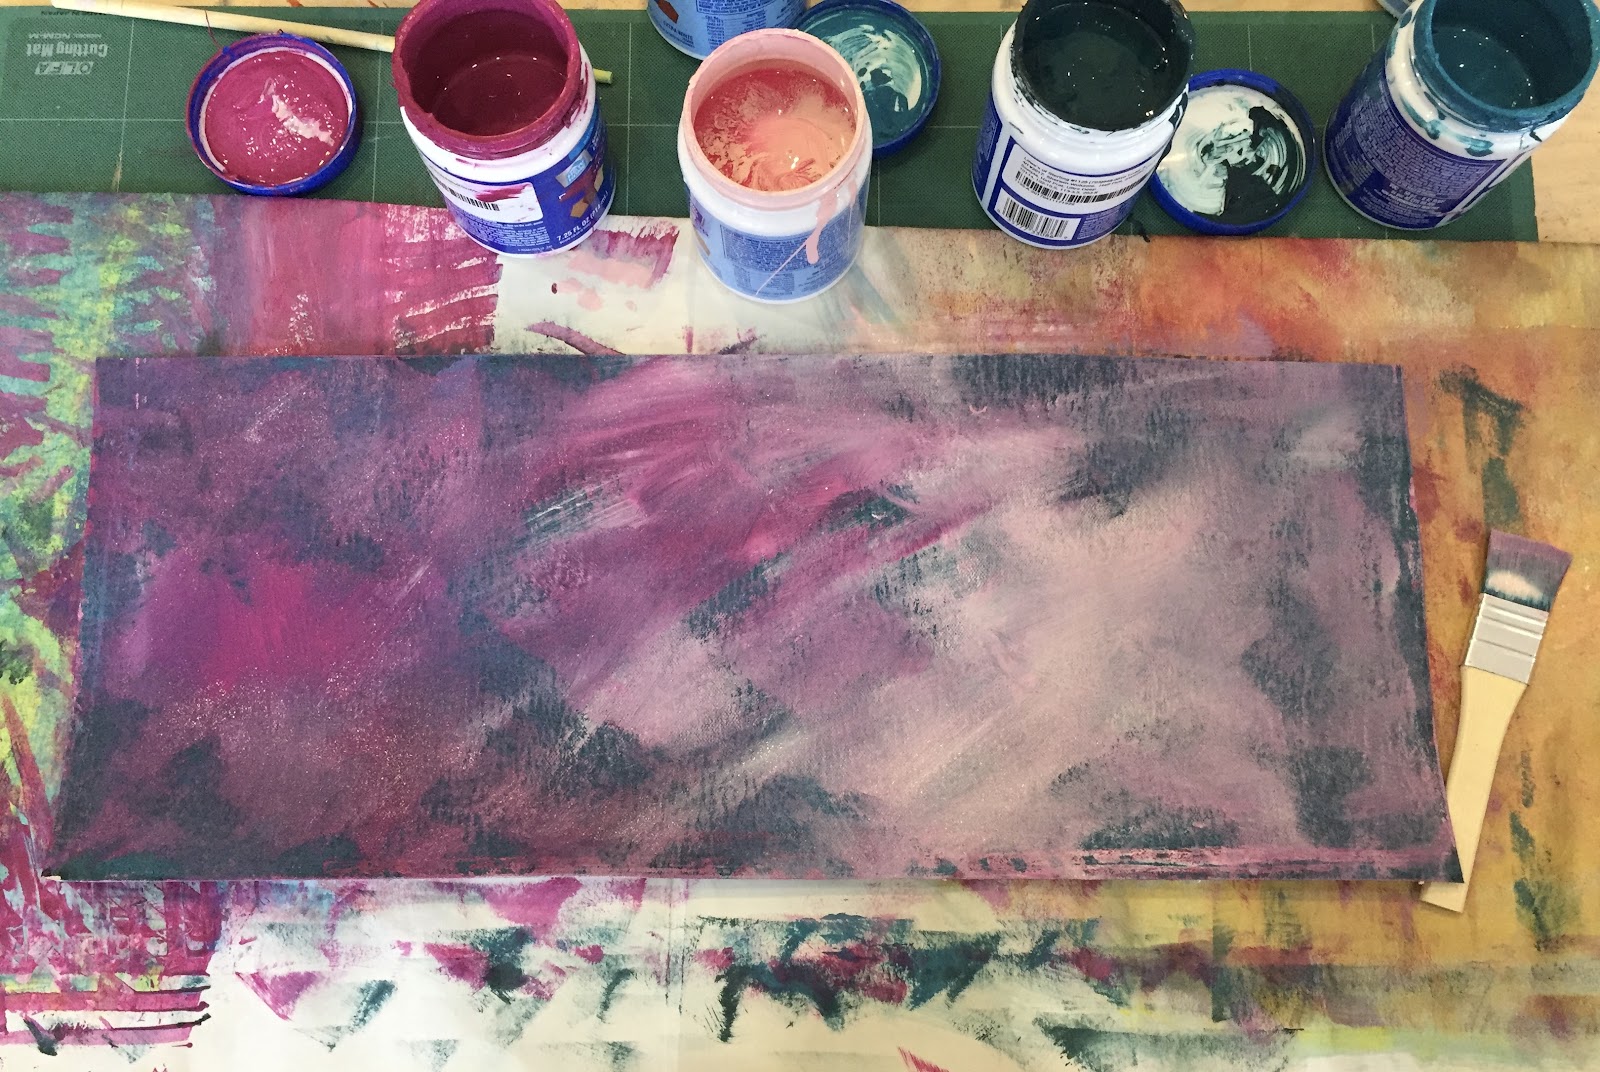
Pick some stencils and audition them, for your pieces.  Start prepping your metal, if you have blanks polish them with the 2000 grit sandpaper going in a back and forth motion in the same direction, if you have sheet metal, cut it to the size you want for your image and sand it starting with your coarsest sand paper and moving to the finest; sanding in the same direction.  When you have achieved a nice shinny surface put on your gloves and wipe the it down with isopropyl alcohol to remove all the oils from the surface. 


Place your stencil over your copper piece and spray it with the spray paint, pick the stencil off and let the piece dry.  In the meantime, let's get the duct tape ready and the acid bath prepped.   You're probably going to want to take your gloves off to prep the duct tape but, save them we still need them.  Get a big enough piece to span your container for the acid and then some, we are going to use it to suspend the copper pieces face down in the acid.  Lay the duct tape face up on your work surface and fold over each end about a 3/4 of an inch ( doesn't have to be precise) so you have a place to hold on to. Put your gloves back on, so you don’t get any oil on your now clean and painted copper pieces.  Grab your now dry copper pieces and color all the edges with the sharpie marker.  Place them design side up on the sticky part of the duct tape, set aside. 


Now let’s prep the acid bath.  Make sure you have your gloves and your safety glasses on.  Get one of your disposable plastic containers put enough ferric chloride in it that your piece will only be touching the acid when its suspended.  Get the other disposable container and put some water in it, enough to rinse your pieces of copper. Take the duct tape strip with your pieces on it turn it over and suspend it in the dish sticking the tape to the side of the container.  Set a timer for 30 minutes.  When the timer goes off gently agitate the dish, careful not to spill.  Set the timer again for 30 minutes.  After an hour you can lift the pieces out, rinse it and check how deep the etching is with a tooth pick or awl, if you want a deeper etch put it back in the acid checking it every 30 minutes.  If your pieces are ready to go, remove them from the tape, rinse and pat dry with a paper towel. 

Check your local area for instructions to safely dispose of the acid.


Time for the liver of sulfur, (warning smells like rotten eggs).  You can buy prepared or unprepared liver of sulfur, follow the directions on the package for how to use the kind that you purchased.  

Cover the copper pieces with liver of sulfur, leave them in the liver of sulfur until they are almost black.   Rinse them and pat them dry with a paper towel.  Don’t worry they're going to be beautiful.  


Wet a portion of paper towel with acetone and wipe the spray paint off the copper pieces until all the paint is removed.  


Time for adding holes, ear wires, jump rings or whatever you feel like making them into.  Should you want to preserve the finish, coat them with a wax ( renaissance wax) or a clear coat.  


Thank you for hanging out and happy creating!


Julie


Thursday, December 14, 2023

Adorn Your Art with this New Design by Jennifer Evans


Jennifer said, "When I started making my own jewelry, I thought of it as a way to experiment with colors and textures. I love vintage jewelry and the look of gunmetal, silver, and hammered gold. Gemstones fascinate me. I have such fun playing with these materials that I thought, 'Why not have a jewelry design to work with in my 2D art as well?' You can have fun "designing" your own creations using markers, metallic paint, or anything that shimmers. Wouldn't it be fun to stencil the outside of a gift box?"


Tuesday, April 27, 2021

Heartfelt Thanks to Our 20-21 Creative Team!

Greetings and thanks for stopping by today! 

Throughout the unexpected hardships of this past year, these skilled artists put stencils and paint to the surfaces of fabric, paper, wood, and plastic, sharing art projects filled with beauty and grace.

They are the real deal and let their love of art shine brightly for all to partake.

I'm Carol Baxter and I am privileged to manage the team. If you have been reading StencilGirl Talk for the past year, you may be able to match the artwork in the thumbnails below to one of our talented Creative Team members.


Did you guess? A) Sunila & Aditi Mahajan aka Dots 2 Lines, B) Linda Edkins Wyatt, C) Sue Plumb, D) Shel C, E) Peg Robinson, F) Natalie May, G) Geri Beam, and H) Wendy Baysa.

Here's a recap of my favorite projects from each of them. Don't worry. The stencil project links open in new windows so you won't miss a post as you dive into art.

Art journaling and scrapbooking together, Sunila & Aditi Mahajan are the mother and daughter duo who bring us stenciled projects replete with layers bursting off the surface. Their Shadowbox Keyholder is a lovely example of their art.


Prancing hooves, the caress of butterfly wings, a tulip on fire with color, and clown to gather it all in. Linda Edkins Wyatt has a gift for color as you'll see in her art but Circus 19 Dream: A Mixed Media Pastiche is a fine composition.


I do believe I would recognize Sue Plumb's style in a blind show. I finally had to toss a coin between what I finally chose and Art is Good for You because projects for StencilGirl made choosing a fave practically impossible. Graceful blooms adorn many of Sue's artworks but I think the way she treated a single stencil as the focal in The Real Deal is magical. Her process is stepped out beautifully too.


When asked to interpret a theme, I felt pure delight to open an email and find out what the duo of Shel C and Peg Robinson (Art Joy of Sharing) dreamed up using the same stencils.

What Do You Have to Wear to Feel Dressed Today? Shel C had my heart at earrings! If earrings make you feel ready to take on the day, look no further than this post.


One of the best things about looking at art is falling in love with the details, how Peg Robinson was able to make me feel as if the heart was paused between beats by the way she shaded and texturized it in her art journal spread. Check out Passages - Doors to New Experiences.


We Carry You, Natalie May's homage to her grandmother moved me to tears. I love the idea of writing a little story on the back of artwork such as this so when it is handed down it sparks even more memories. Get carried away here.


Whist I adore Geri Beam's fabric and mixed media play, her Circus Tea Cart caused my jaw to hit the floor and stay there for some moments. How she stenciled it is stepped-out right here.


My Pastiche by Wendy Baysa is Wendy doing Wendy and I applaud her! There's a lot of fun to take in as you soar through her art journal spread that gives the viewer permission to grow and isn't that one of the pleasures of art journaling?


Mary Beth Shaw and I give our heartfelt thanks to Sunila, Aditi, Sue, Shel, Peg, Geri, Wendy, Nat, and Linda for always bringing their A-Game. 

You'll see them back as StencilGirl Talk guests!

Happily, you can always find them creating something new on their own platforms. 

Discover Sunila & Aditi Mahajan:

Discover Sue Plumb:
Instagram
Facebook
Blog
YouTube

Discover Peg Robinson: 

Discover Shel: 

Discover Linda Edkins Wyatt:


Discover Geri Beam:

Discover Natalie May:

Wednesday, January 29, 2020

Making Mixed Media Jewelry with StencilGirl® Products

Hi, everyone! Silvia Souza here! Sometimes process is more important than outcome. I have been exploring different techniques to grow a paper jewelry collection I am developing. Towards that end, I wanted to use StencilGirl® stencils in two different ways, along with some other trial paints and ways of applying it to create texture. I create multiple sheets at one time.

First I applied a skim coat of house paint to one side of black Kraftex with a brush.
Then using different colors I applied another skim coat.
Then a heavier coat of paint was put on and I dragged a texture tool through the paint.
The other side also followed the first two steps but instead of creating texture I applied pattern with stencils Soulful Scribbles Dots Dash stencil by Traci Bautista and Mary Beth's Private Collection 16.4 stencils printing from the gelli plate. I used both the positive and negative print on all my sheets.
Then using the Rough Maze Pattern stencil by Kristie Taylor, Suzi Dennis’ Ancient Marks stencil and Rectangular Patterns for Play stencil by Carolyn Dube as masks, I used an embossing ink pad to dab over the stencil onto each sheet. Then I applied a mix of embossing powders and set them with the heat gun.
I then cut out “components” in different shapes in different sizes.
I organize the components into a pattern that I then follow to sew up a necklace or make into earrings. I also use these components in larger artwork that I am working on.

I was able to make 4 necklaces from these components.
The loop is long enough to wear doubled or tripled.
Have fun stenciling with StencilGirl® Products!
If you want to see more of my paper and thread work and follow more progress with messy experiments, please go to @paperifils on Instagram or www.paperifils.com.

I hope 2020 brings you many artful adventures,
Silvia


Thursday, October 3, 2019

Gift-Worthy StencilGirl Creative Team Hop


As you head into that gifting and receiving time of year, the StencilGirl Creative Team members have your back with ideas for a journal, origami, a tote bag, an advent calendar, a necklace, a paper mache box, a painting, a cookie jar, a gift bag, a treasure box! Keep scrolling down for the links!


Be sure to hop over to each fantastic project and leave a comment for the artist! 
The more comments, the more chances you'll have to win $50 worth of StencilGirl stencils! Good luck!


Sue Plumb's Cookie Jar and Art Bag

Claudia Neubacher's Tote Bag

Sunila & Aditi Mahajan's Treasure Box

Peg Robinson's Necklace

Shel C's Journal Set

Jennifer Gallagher's Paper Mache Gift Box

Linda Edkins Wyatt's Beach Memories Painting

Jill McDowell's Twisted Treasure Pouches

Carol Baxter's Advent Calendar


Contest closes 10-8-19 at 11:59 p.m. CST.  Winner notified by email 10-9-19.


Tuesday, August 27, 2019

Faux-Leather Stenciled Jewelry by Linda!


Jewelry made from StencilGirl® designs? And embossed onto painted a Lutradur surface that looks surprisingly like leather? Yes and Yes!

While rummaging in an old box of unfinished art quilts, I stumbled upon pieces of a half-finished project made with painted Lutradur and Tyvek. About five years ago, I had a vision of using strips of black and white harlequin painted Lutradur along the edges of my painted Tyvek design. The project never quite worked out, so I decided to try stenciling over the Lutradur to see what would happen. It had been years since I worked with Lutradur, a non-woven fabric that is often used in furniture construction and has been embraced by crafters.

Using a Versamark stamp pad through a stencil, the embossing powder looked perfect before heating.
The beauty of Lutradur is that it takes paint well, is lightweight, and can be easily stitched through by hand or machine. The downside is that it melts and becomes lace-like when you use a heat gun or blow dryer on it. My first attempt, on the partially painted harlequin design was a fail: the Lutradur melted away in the unpainted section and stayed put on the black painted areas.

Once I blasted the design with a heat gun, the unpainted (white) Lutradur melted. The areas painted with black gesso, however, were perfectly intact.
So, I decided to paint the whole strip of Lutradur, and covered it generously with Golden's black gesso. When dry, I tested various favorite StencilGirl® stencils using a variety of embossing powders. The fiber had more weight with the addition of the black gesso, and the paint prevented the Lutradur from melting when I heated the embossing powder. Gold, pale blue, and white looked great against the black. It looked surprisingly like black leather, but since Lutradur is vegan, lighter weight, and less expensive than leather, it was a win/win.


I set about stenciling some of my favorite StencilGirl® design on the black strips of painted Lutradur. I had a vision of making a cuff bracelet. I combined one of Jill McDowell's circular Japanese-inspired Crest stencils with a cross from Laurie Milka's Pilgrimage to the Renaissance.


After the stenciling was done, using a rotary cutter, I cut the design to the length I wanted for a cuff.

The painted Lutradur was a little scratchy, so I also cut some black felt (to use as a lining) to the same size. After some deliberation, I selected a decorative stitch on my sewing machine and carefully stitched along all edges.


The finished, stitched cuff.
I needed a closure of some kind, and decided to use Velcro. I carefully lined up three pieces of the Velcro on each end of the cuff.


The finished cuff is easy to put on and take off with the Velcro closure.
I was pretty excited about the success of the cuff bracelet, so I decided to make more jewelry. (It was kind of addictive!)

I used another one of Jill's Crest medallions for a pendant. I made two, and glued them together with Golden heavy gel gloss. I used Jill's full 2.5" circle as a template, traced around it with a pencil, and cut each shape so they would match perfectly. A small hole was punched with an awl, and a small jewelry ring inserted through the hole. I hung it from a piece of black cording that I found at my local bead store.


Clips held the two sides together while the glue dried. Be sure to cover the edges with waxed paper or parchment paper so the clip doesn't stick to the surface.
Some of my favorite India-inspired shapes from Gwen Lafluer's Not Afraid to Try design became earrings, as well as one of the shapes from Laurie Milka's Pilgrimage to the Renaissance.


Each earring shape was carefully cut out with small, sharp scissors.
I used a piece of wood behind the stenciled Lutradur to avoid poking holes in my worktable.
Two sets of the finished earrings.
I decided to make a more delicate, feminine cuff with a floral shape using pale blue embossing powder. I chose a section of Laurie Milka's Pilgrimage to Mexico. I tried adding white dots to the edges but they smeared so I used only the blue area. After trimming away the excess, I cut a piece of black felt for a lining, and used a machine stitched floral design along the edges. Again, I used Velcro for the closure.


Last, I took some triangular shapes from Laurie Milka's Pilgrimage to India, cut them carefully, and attached them to wide black grosgrain ribbon with Golden heavy gel gloss and brass brads.


Each diamond was backed with black felt.


Here are all of the embossed design that I experimented with. A few of the embossed shapes are being saved for future projects.
 

Finally, here's the finished collection of my handmade, faux-leather jewelry, ready to be worn.


Tips:
* Lutradur is fibrous, so if it is humid, extra embossing powder can stick where you don't want it. The excess powder can be brushed away with a fine paintbrush before heating. 

* Any extra embossed powder that ends up in the wrong place can be covered over with a black sharpie. 

* It doesn't really matter if your embossing powder isn't perfect; the edges are going to be trimmed away so only the center of the design shows.


Stencils used:
Laurie Milka, Pilgrimage to Mexico 
Laurie Milka, Pilgrimage to India
Laurie Milka, Pilgrimage to the Renaissance 
Gwen Lafluer, Not Afraid to Try
Jill McDowell, Crests